
Only users connected to publisher organizations on Edelweiss have a Contacts page! Retail, library, and individual accounts will not have this option. If you are a bookseller or librarian who needs to share an order with your rep, they will need to add you on their end first!
You can easily export your contacts if you’d like to save them in a file or pass them along to another colleague. On the People page, select Other Actions > Export All Contacts to File.

You can also import contacts from Excel, or a comma-delimited (CSV) file from another program, provided you can create an Excel file or CSV file with the correct columns and headers. Note that the order of the columns doesn’t matter, as long as the header names are there. The column headers you should include in an Excel file are listed below. In a CSV file, the first row should consist of the column headers. Header names must match the following:
Header Names (in bold):
First Name
Last Name
Email (An email address is required for each contact.)
Organization (Company/store name)
Phone
City
State (Abbreviation)
Postal Code
Groups (Groups or categories to which you would like the contact to be assigned. You may include multiple groups separated by commas, for example, “key accounts, specialty”) Below is a screenshot of a sample Excel file for comparison.

Click here to begin the process of importing contacts:

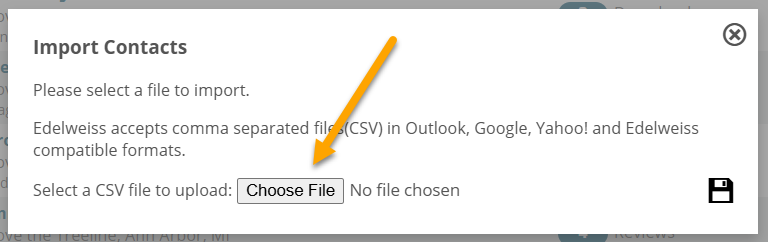
Next, you’ll be prompted to select a file.
If you receive an error message while trying to import, you’ve most likely either misnamed a column header or included one or more contacts without an email address. Double-check your spreadsheet for these errors and delete or correct as needed. Keep in mind that all contacts must have an email address!