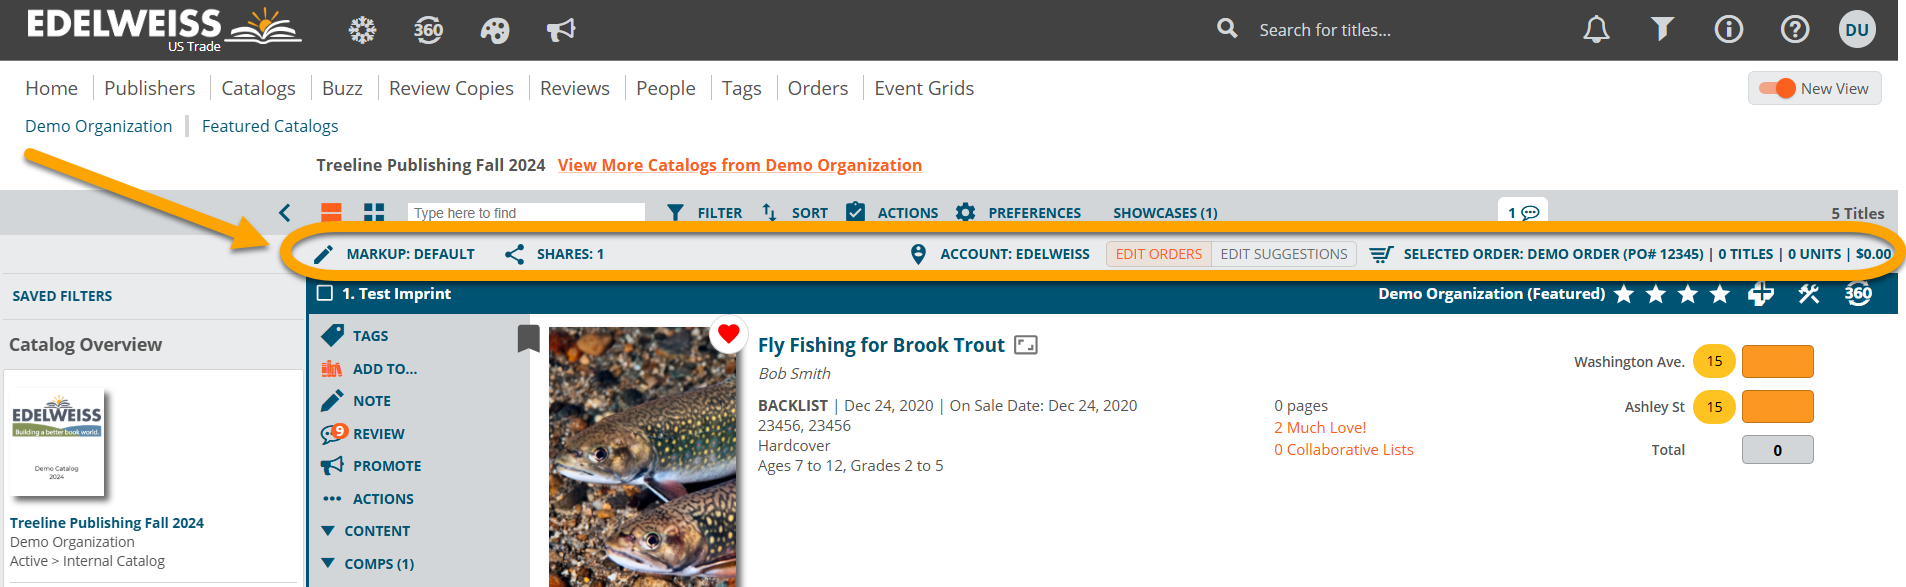
You can start a markup from within any of your catalogs or collections. At the top of a catalog or collection, you’ll see the markup toolbar, which shows your active Markup, any Shares of that markup, account, and order information for the selected account:
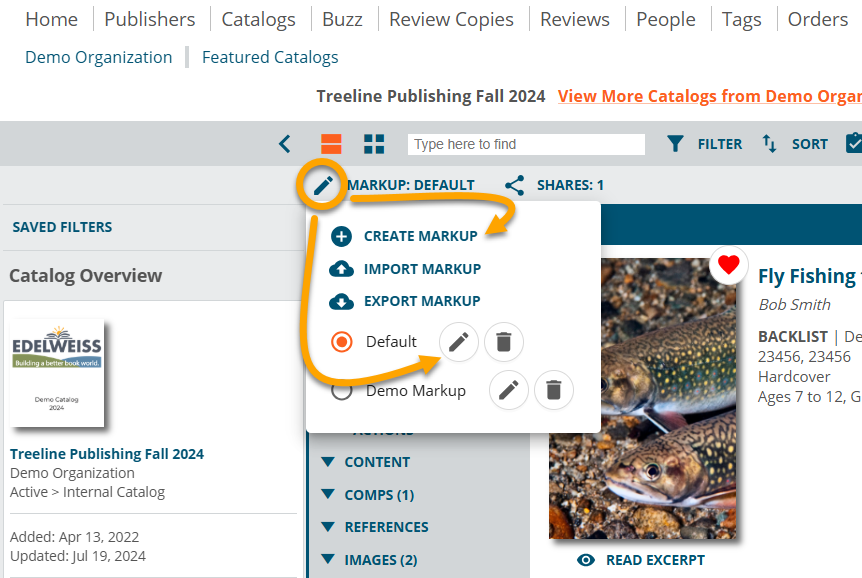
Your initial markup will be simply called “Default.” You can either proceed with creating your markup, or, if you’d like to rename it, select the pencil icon to change the name from Default, or simply select Create Markup to start a whole new one:
Note: Your accounts won’t see the name of your markup—this is simply for your own reference. Some reps create multiple markups, generally with just a few differences between the various versions. For example, one rep with a large territory might have a few markups in which all the markup notes stay the same, but the Tags change. Their territory might cover the entire west coast, and a “Local Author” tag that is relevant in Seattle wouldn’t be as relevant in San Diego. So in the example above, this rep might have 3 markups: “Fall 2016 Northwest accounts,” “Fall 2016 Northern CA accounts,” and “Fall 2016 Southern CA accounts,” and they would share these markups with the relevant accounts in those regions. Many reps simply do one markup and share it with all their accounts. The method you choose to sell to your accounts is all up to you, of course!
When naming a markup, you’ll be in the Create Markup screen, which will allow you to name it for your reference, as well as provide a “Markup Overview.” The overview can be a convenient way to include a message for your accounts; anything from a breakdown of the discount schedule, alerts to co-op opportunities, or a simple “Hello, can’t wait to meet with you this season!”. The Markup Overview will be included in the email that is sent out when you share your markup with your accounts.
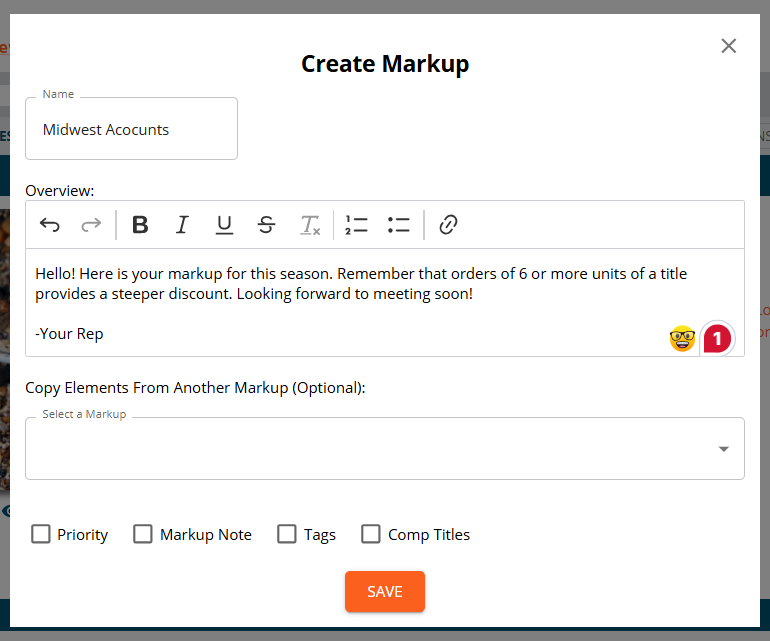
You will also have the opportunity to copy elements from an existing markup you’ve already created in the particular catalog you are working in, which is why creating multiple markups isn’t quite as difficult as you might think. Once you’ve finished the first markup, simply create a new one, and then select that completed markup and copy the elements you’d like to duplicate. You can then go in and change a few pieces of that new markup to be relevant to a new group of accounts.
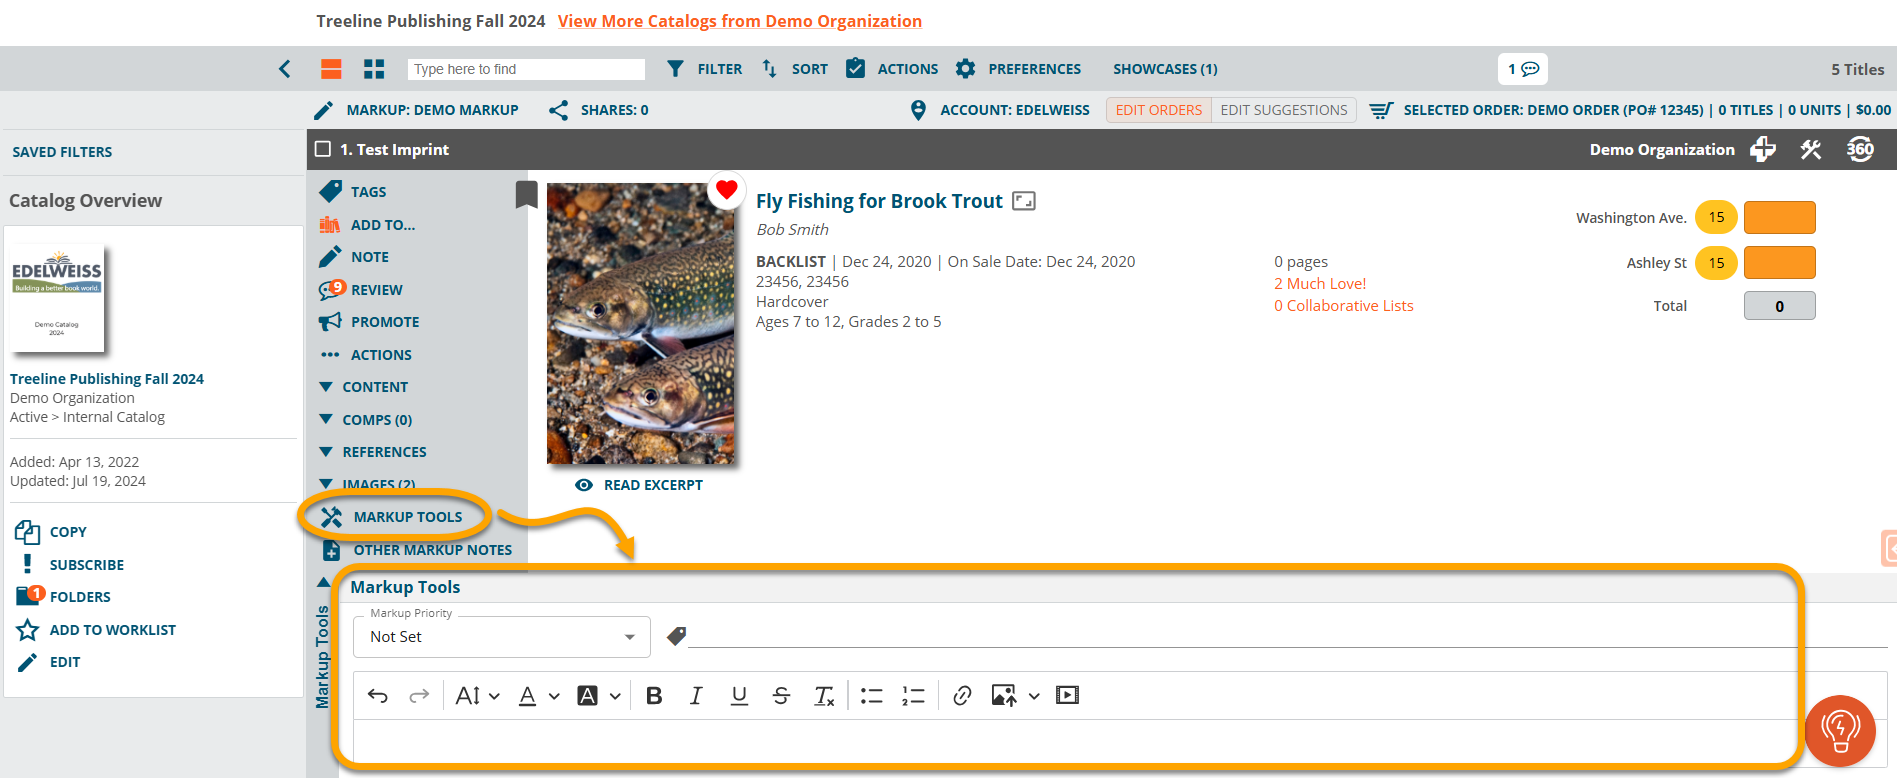
You’ll see this area on each title in your catalog, where you’ll be able to build your markups:
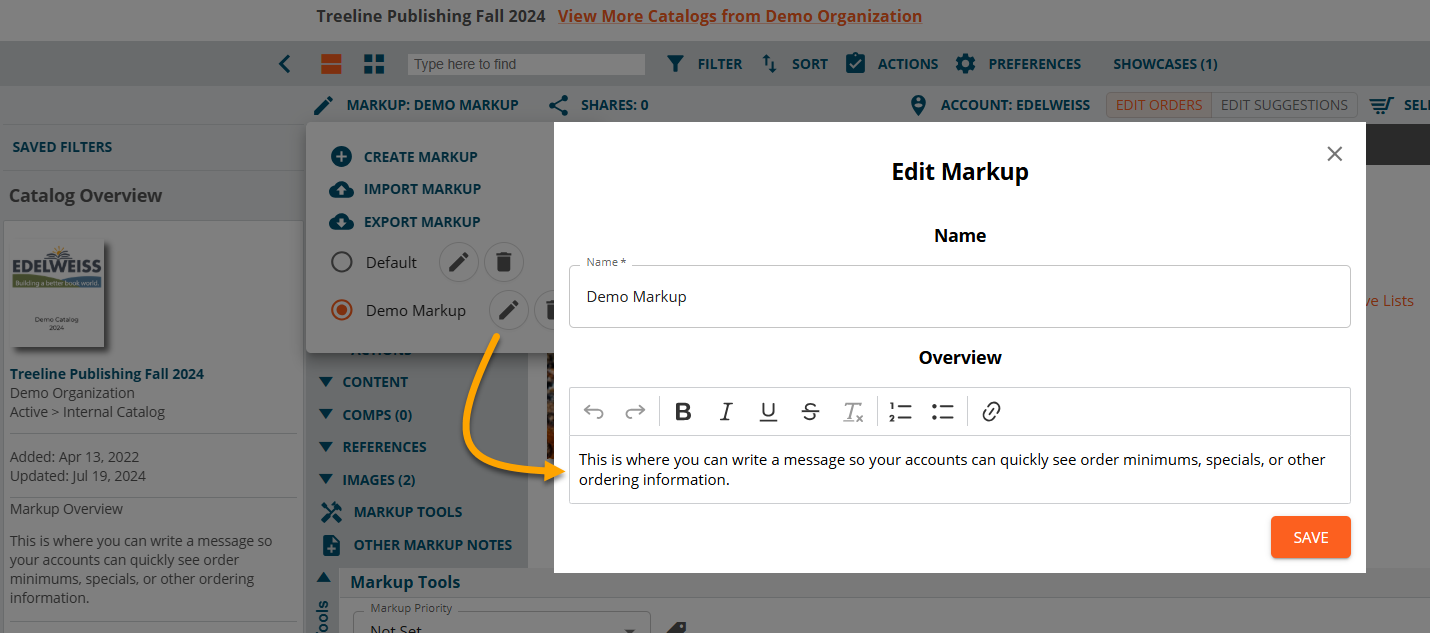
The Markup Overview can be found by you and your accounts in the area shown below when viewing a marked-up catalog:
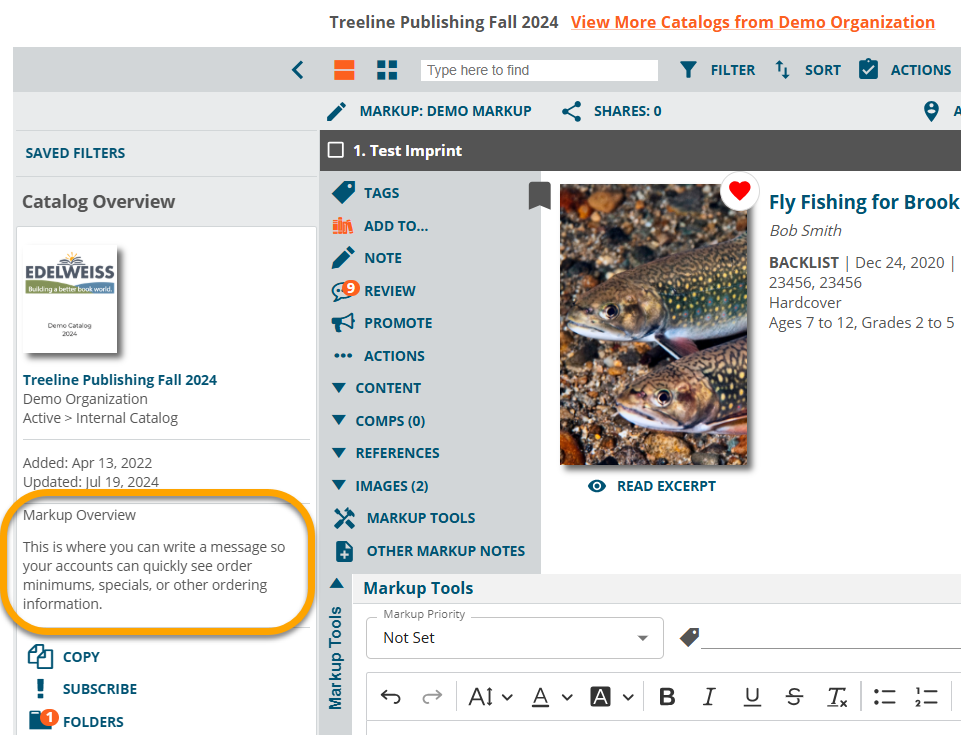
Just click the Edit icon from the Markup menu to edit this overview: