
In Edelweiss, Collections are essentially custom catalogs. The rest of Edelweiss is very much based on either publisher-generated catalogs or filtered lists of titles. A Collection, though, is a catalog that you can create and share with your colleagues, but that you can also order from just like a publisher catalog. You can create a Collection of titles, too, to print, email, or share with colleagues or even with a customer. Users quite often create Collections of titles that they share with schools in preparation for book fairs and more.
Here’s how:
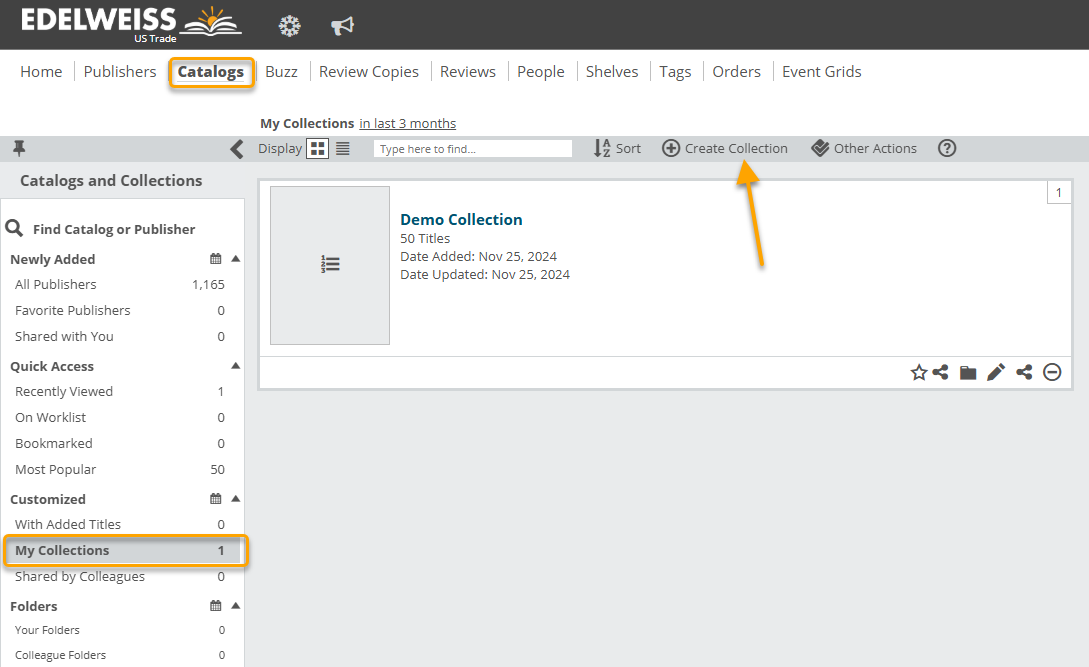
Create a Collection by clicking Create Collection in your Catalogs page:
Or by selecting the Add to Collection or Create New Collection buttons available via the Add to… dropdown on the Actions menu of any title listing: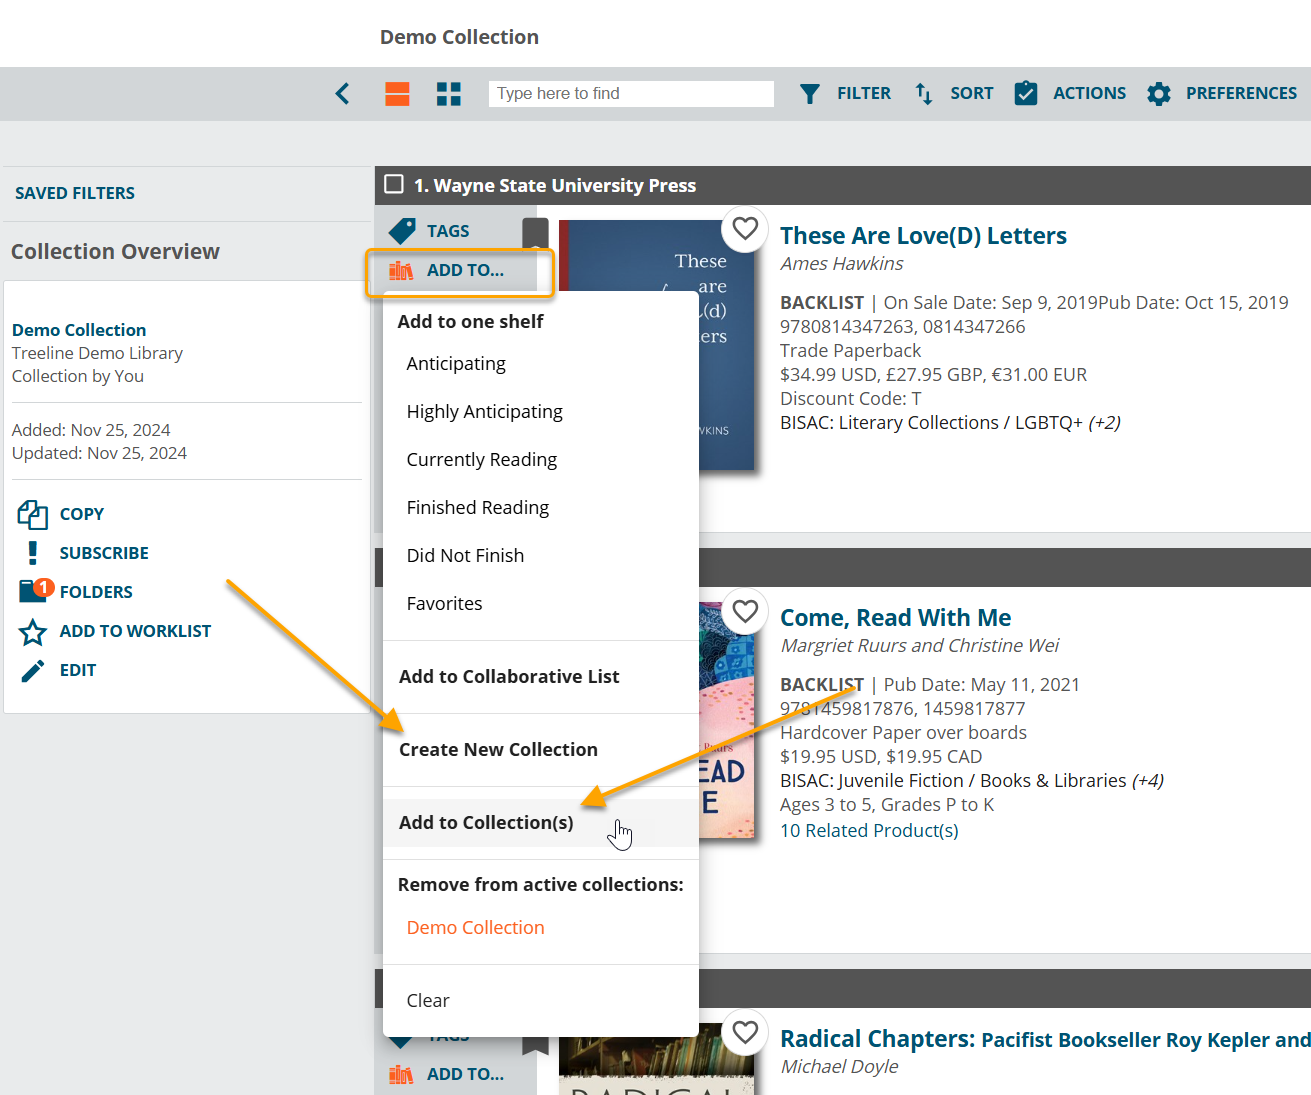
Using the second method, you can either add a title to an existing Collection or create a new one:
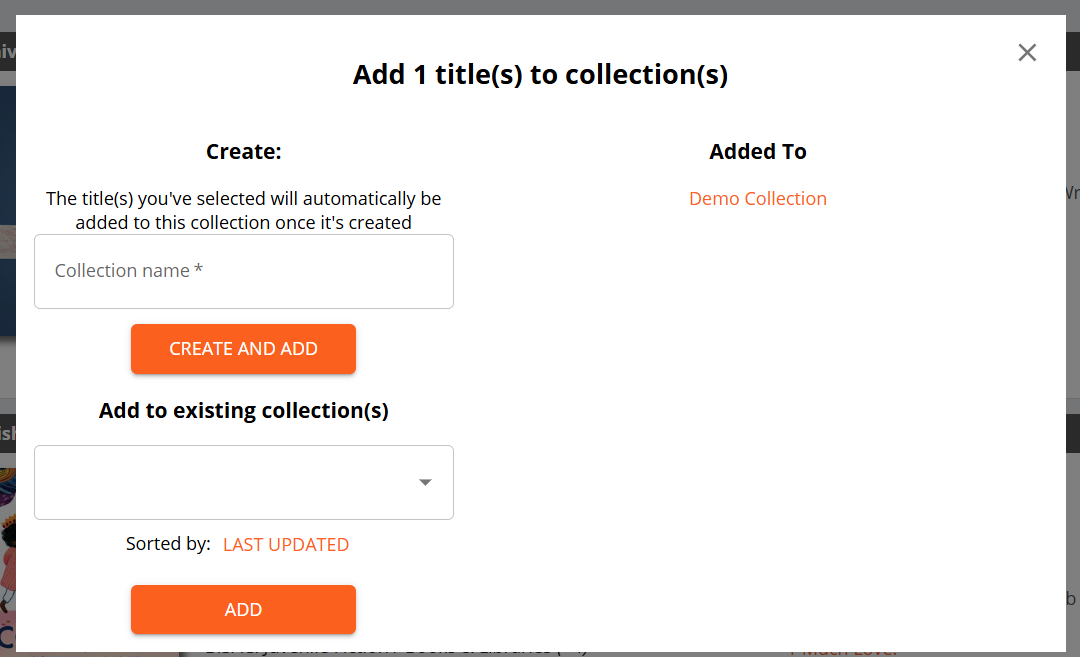
When creating a new Collection, you’ll see this screen, in which you can name your new Collection, and add a short description, if you like.

Note, you can add a cover image to your Collection if you want to spruce it up a bit.
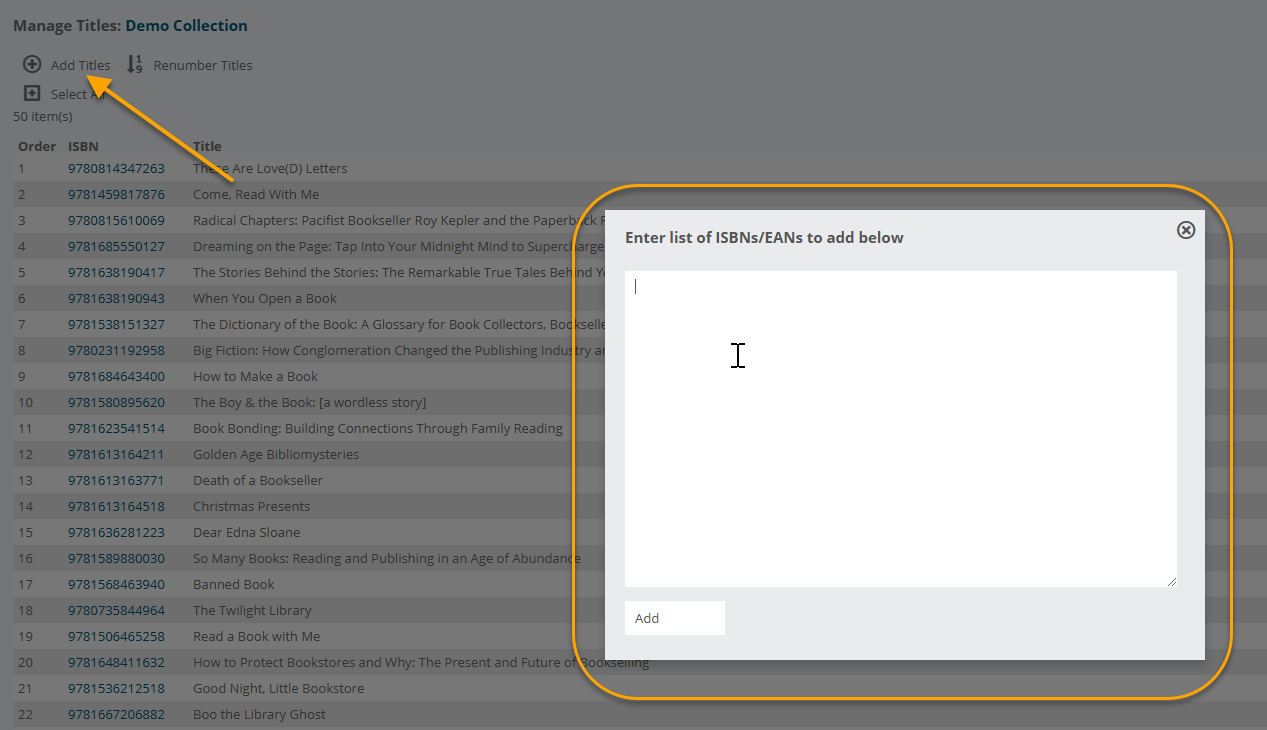
Either save this and close it out if you plan on browsing around Edelweiss to add titles as you go, or click the orange bubble at the bottom left of this screen to manage your titles, and to add a bunch of ISBN’s to your sparkly new collection. You’ll see a new window. Click Add Titles to be able to add titles by ISBN. The best part about this is that you can simply copy a column of ISBN’s from an Excel file and paste it right in here.
Once you have some titles, you can very easily control their order by using the available tools.

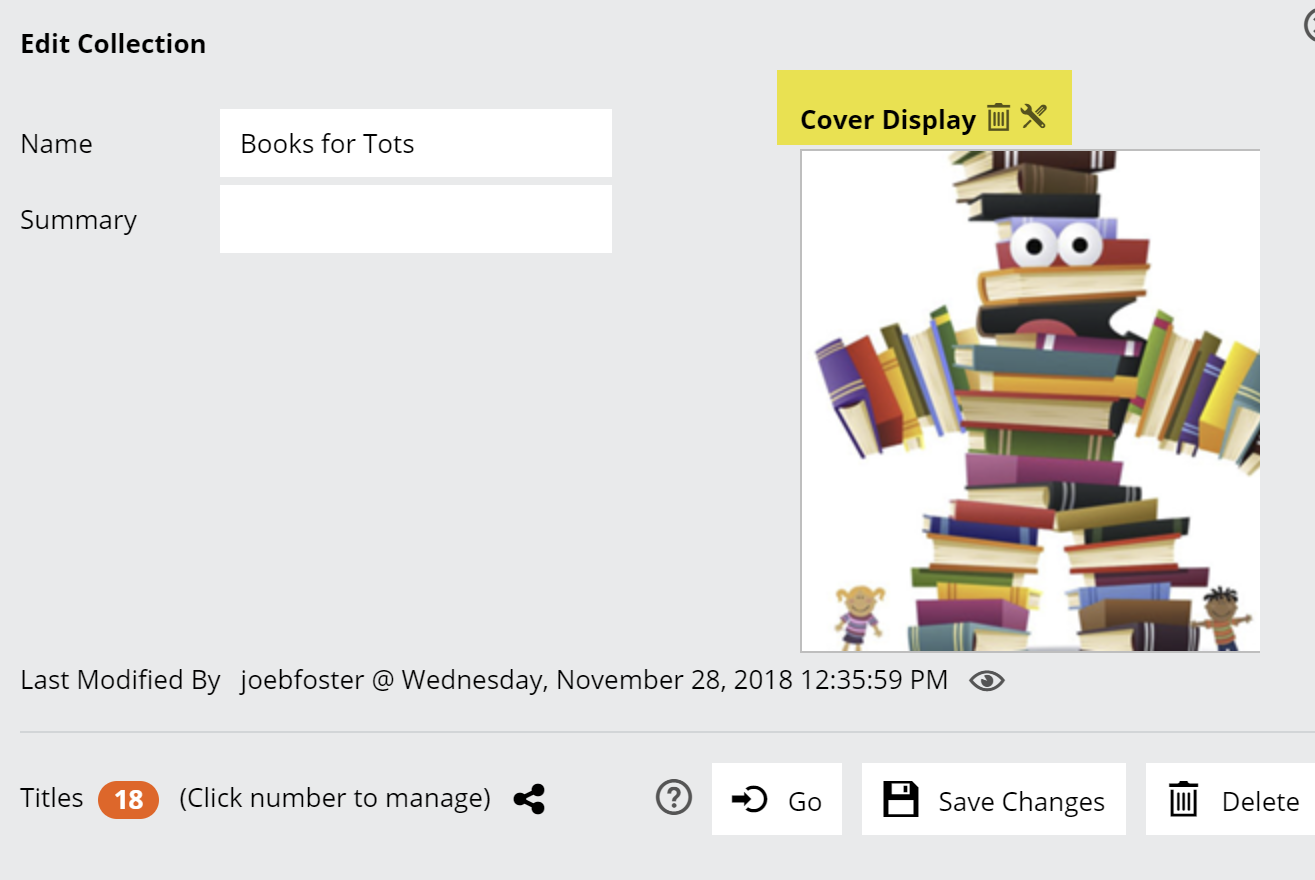
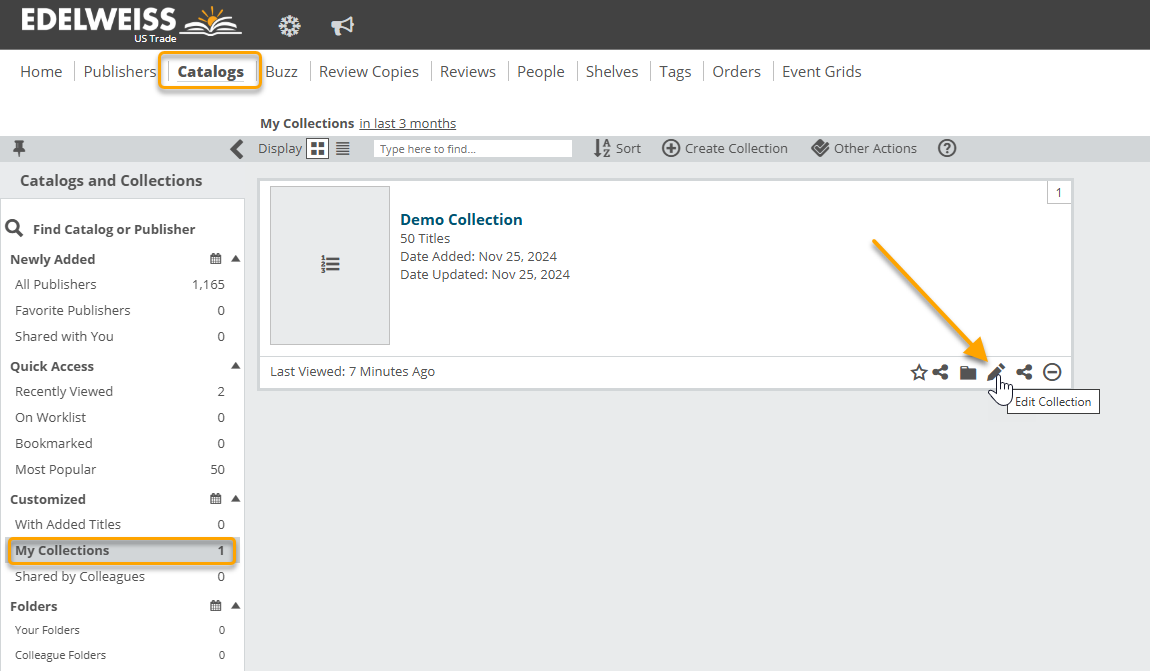
You can edit any existing Collection via the My Collections tab of the Catalogs page by selecting the pencil icon:
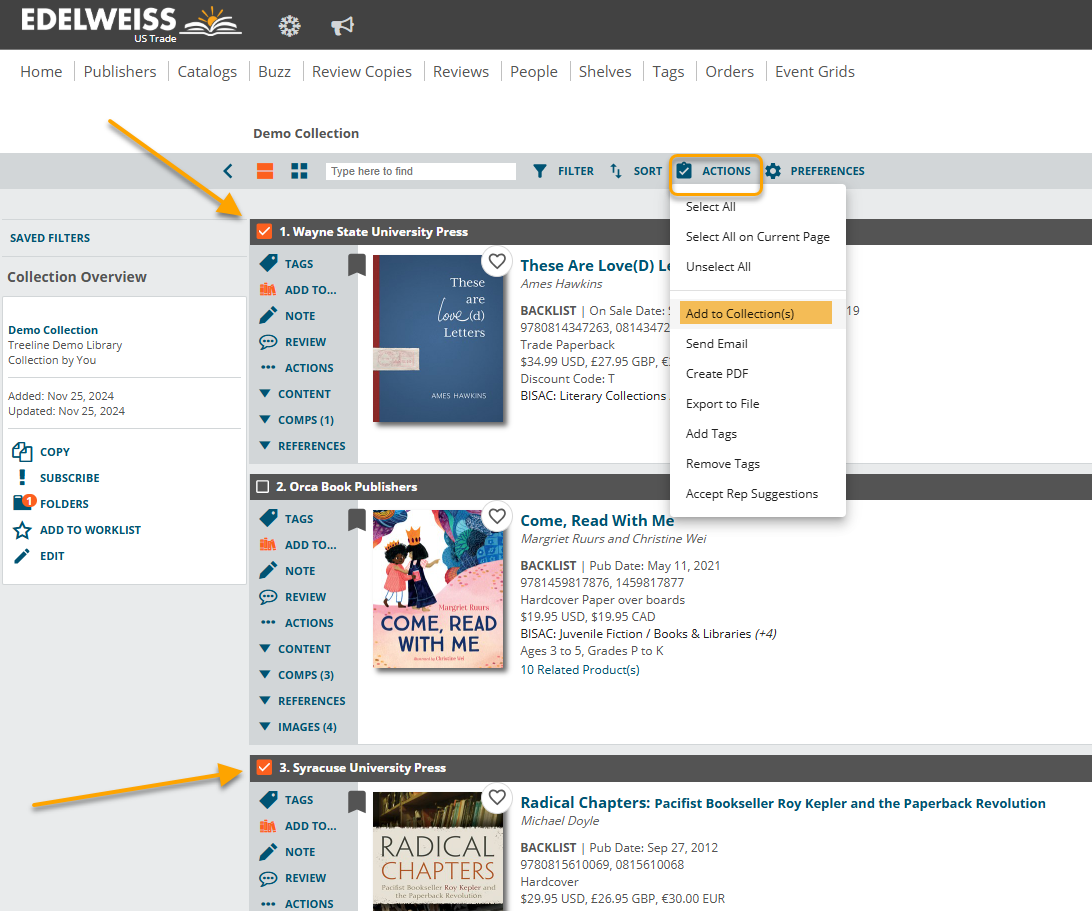
Browsing Edelweiss and want to add titles in bulk to a collection? Simply check the checkbox next to each title you’d like to add and select Add to Collections from the Actions menu at the top of the title list:
You can work with your Collections just as you would other catalogs. You can email, share or print your Collection from the Actions menu found at the top of the title list
Just select the relevant titles using the checkmarks, click in to the Actions menu and select from options to email, create a PDF, etc. 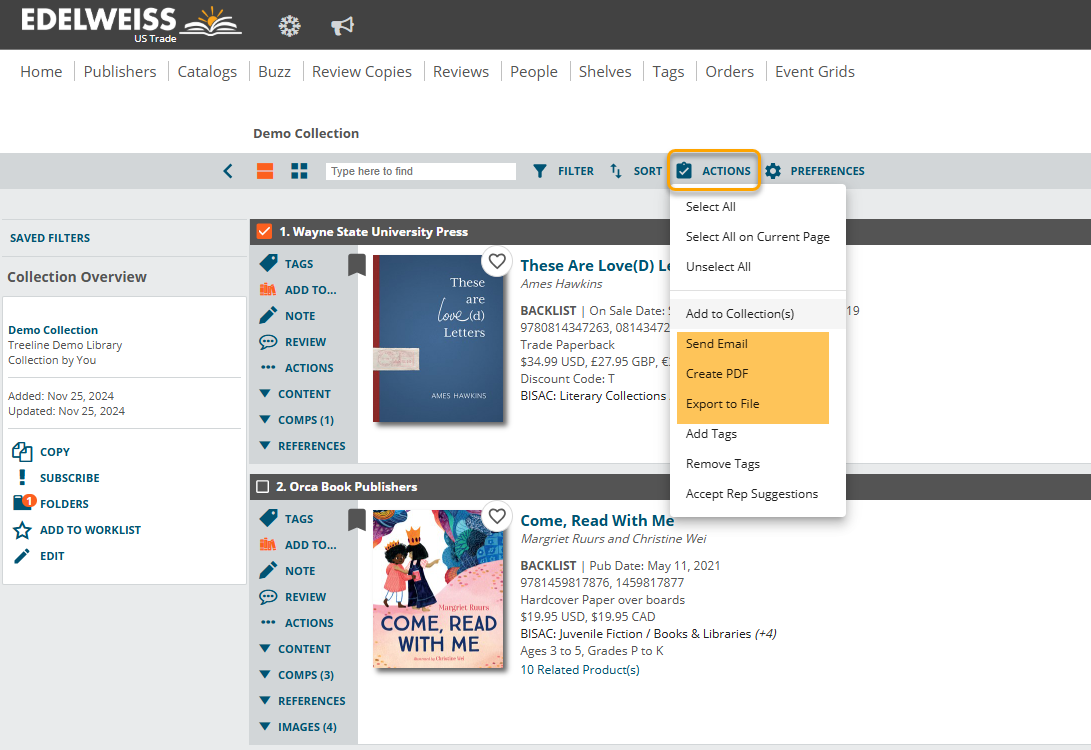
You can easily make your Collections visible to your coworkers by clicking this share icon:
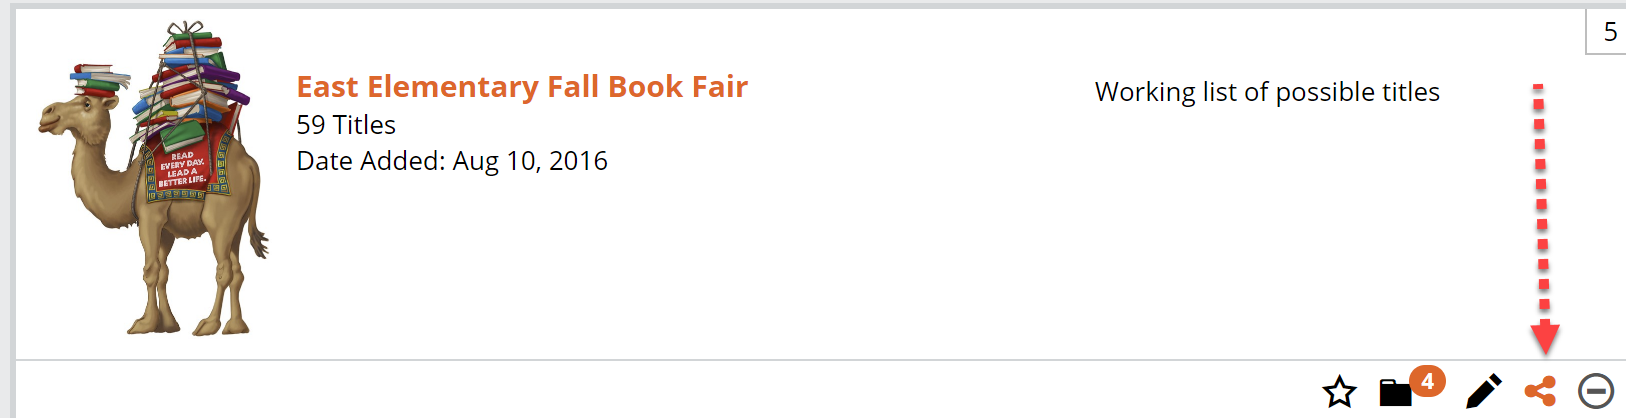
You’ll know you’ve shared your Collection with the rest of your organization if that Share icon is orange. Note that your colleagues will be able to view a Collection, but they won’t be able to edit it. If you’re looking to collaborate on a list of titles with your colleagues, your best bet is Tags.
See details here about sharing your Collections with your Communities.