Of all the ways to personalize and customize your Templates and Documents in Document Builder, Custom Data Elements provide limitless possibilities, as you can add any text of your choosing, and even apply it to a single title.
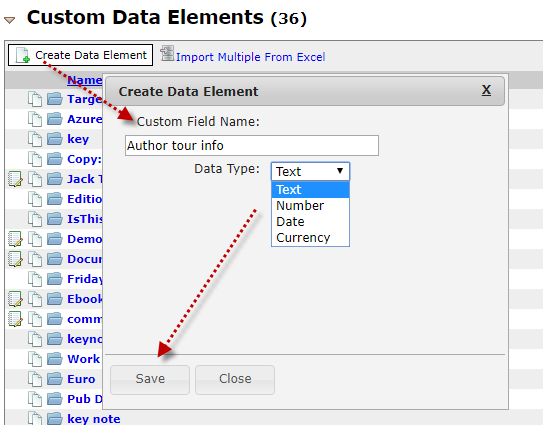
Begin by clicking on the “Create Data Element” button. You will then be asked for the name of the Custom Element you would like to create.
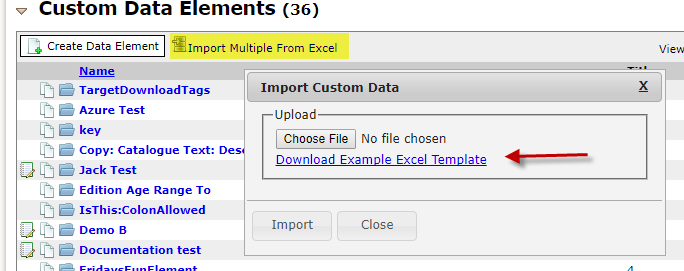
Then, click on the “Import Multiple from Excel” link at the top of the Custom Data Elements section.
This will generate a pop-up asking you to choose a file to import.
The first column of the Excel file you upload should have ISBN in the first row, and include the ISBN’s of the titles you are including data for below it. The top row should be the names of the Custom Elements you would like to populate, and each row should include the information you would like to add for each title.
You will need to make sure that the column titles match the Custom Elements that you have already created, and that the ISBN’s are set up as numbers (not text) so they aren’t changed to scientific notation in the Excel file.
If you add an element and one of your titles does not have data for that element, the space will simply appear blank.
These custom elements can be edited by re-uploading the Excel file, or by adding a new one.
There is also an example Excel file that you can download if you would like to add information to multiple Custom Elements for a single title. You will see this link when you click on the “Import Multiple From Excel” link.


