
If you are a sales rep, contacts are a necessity in Edelweiss. This is how you’ll communicate with your customers! The only way to share your catalogs, collections, orders, or receive orders back from customers is to add your accounts as contacts.
Create an Individual Contact and Add Accounts
Already have a list of booksellers or librarians you sell to, or know some who may be interested in buying your books? Great! You can load them into your Contacts, regardless of whether they have an Edelweiss account.
Here’s how:
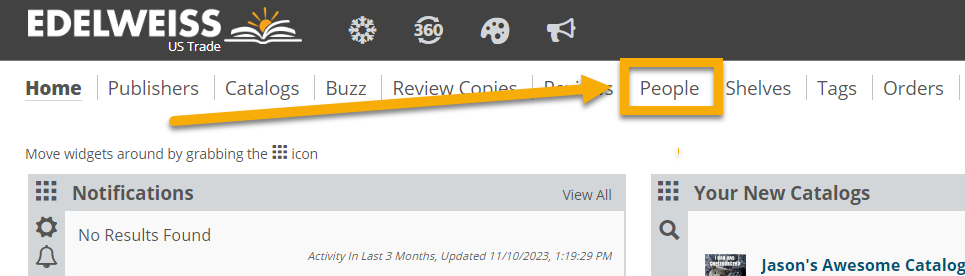
- Find the People tab at the top of your Edelweiss homepage.
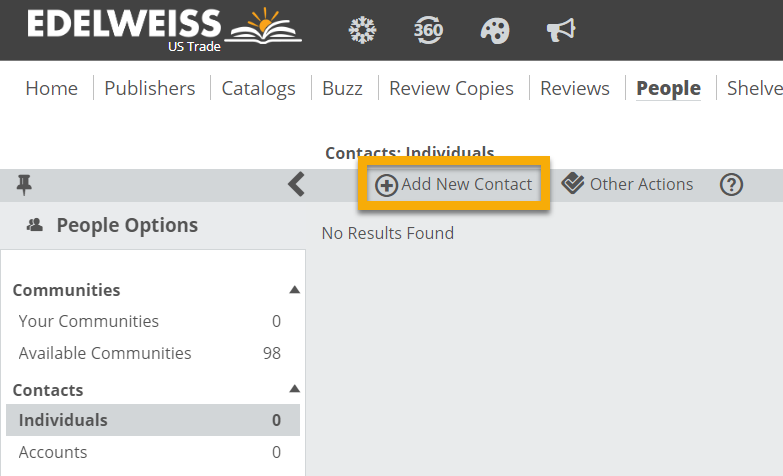
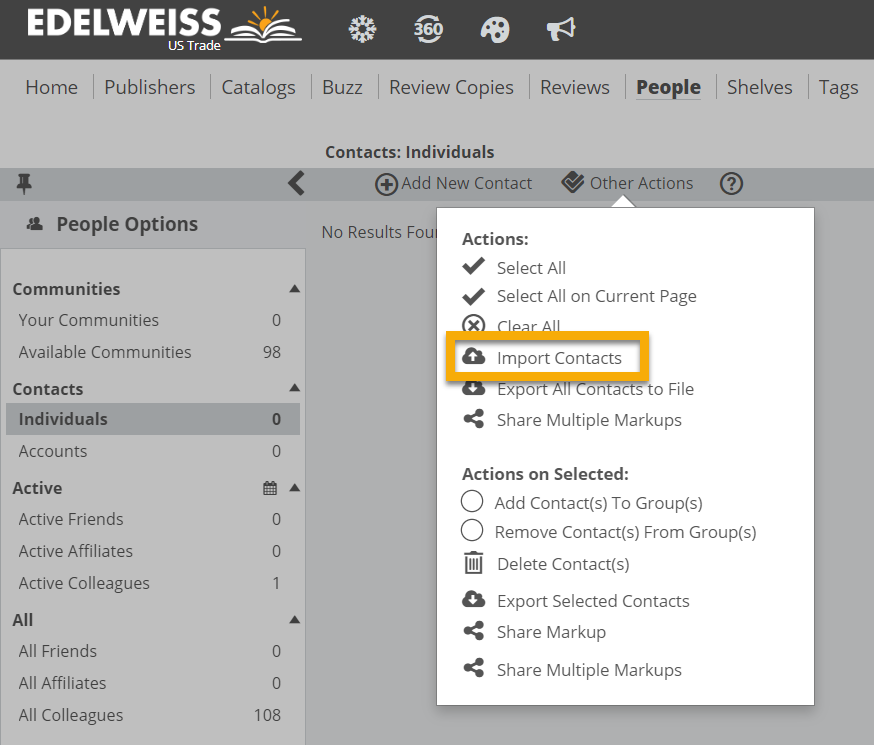
- Select Add New Contact or import a list of contacts via spreadsheet by selecting Import Contacts from the Other Actions menu.

- If a contact you add has an Edelweiss account, you will see the + sign next to their name. (Note: If the person does use Edelweiss, it is important to use their Edelweiss email so everything syncs properly. If the person does not have an account, you can still add them, but they will receive a link to any markups you share rather than being notified directly in Edelweiss.)
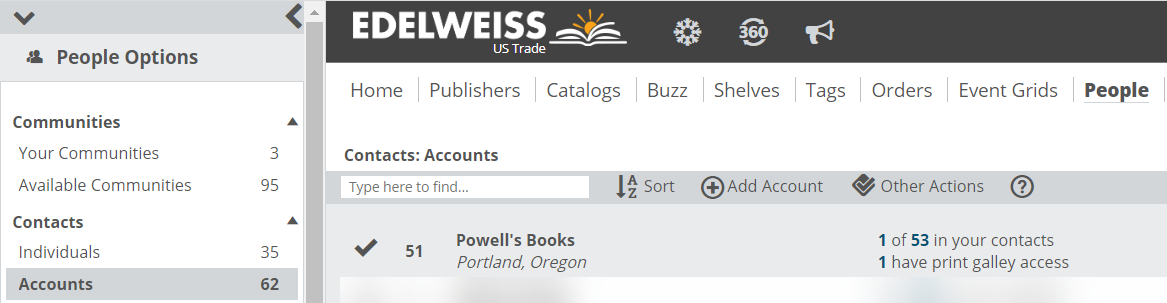
- If a contact is part of a larger organization, like a store or a library, that “account” will appear on your Accounts page:
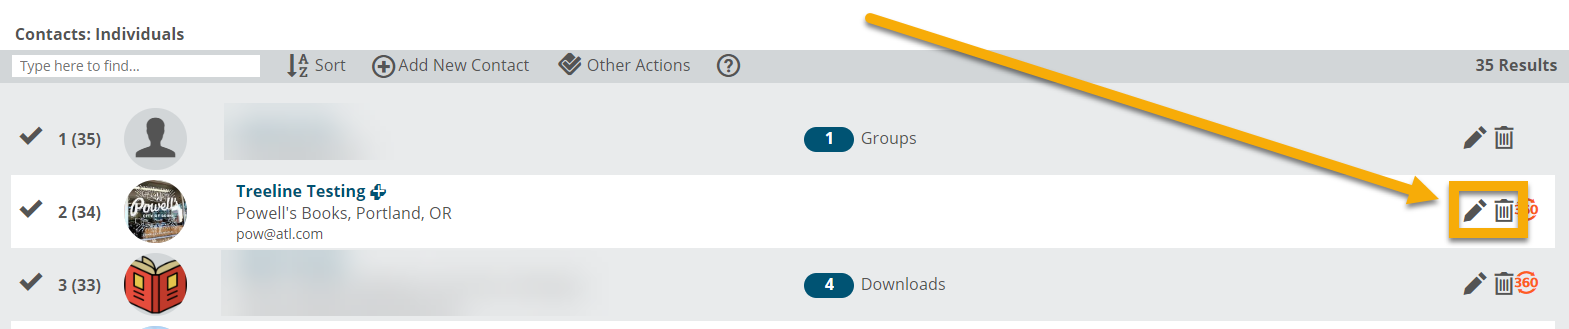
- You can always edit a contact by clicking their name or on the pencil/edit icon. To delete an individual or an account from your contacts, click the trash icon.

Groups
Creating Contact Groups is an efficient and simple way to share your markups with a larger crowd (for example: create a “Nonfiction Buyers” group). Rather than sharing a markup with many individuals who are non-fiction buyers, simply share with the group… and everyone within it will receive the same markup!
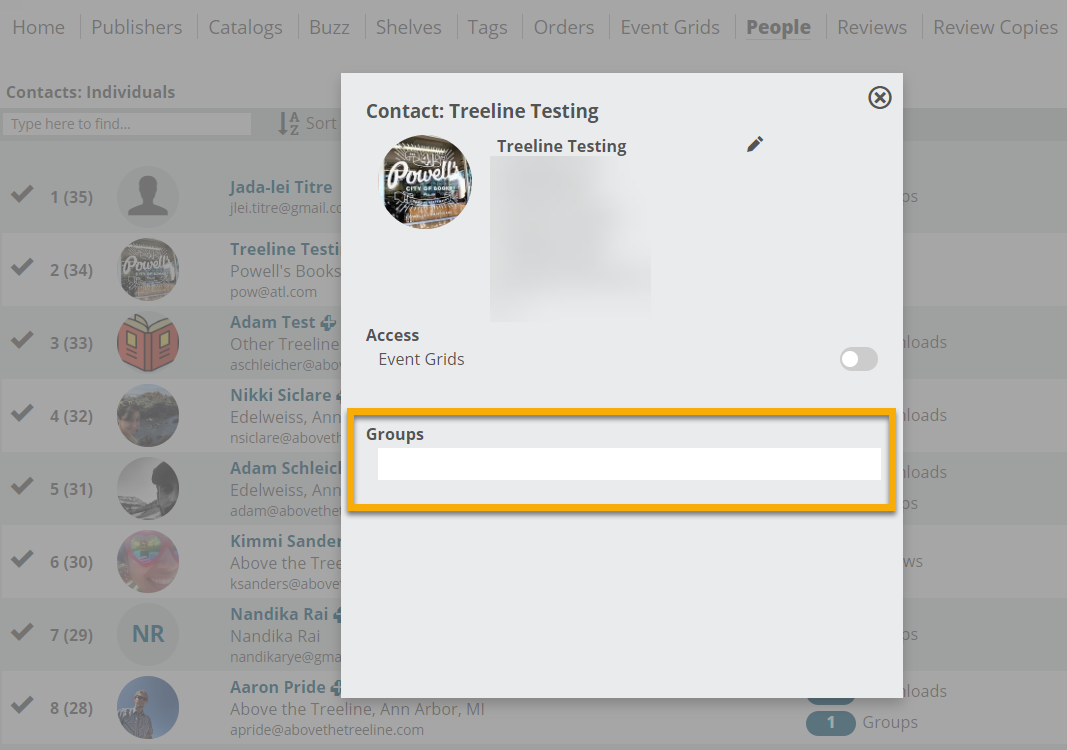
First, you will need to create relevant groups. To start, click on one of your contacts. This will give you the option to start typing a group name. If this is a group you’ve created before, the words will auto-complete.
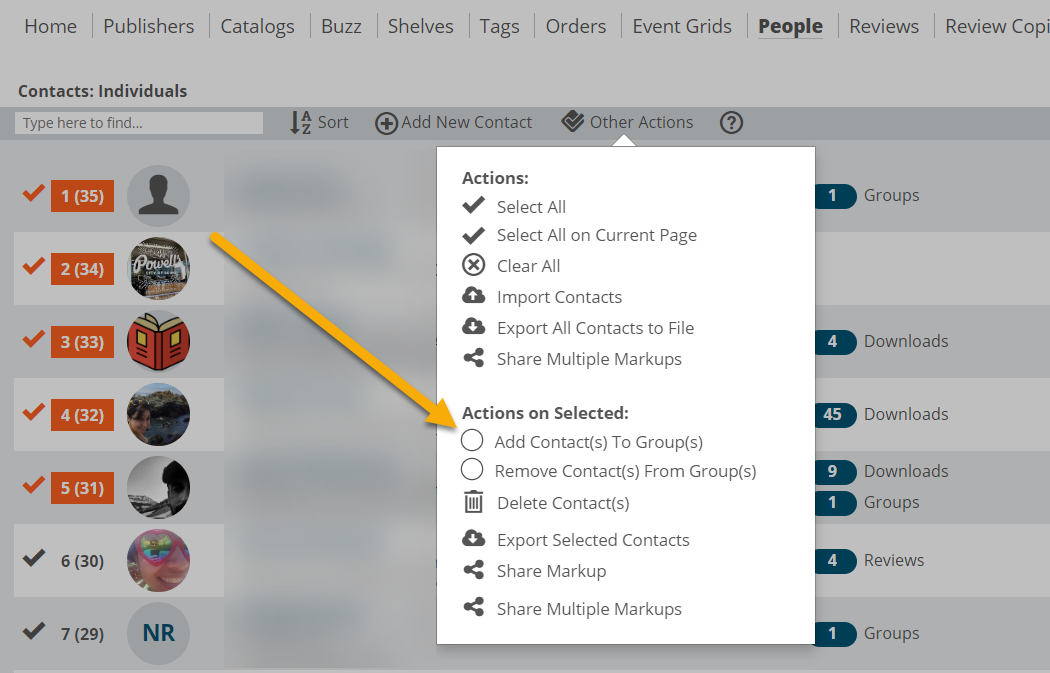
Another option is to use the Other Actions menu to add several people to a group at the same time. To do this:
- Open your People page
- Make sure Individuals is selected
- Click the check marks next to the names you want to add to your group
- Select Other Actions
- Choose Add Contacts to Groups
Additional Resources
You can also write to us at support@abovethetreeline.com. We’re happy to help!