Changing your Edelweiss+ Color Scheme
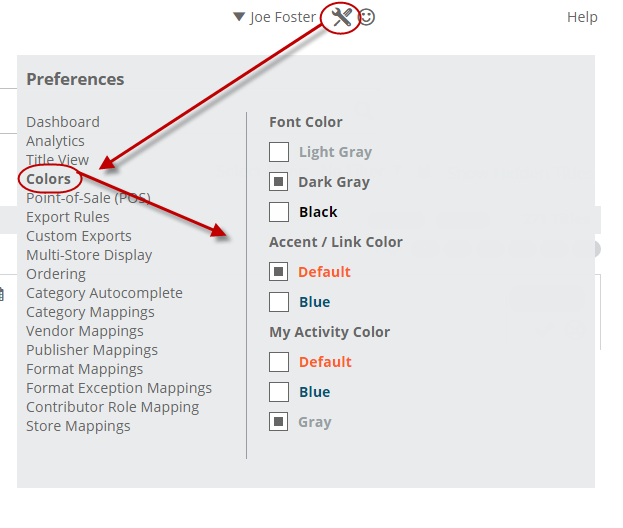
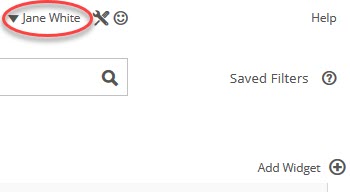
Not wild about all the orange on your Edelweiss+ pages? You can change it to blue if you like. Click on the tools icon next to your name. Then click on Colors and tick the boxes for the colors you prefer:
Searching
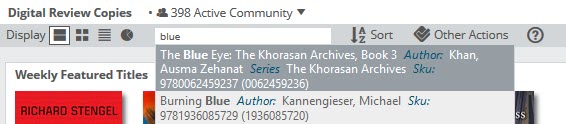
You know how to search using the search bar at the top but did you know that there is a second search bar? If you are in a catalog, a title list, an order or a collection, you will see a Type here to find box. If you enter your search term, it will start automatching. You can jump right to that title. This search box will only work in the list that you are viewing.
Making Notes
The Notes option is where you can attach your own notes to a title. This gives you an area to write something specific about a title and in greater detail than a tag. By default, your colleagues will be able to see these notes.
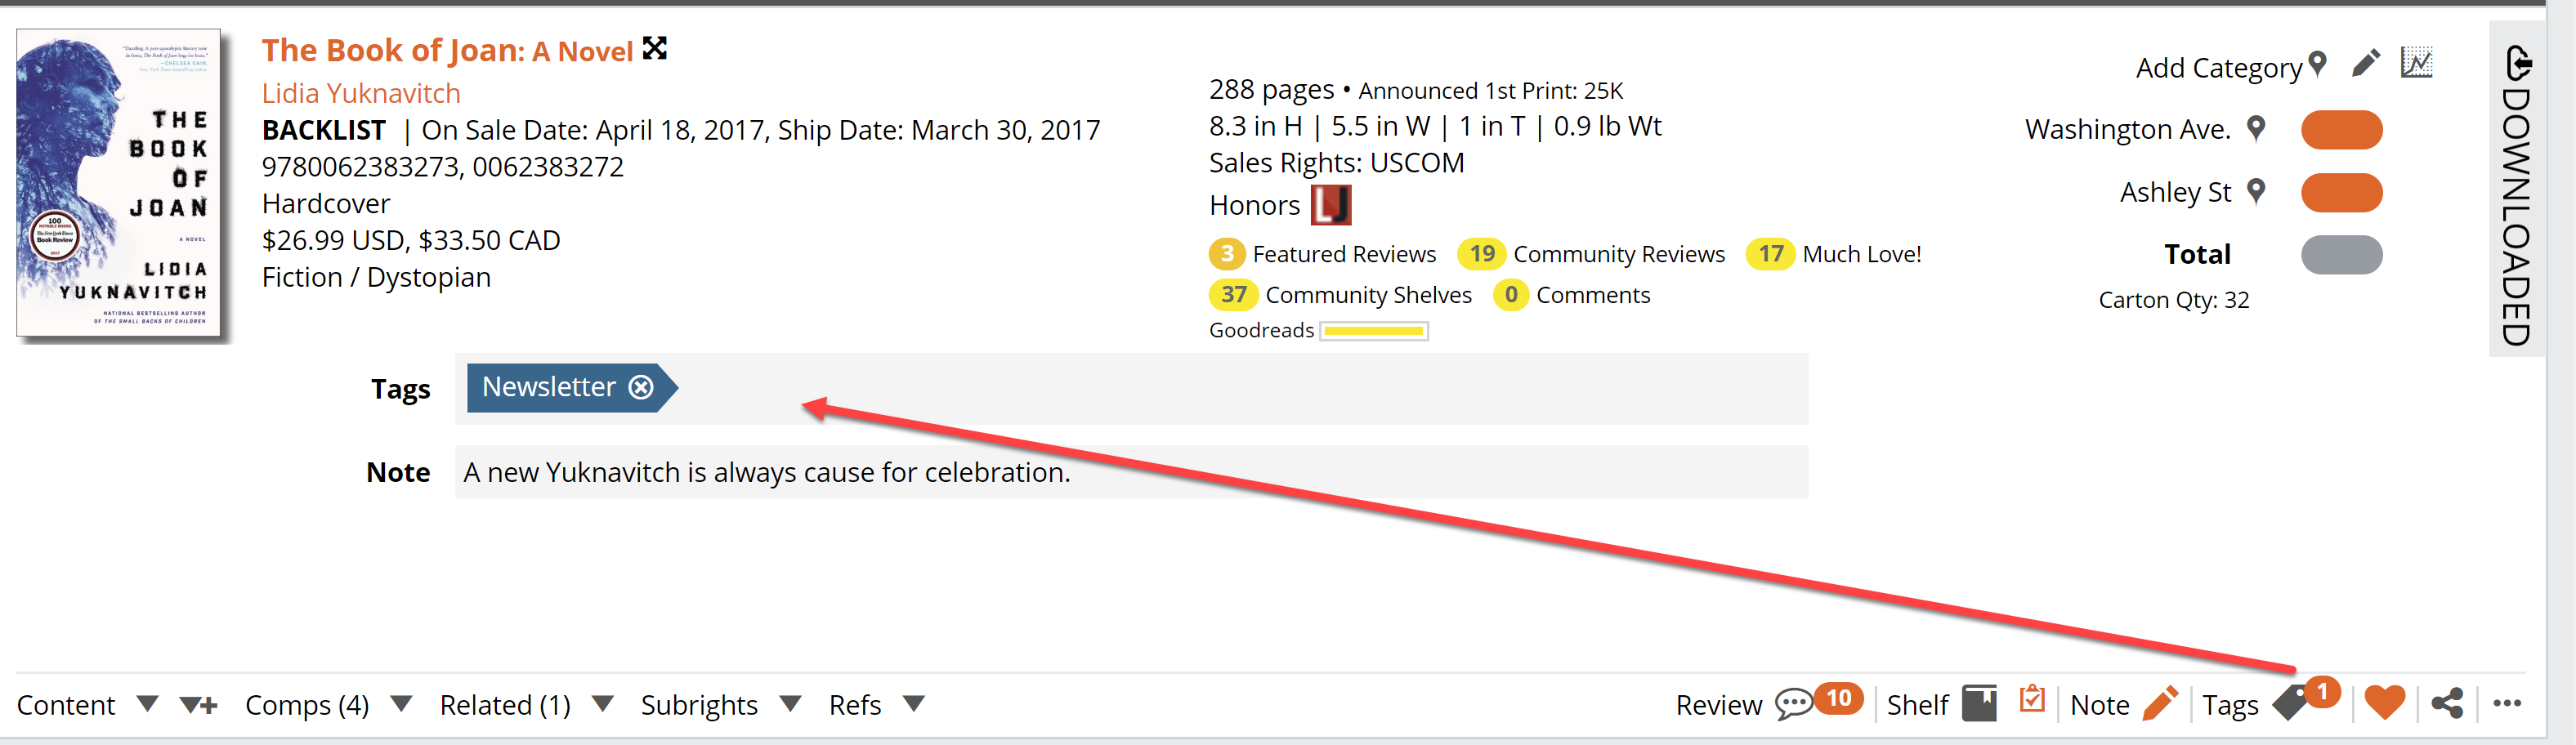
When looking at a particular title, click on the Note pencil icon, type your message in the box, and save it.

Keep in mind, notes are not searchable, so you may want to use a combination of Notes and Tags to track these. Using a general tag alerting you or other staff members that a more detailed notes exists can be helpful.
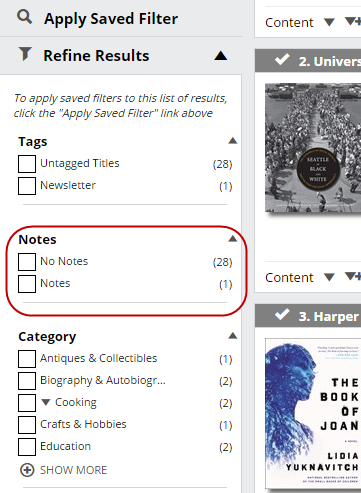
You can also filter any title list by Notes. So, if a coworker has left a note on some titles in a catalog, you can now “Refine” to see just those titles:
If you’re viewing a catalog or title list that includes Notes or Tags, whether your tags and notes or those created by your colleagues, you’ll see a little alert on the top right of the page:

Clicking on one of those indicators will show a pop-up with those titles and their Notes listed like so:

Clicking on a title there will take you right to that title in the list.
Tags
Tags are labels or key words that you or your staff can attach to titles for quick filtering and grouping purposes. They are usually short, one or two key words, and meant to be applied repeatedly.
Adding Tags
Within a catalog, you can tag any title by selecting the tag icon, and then entering the appropriate tag in the pop-up window. To create a tag, simply type the tag (whatever you like) and hit <Enter> on your keyboard.
In some instances, you may want to tag multiple titles all at once. To do this, select the titles you would like to tag or select all the relevant titles in a catalog or title list using the checkmarks just above the book cover, or click in to Other Actions and Select All:
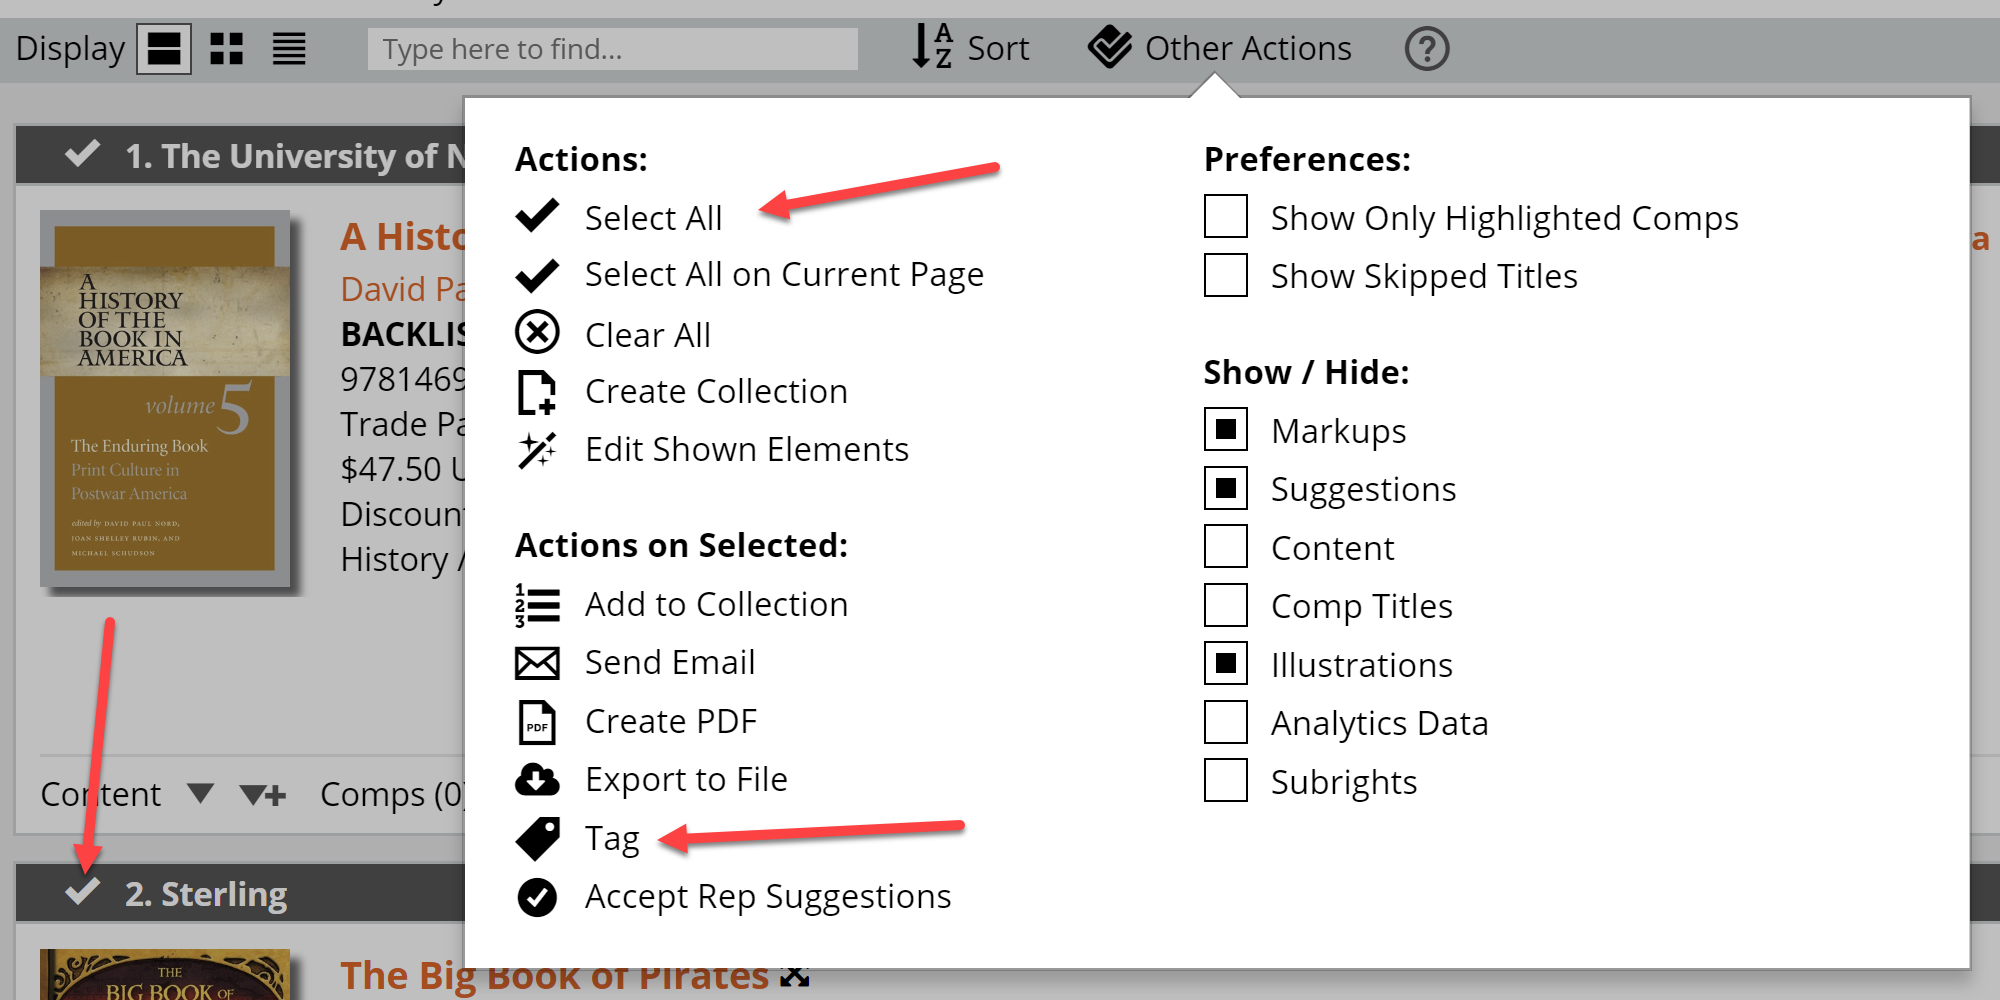
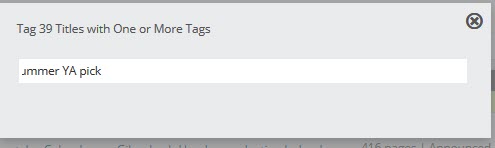
Then select the Tag option. You’ll see a window that lists the number of titles selected. Enter your tag or tags here.
Managing your Tags
You can manage all your tags in one place. This includes deleting, merging, or renaming tags. Select the edit icon in the upper left corner of the tags page to bring up the Manage Your Tags tool.

Here you can filter by your own tags, or see your entire Organization’s, if you’re a User Administrator. You have the ability to Delete, Merge, or Rename tags. The Merge tool can come in handy if you have, for example, a colleague who has trouble spelling… simply merge the misspelled tags in to your brilliantly correctly spelled tag.

Filtering for Tags!
In any catalog or title list, you can filter (refine) for those titles that have Tags. You’ll see only those Tags that are contained within the list of titles you’re viewing.

If you’re viewing a catalog or title list that includes Notes or Tags, whether your own tags and notes or those created by your colleagues, you’ll see a little alert on the top right of the page:

Clicking on one of those indicators will show a pop-up with those titles and their Tags listed
Managing Your Library’s Edelweiss+ Users
If you are the User Administrator for your library, you can add your staff as Edelweiss users to your organization. There are a lot of benefits in having your staff on Edelweiss such as discovering titles, writing reviews, tagging titles, writing notes, sharing collections etc. Having Selectors know when their staff is excited about a book can only help
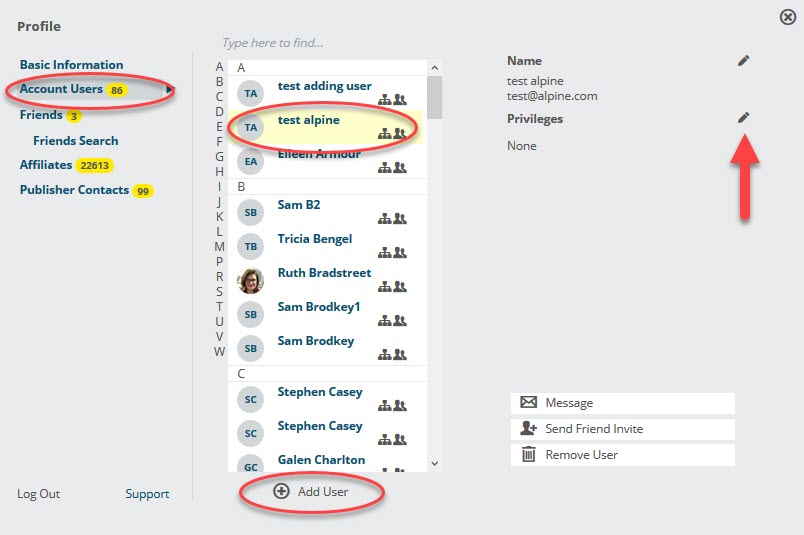
Adding staff members is easy for the User Admin to do. Simply click on your name to manage your profile
The next screen will show your personal profile along with a link to Account Users. Click on the Account User link which will bring up a list of the users at your library. To see their privileges, click on their name. To edit their privileges or their personal information (name, title, phone number), click on the small pencil icon. To add a User, click on the Add User link:
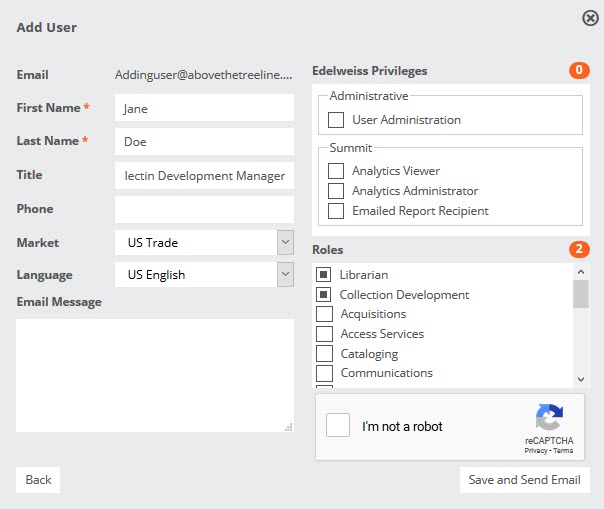
Here is a summary of the various User Privileges you can bestow:

A brief explanation of these privileges:
User Administration: This allows a user to update users’ privileges, including adding/removing users.
Analytics Viewer: Provides access to the Analytics tools in Edelweiss+. This option is only available to library systems that subscribe to Summit Analytics. More information here.
Analytics Administrator: Provides enhanced access to Analytics tools. (For managers and/or directors)
Emailed Report Recipient: This privilege adds a user to the State of the Collection Report mailing list, and provides login access to view those reports. Details about the State of the Collection Report here.
When adding users, you just need to enter their email address and click Next. Edelweiss will check to make sure that user does not already have an account. If they do, please contact support@abovethetreeline.com and we can transfer the account to your library. If they don’t already have an account, a short form will be displayed for you to fill out. Fill in all of the sections. You can include a email message to the user if you like. Confirm that you are not a robot and click Save and Send Email.
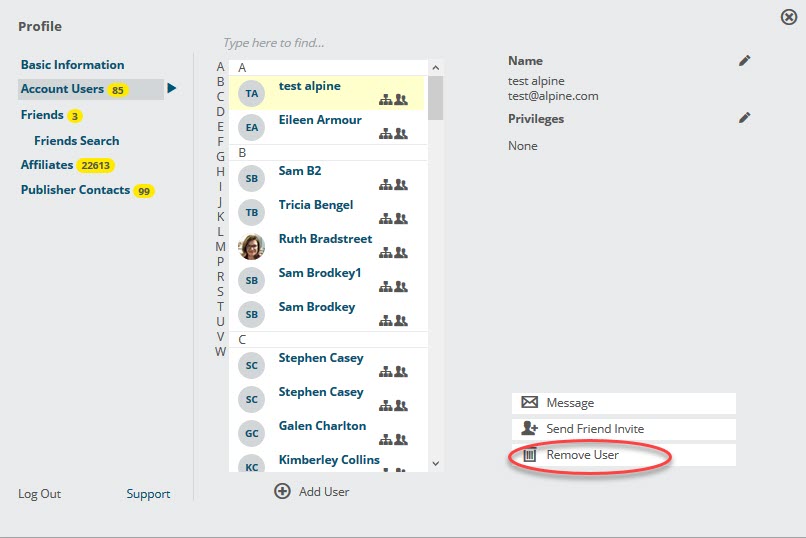
You can also remove a user. Just click on the persons name and click on Remove User. You can also send friend invites or email messages.
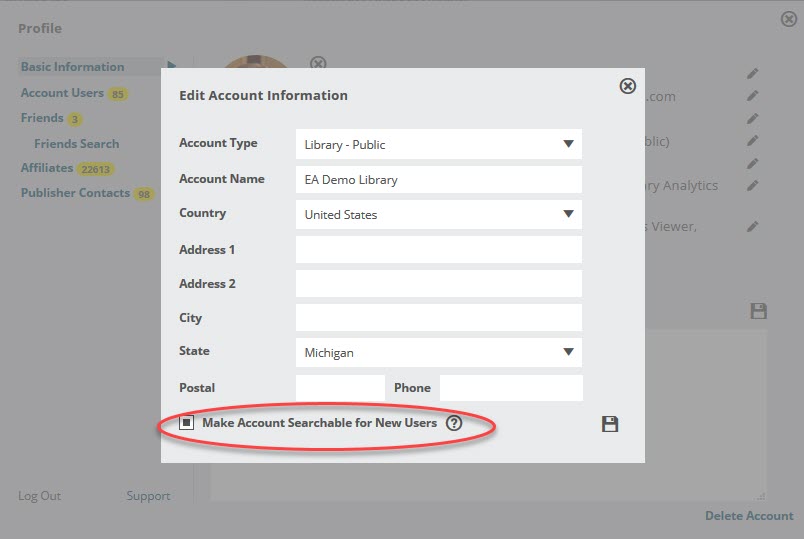
If you don’t want to add all of the users yourself, you can have each individual register on their own. When they register, they can select your library or library system as long as your account is searchable to new users. To make your account searchable, just click on Edit Account and tick the box for Make Account Searchable for New Users. When a new user selects to be connected to your library, you will get an email which you can accept or decline as needed.