
To import an order and or inventory items from Edelweiss into Booklog using the instructions below, you will need version 20 or higher of Booklog. The steps for loading files into Booklog version 9 through version 19 are similar, but do not allow you to assign items to a User Defined List.
Please contact Booklog regarding upgrading to a newer version if necessary.
To get started with an order, refer to the previous help articles on ordering, and preparing your order for export.
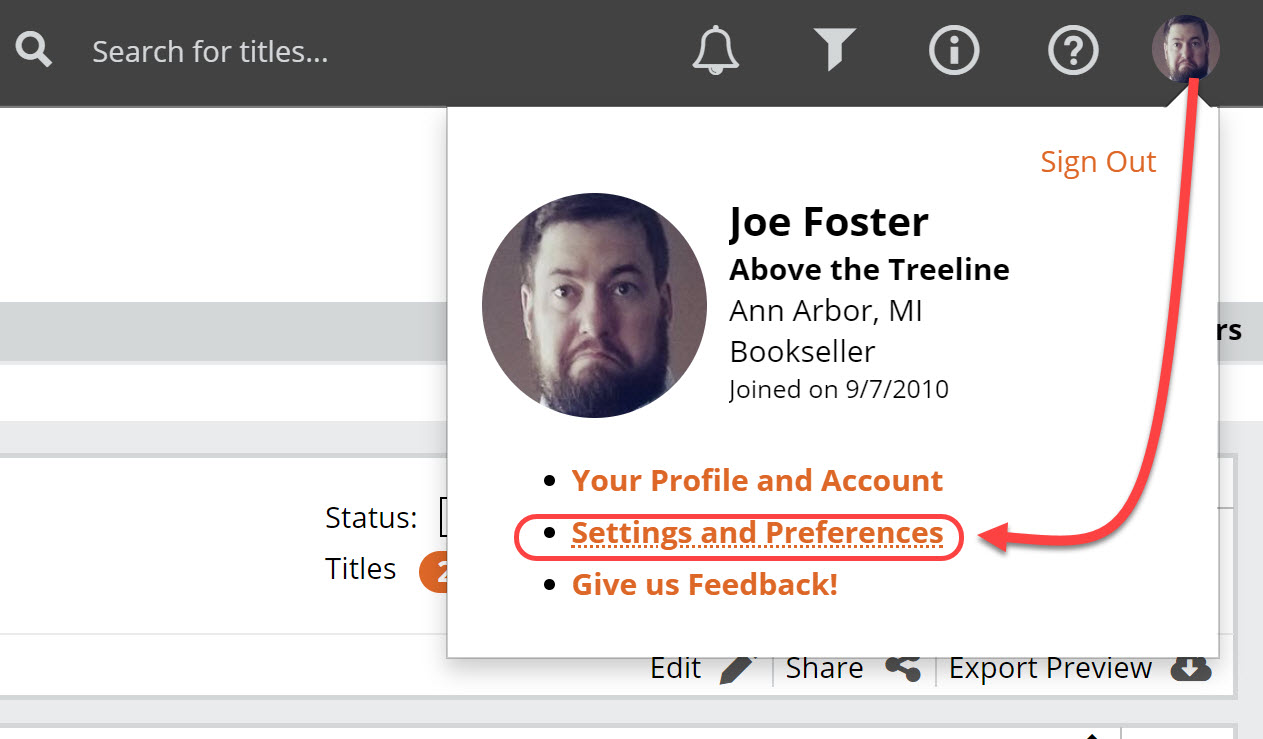
Note: Before starting, you may want to enable an extra option that allows buyers to directly change certain fields as you review a catalog. This option is not enabled by default but should be useful to most buyers using Booklog. Go to the Preferences Tool and select the Point-of-Sale (POS) option.
First make sure you have Booklog selected as your default POS system, and then also check the box to “Enable POS-specific editing in catalogs.”

This will add an Edit Booklog Record icon, which you can click to update, for example, the wording on a title, a title-specific discount, or second category.

Note that changes you make here will flow through to your exported file for Booklog. However, you do not need to set the same commonly-used attributes like vendor or publisher title-by-title this way, unless there is a title that is unusual. Setting up the appropriate mapping for vendor, publisher, and format should take care of that en masse. For more on mapping and editing an order right before you export please see the other help articles on the topic, found in the Ordering section.
When finished with your order, go to your Orders page and click in to the Export Preview screen for the order you wish to export.

To view your order in the Standard View, which shows your order in a catalog format, so with all the title covers, catalog copy, bibliographic information, etc. just click on the order name. This can be a useful view when editing titles’ category codes, etc. While in that view, you can also enter your Export Preview screen here:

In that Export Preview screen, click Download to export your order:

Edit your order as needed. Details about doing so here.
Then click that Download button.
The following information has been provided by Booklog to help with importing your orders on that end. For questions about the process of importing orders in to Booklog , you’ll want to contact Booklog support.
Tips for Booklog Users
Category/ Section: For Booklog, it is important to include your store category or section code as you order so that the correct category will be assigned to the book in Booklog. There are ways in which Edelwiess can help you select a category quickly by suggesting them for you (see the help article about categories). If you don’t include categories, you will need to select a category for each item as you import the order into Booklog.
Department: Booklog fills in the department on new items that are imported through the Edelweiss import by using the default department for the category that is selected for that item at import. The default department can be set on maintenance | category. When you import – the category that is found on that screen will be used to fill in the department for those new items. You also should be able to change the departments for the items that have been imported already with the global inventory changes. Use the department selection and change it from NONE to something else.
Vendor: Note that you should map, or assign a valid vendor codes to items in your on the Export Preview screen so make sure the main vendor code is properly coded in Booklog.
Publisher: The publisher (imprint) field in Edelweiss is important in Booklog too. You can map publishers to make sure you have the right code going into Booklog, although it is faster to review the Export Preview screen before exporting, and look for any non-valid codes and change and map directly there by using the Edit feature. One important thing to note is that, at the request of some users that do not need imprint-level information, you can have if you do not map or set publishers, the mapped vendor code will apply instead.
However, some Booklog users do not need imprint-level information, so if you prefer, the vendor code can also be applied to the publisher field as a default. If you do leave any publisher field blank, instead of using the Edelweiss publisher/imprint name as the default, the system will apply your vendor code as a default.
Store notes, rep notes, store tags: Note that these will all be included in the export from Edelweiss and imported into Booklog. So you may want to annotate titles in Edelweiss with notes and tags to see in Booklog. They will wind up combined in the Memo field for the item in Booklog.
Second Category: We plan to add more options for adding a second category, but for now you can add a secondary section code by editing within the Export Preview screen. Some users also add the secondary category to the first with a slash (for example 111/222) as they order, and then transpose the second code from within the Export Preview screen.
Binding: The format or binding code is another where you should review the Export Preview screen, and change codes to the valid format codes you need in Booklog – or go through the Format mapping table and assign codes that you want.
Downloading and Exporting Your Order
When your order looks the way you want it to look in the Export Preview screen in Edelweiss, and you are ready to download your order, click on the Download button at the top of the export page. For Booklog, the ‘desktop’ option is correct, not FTP. This will save your order file to the computer you are working on, although not necessarily to the ‘desktop’ folder. Where the file downloads will depend on your browser and where it will save the file by default.
This will save a file to your computer that you will later import into your system. Make a note of the filename and the location for the file so that you can find it later.
Booklog Import Instructions
Edelweiss Import
The Above the Treeline Edelweiss Import allows you to import your Edelweiss titles and orders directly into the Booklog database. The import is found under Inventory | Import into Inventory | Above the Treeline Edelweiss.
Please note: Booklog version 20 or higher is required. Please contact Booklog regarding upgrading to a newer version if necessary.
- Go to Inventory | Import into Inventory | Above the Treeline Edelweiss.
- The Edelweiss Import window will open. The window starts out empty, as you must choose your import file.
- Click the Refresh List button to choose your import file.
- The Select Import File window will open.
- Navigate to the directory the import file is stored in. Select your file and click Open.
- The Edelweiss Import window will now be populated with the titles in the file you have selected. Note the QTY field – any line item with a quantity specified in the import window may be added to an existing or new draft purchase order when you execute the import.
The yellow highlight indicates a title is already present in your database.
Click the grey box and drag it to the right to split the window. Splitting the window allows you keep one side static and scroll the other – similar to freezing cells in a spreadsheet.
- Select options from the Cat and Cat2 fields to assign primary and secondary categories to the items.
- Click Import.
- The Import Options window will open.
- The top portion of the Import Options window contains fields that will be populated on the inventory detail record of the newly entered items. Select vendors from the Vendor 2 and Vendor 3 pull-down lists.
- The middle portion allows you to assign the items to a new or existing User Defined List. Choose None if you do not want to assign the items to a list. If you want the items on an existing list, choose Existing and choose a list name. If you want to make a new list for these items, choose New and enter the lists’ Code and Description.
- The bottom portion allows you to add the items to a new or existing purchase order. Choose None if you do not want to put the items on a purchase order. If you want the items on an existing draft purchase order, choose Existing and choose a purchasing order number from the pull-down list. If you want to make a new purchase order for these items, choose New. Select a Vendor from the pull-down list, and add an optional Reference.
- Once the desired values are specified, click OK. The program will then import the titles, add them to a selected User Defined List, or add them to a selected PO. . Once complete you will see a summary of the titles that were imported.
Format Details
If you need more detailed file format information, see below
These are the fields exported from Edelweiss into the Booklog format and their sequence. This file is formatted as a tab-delimited text file.
- ISBN
title
3. author
4. publisher code
5. vendor code
6. binding/format code
7. price
8. store category 1
9. store category 2
10. discount percentage
11. order quantity
12. pub date
13. Co-op indicator
14. rep note
15. buyer notes
16. tags
17. PO number