
Do you have an idea for a new Community for Edelweiss users with a common interest? You can create and manage your own Community! (Note: You might want to first search the existing Communities to ensure that one does not exist already that might be worth joining.)
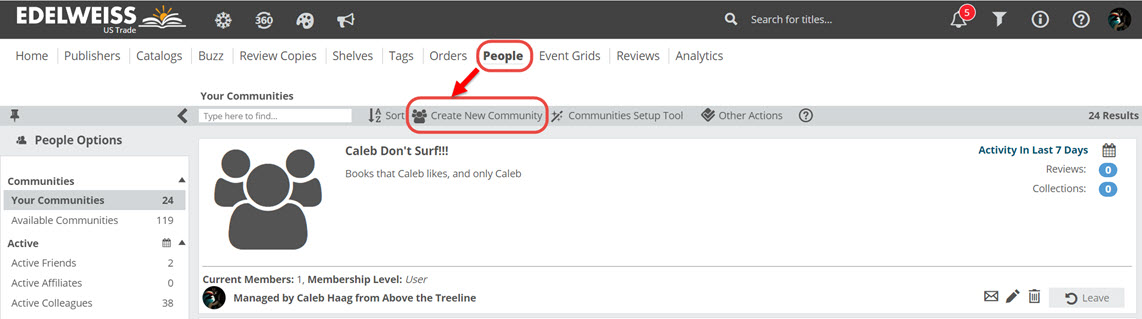
Go to the People tab and click Create New Community:
Create a name for your Community and provide a description that will help members understand the Community’s purpose. You’ll then have the opportunity to make a few decisions about the types of Edelweiss users that are eligible to join.
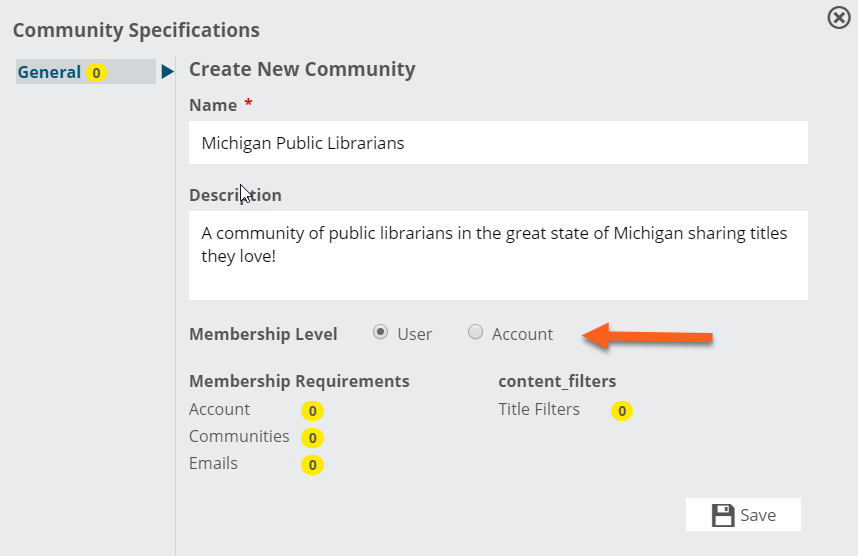
Membership Level at the User level means that each user must join individually. Membership Level by Account means that only one person at an Account (store, organization, library, etc.) needs to join for all users in that Account to automatically become a part of your Community.
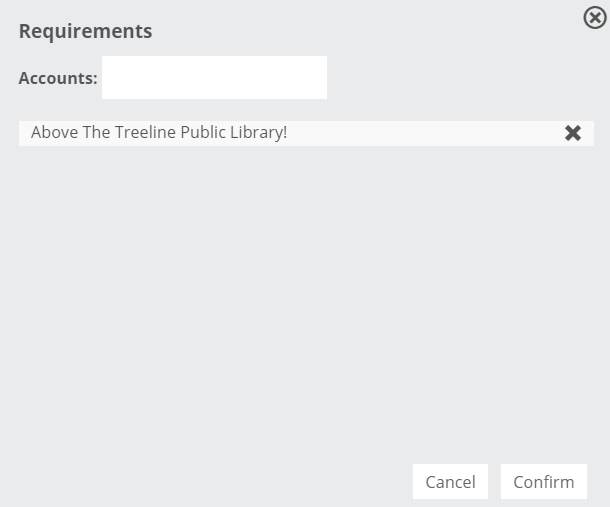
Next, you can define additional Membership Requirements. For example, you might limit the membership of your community to just your store, library, or account. You can limit membership to just certain Edelweiss accounts by searching for accounts and adding them here:
You can choose to limit membership of your Community to only folks who are members of another Community. For example, users in your Community must already be accepted into the American Booksellers Association Community or the Diverse BookFinder Community. In other words, this is a way to create a sort of sub-Community:

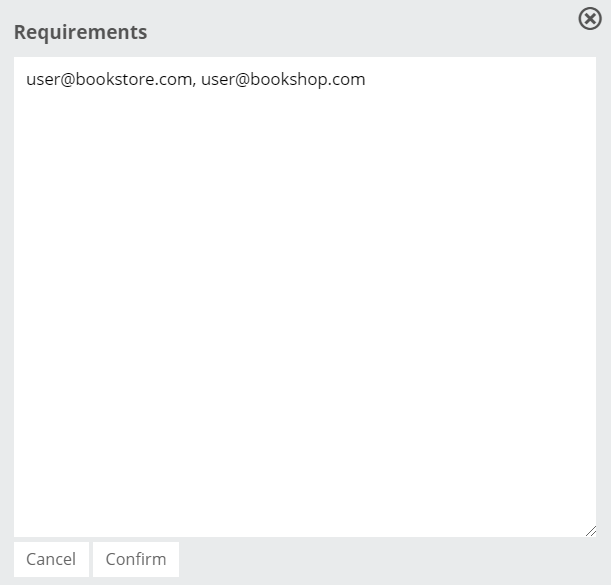
Or, if you want to keep things locked down, you can limit membership to only certain individuals by entering their email addresses here (separate multiple emails with commas!). When you add email addresses here, users will receive a notification within their own Edelweiss accounts and will be able to join your Community if they choose to accept the invite.
You can also limit your Community by the type of title, if appropriate. For example, if you are creating a Michigan SciFi Lovers Community, you would want to limit the titles in your Community to the Science Fiction genre. You can get pretty specific!
Adding any Membership Requirements essentially makes your Community “private,” or as private as you’ve chosen to make it.
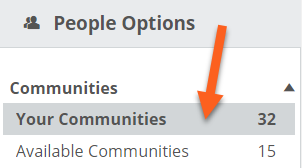
Once you’ve made all of your selections, click Save. Your Community has been created! You can find it on your People tab under Your Communities:
Click Edit to add a logo or image:

The logo will show on the main Community page.
The inline logo will show elsewhere throughout the site. We recommend the following specifications:

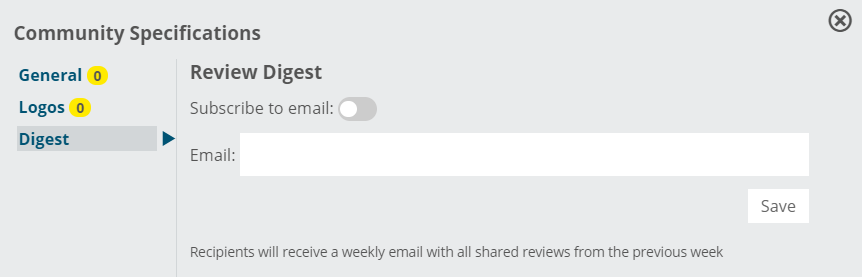
Finally, if you’d like to receive a weekly email alert with an Excel digest of all user reviews shared with your Community, you can toggle “Subscribe to email” and add your email address. (Multiple email addresses should be separated by commas.) Click Save.
Now tell all your friends and colleagues to join your Community!