In the process of building a document in Designer, you may want to make use of filler templates to add catalog covers, transition pages, and more.
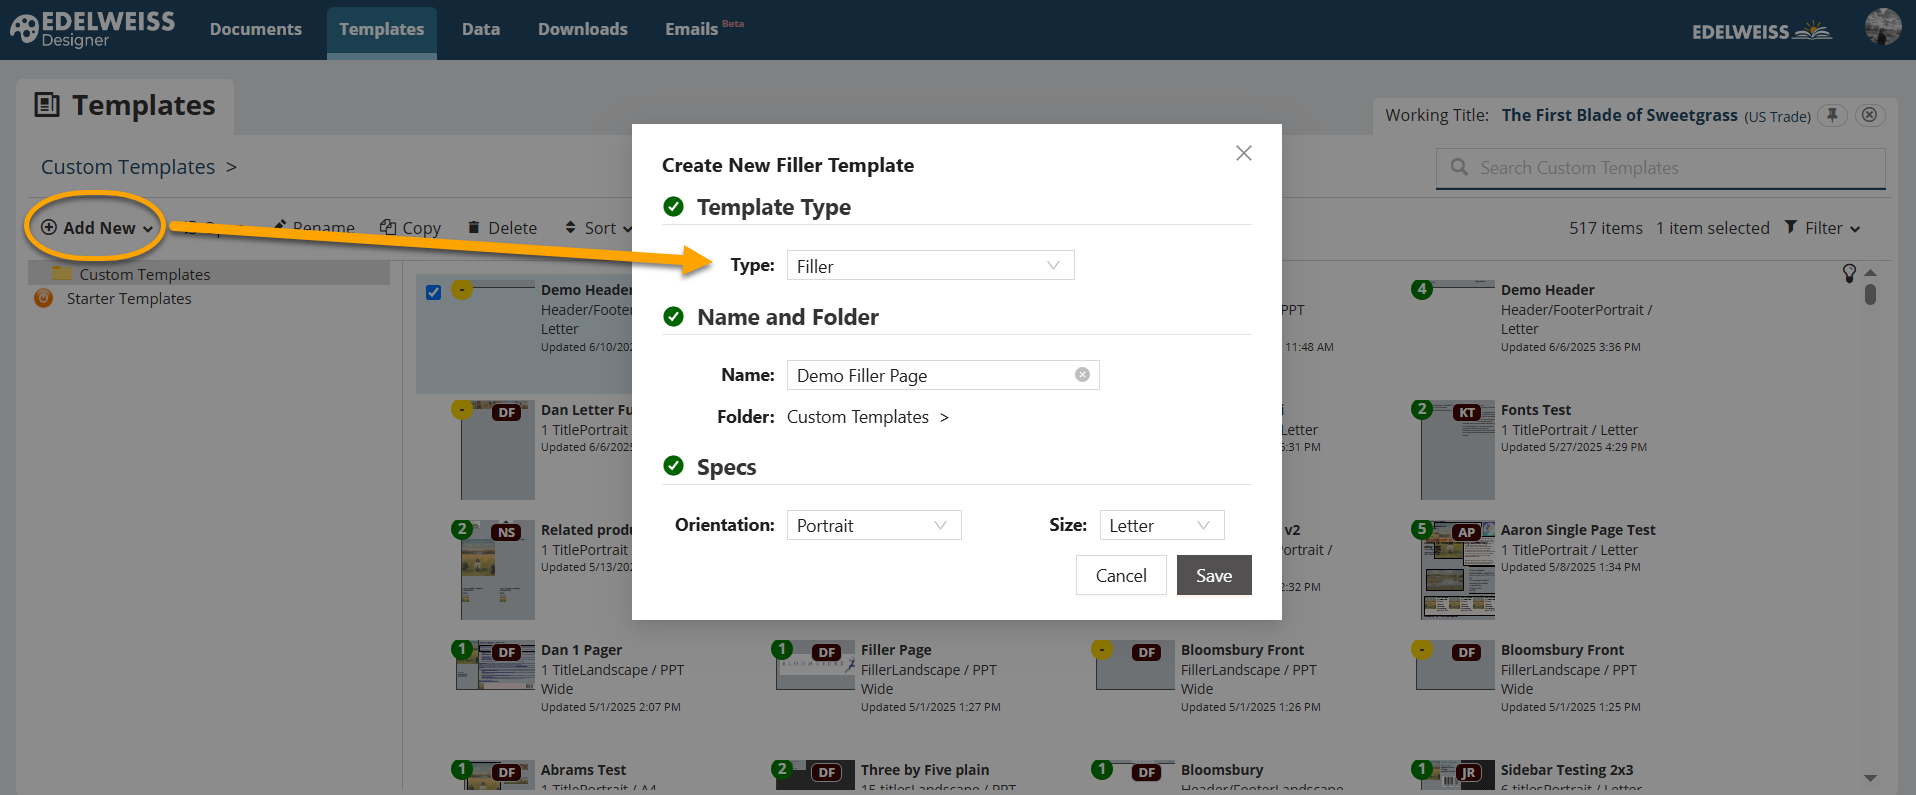
To create a filler template, select Add New > Template on your Templates page and choose Filler under Type:
Name the template, pick the folder you’d like to keep it in (optional), and set the Orientation and Size.
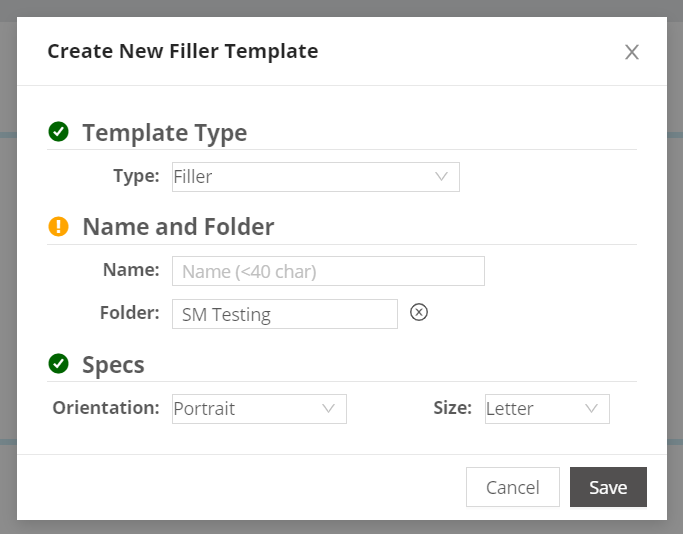
Once these are complete, click Save.
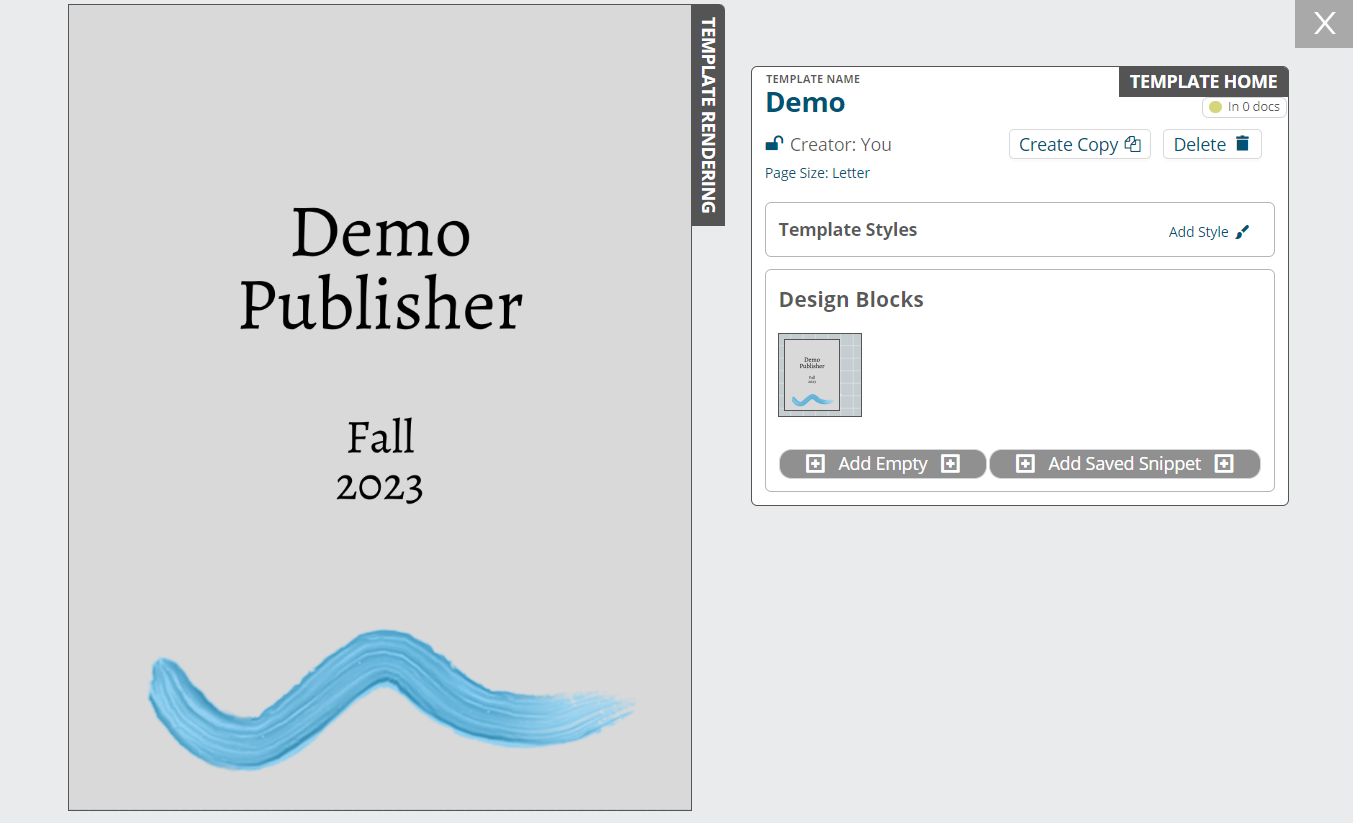
Your newly-created template will drop into your main templates folder or the folder in which you’ve placed it — locate it, click once, and choose Open, or double-click to open it and begin working.

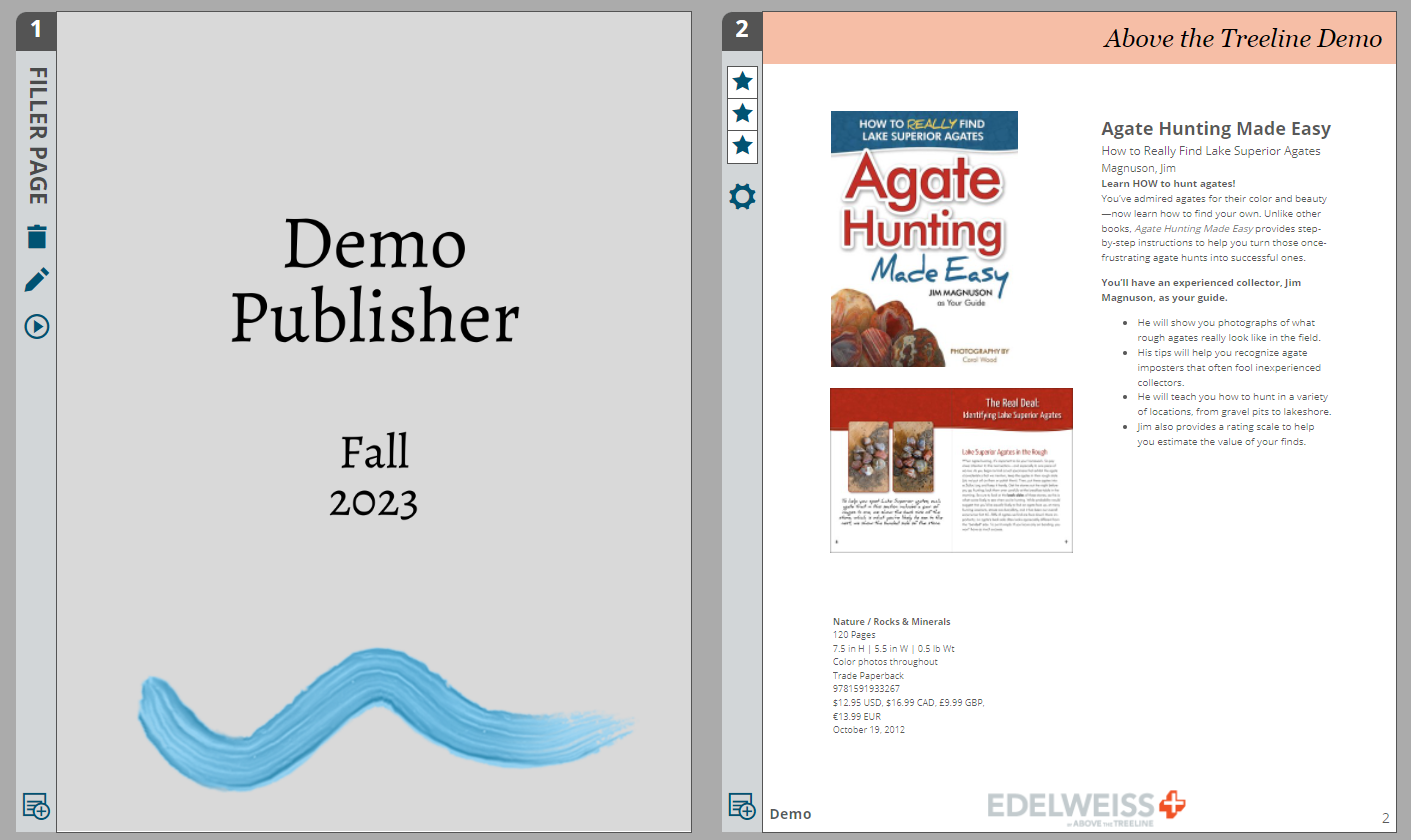
In this example, a design block containing a static image has been added to a filler page to serve as a catalog cover.
Adding Filler Pages to Documents
Once you have created your filler page template, it is time to add it to a document. To do this, navigate to point in the document where you would like to add your page and click the button shown below.

Then, simply select from the list of available templates.