
To create a PDF you will first need to select the titles that you would like to be included in it. You do this by clicking on the checkbox that appears in the top left corner of the title view:
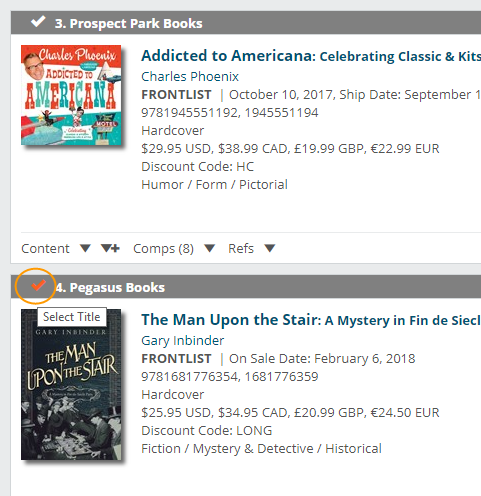
It turns orange when that title is selected.
Or if you would like to generate a PDF of an entire catalog, you can click the “Select All” option in the Other Actions menu:

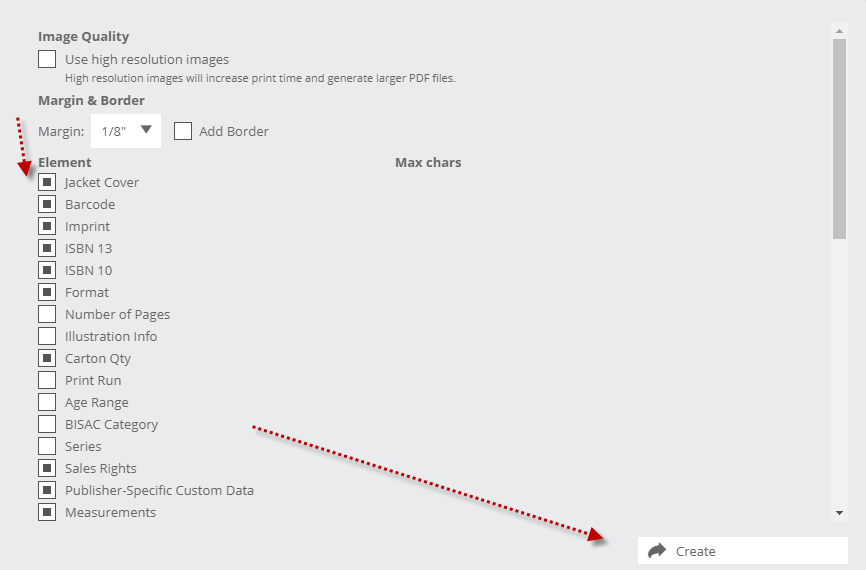
Click on “Create PDF.” This will bring up a menu in which you can specify your desired PDF format. For many of the available templates, you can select which elements you’d like to include with each title. Different templates may have different title element options, due to the constraints of available space on a page. **If you’re just looking for basic title information we recommend selecting the Edelweiss Standard template. To see those title element options, click Next at the bottom of the PDF format selection screen, and then select from a number of available elements.

After clicking Next:
You can also export titles individually by clicking on them as shown for that specific title listing:
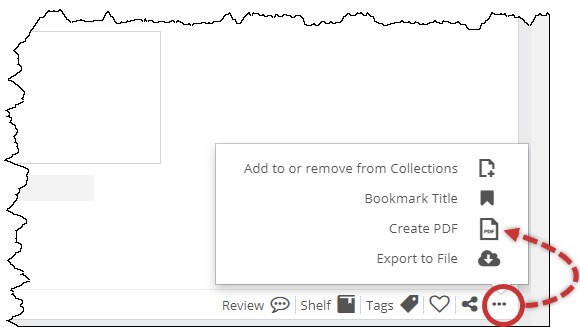
This will bring up the same export menu but will only print that single title.
PDFs will auto-save to your computer’s Downloads folder once finished exporting where you can open and edit it if you need. You can then print it out on actual real paper, or send it as an email attachment, whichever best suits your needs.