If you would like to include data that isn’t already available by default in Designer, the solution is to create a Custom Data Element.
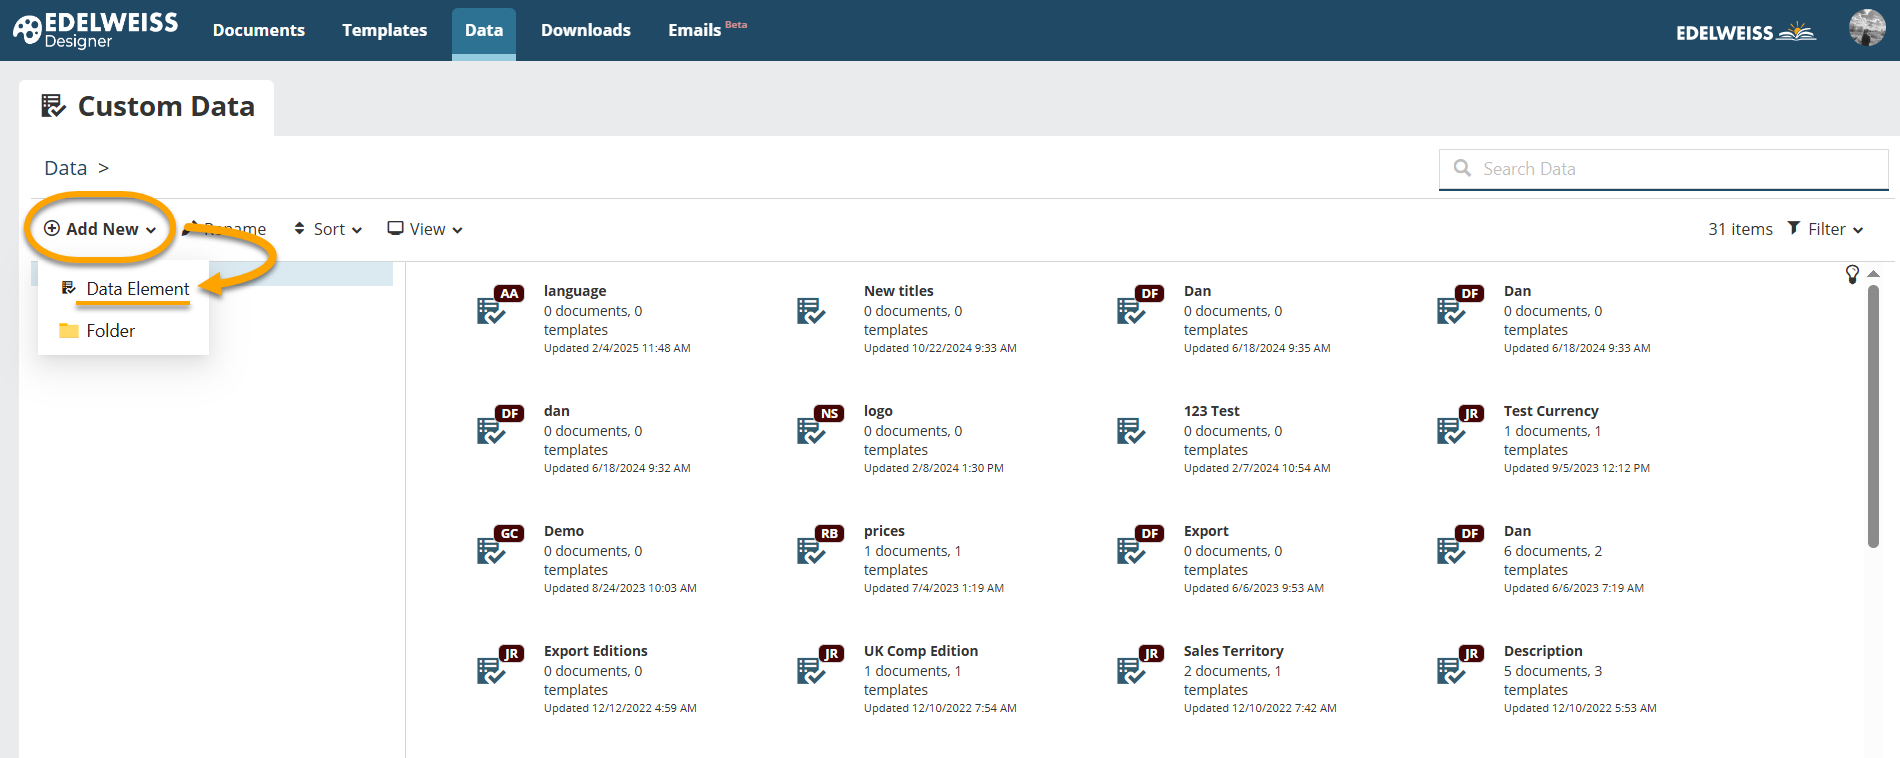
On the Designer homepage, click on the Data tab and select Add New > Data Element.
In the resulting window, name your data element, make the appropriate selection in the Data Type dropdown, and click Save.

This first step creates the “container” for the custom data — uploading the actual data will come later.
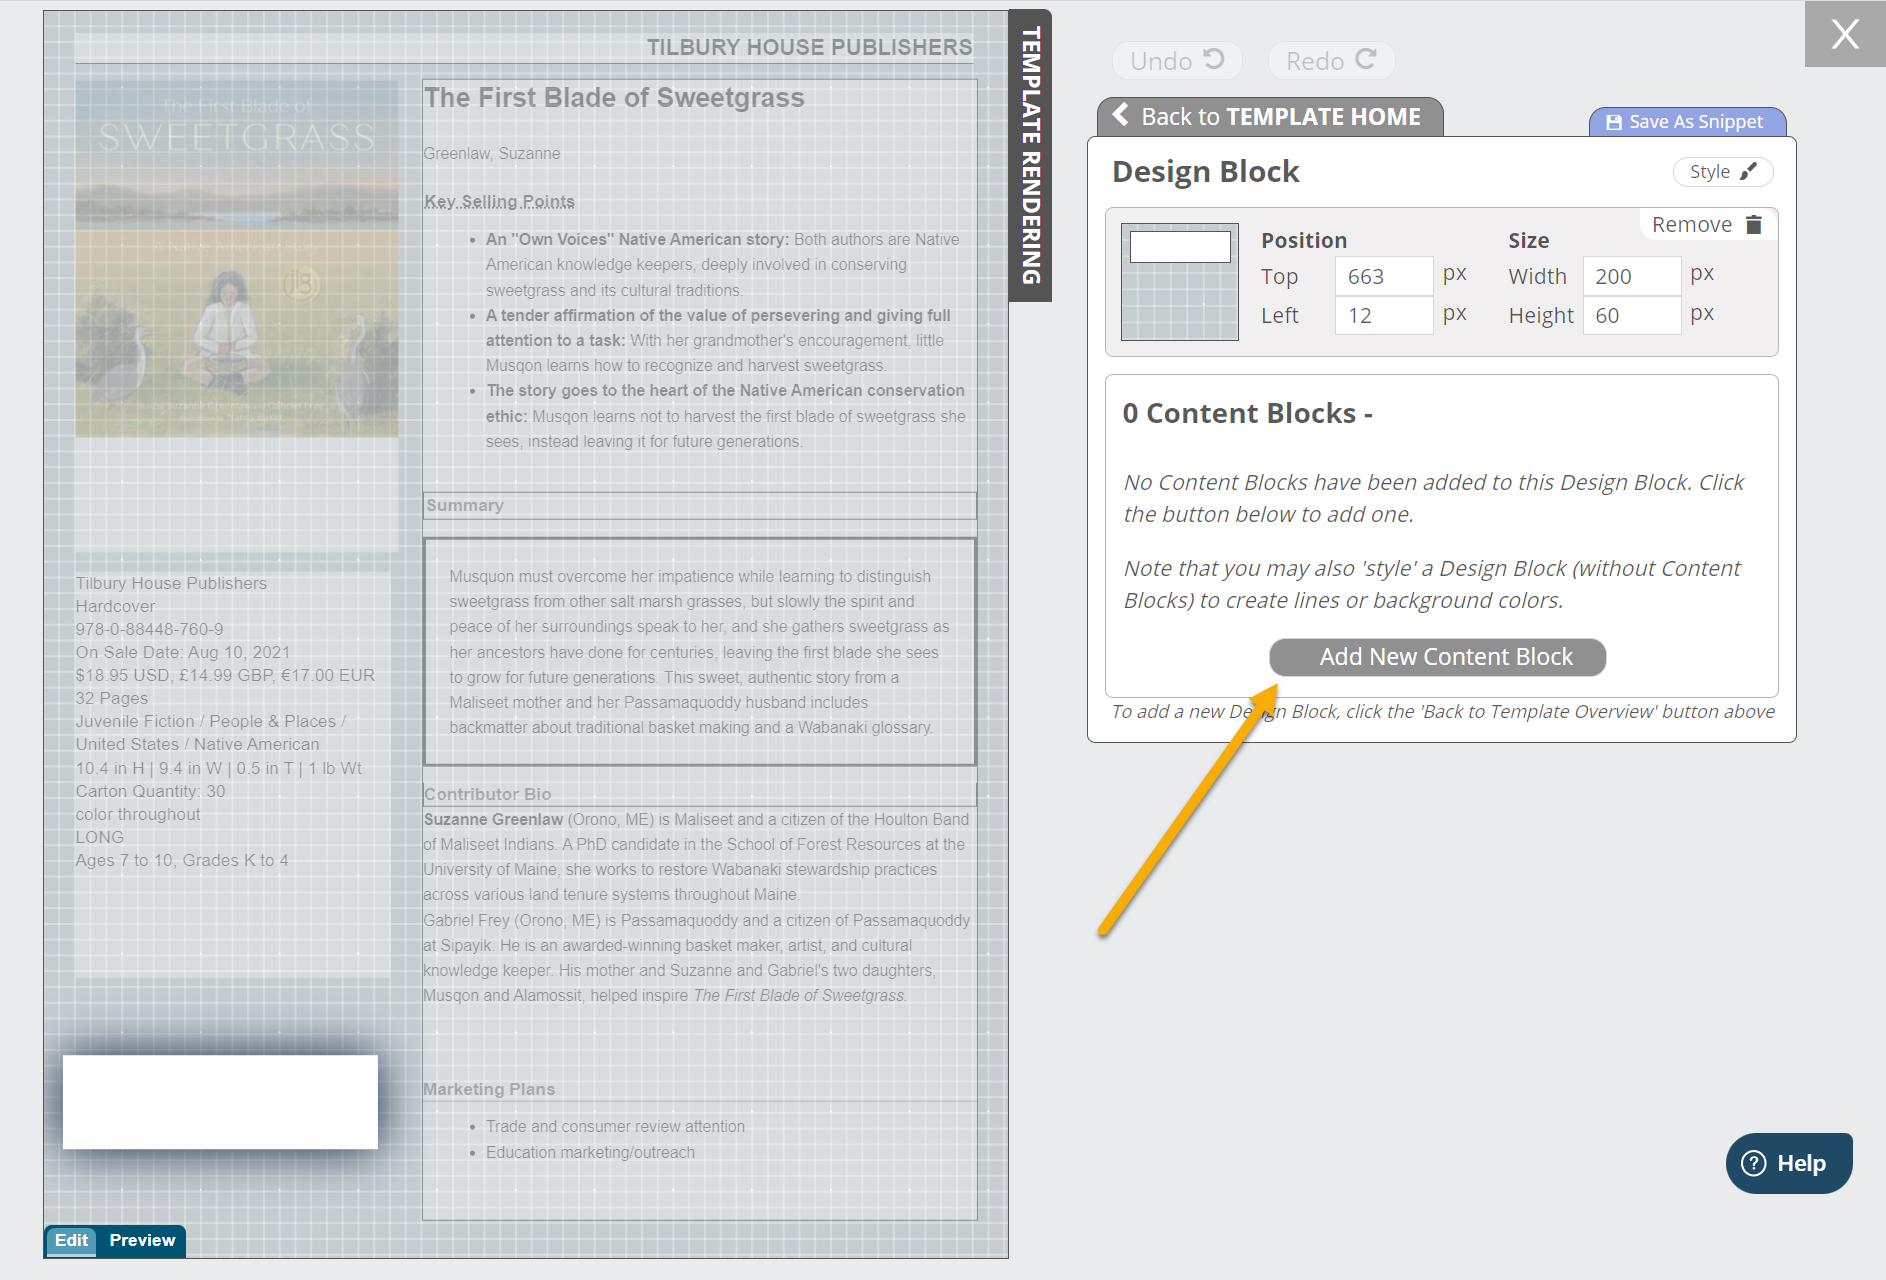
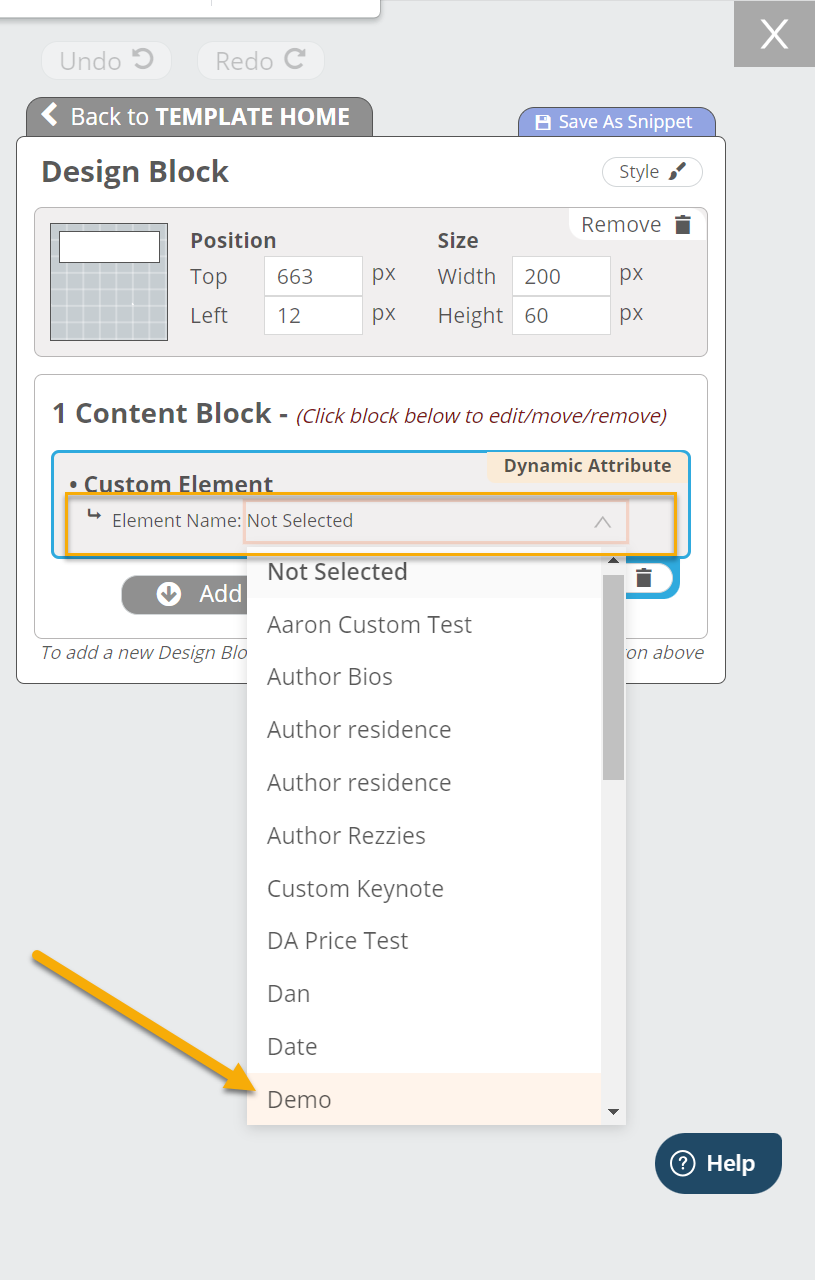
Next, open a template to which you’d like to add the custom data. Add a new design Bbock or click on an existing one and click Add New Content Block.
Here, select Custom Element.
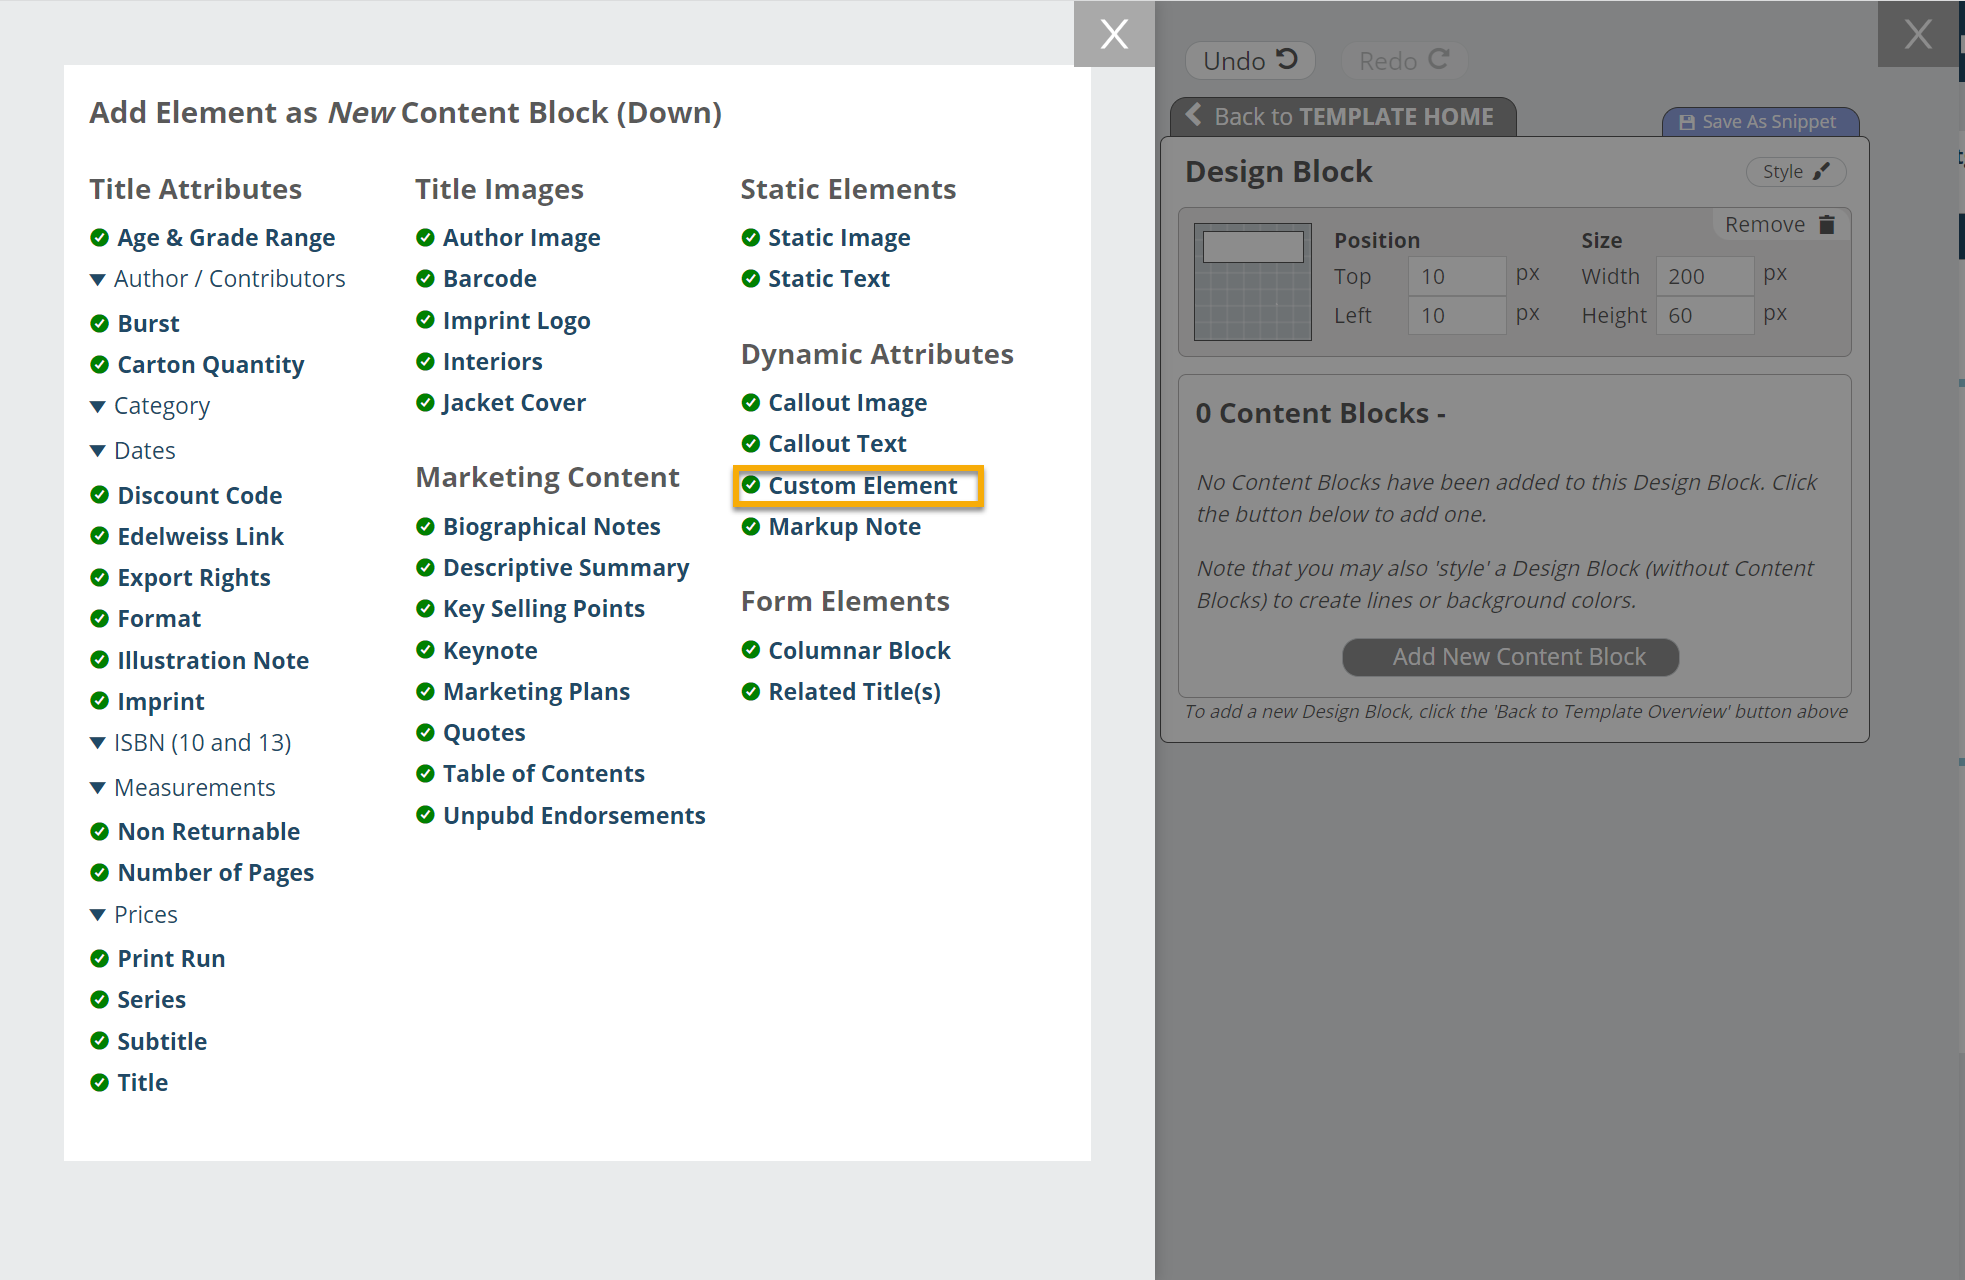
Next, choose the element you created in the prior step from the dropdown list as shown below. Style as you wish!
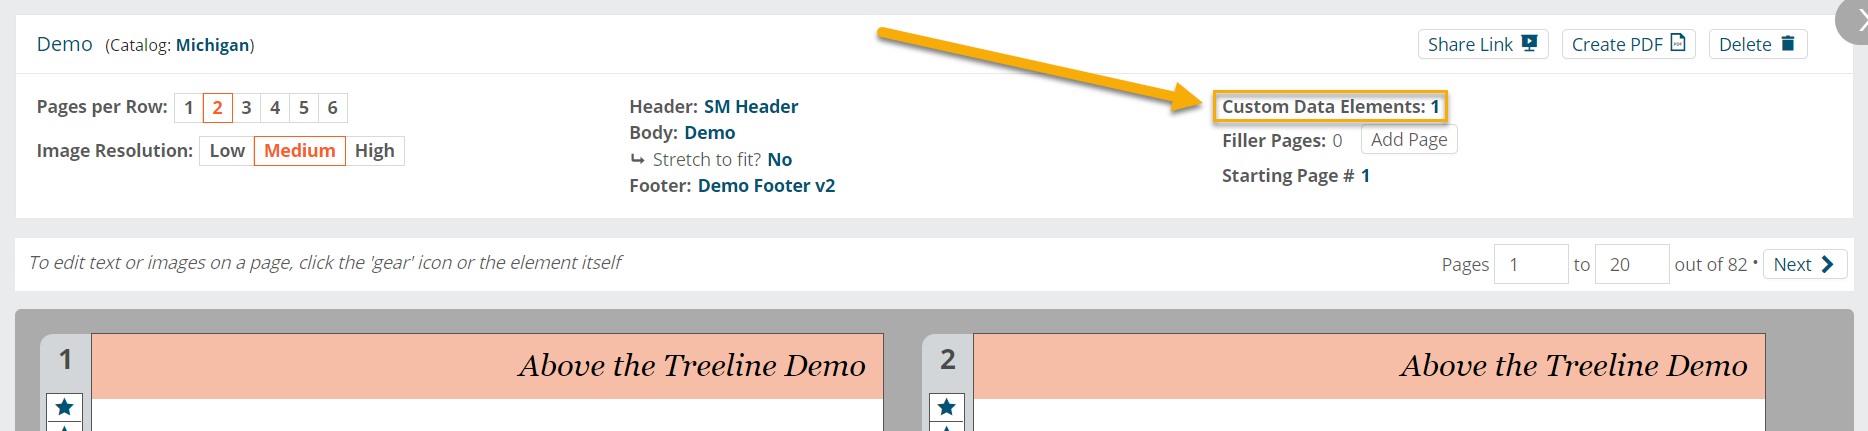
Navigate to your Documents page. Select a document that uses the template where you’ve just added a custom data element. Once there, select Custom Data Elements: 1.
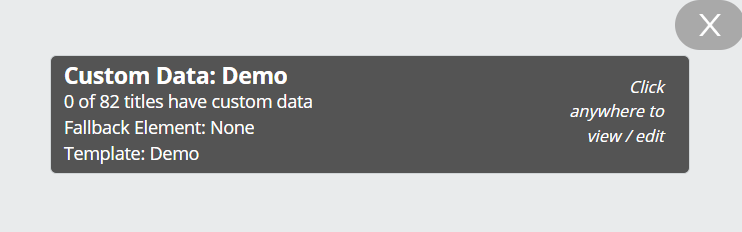
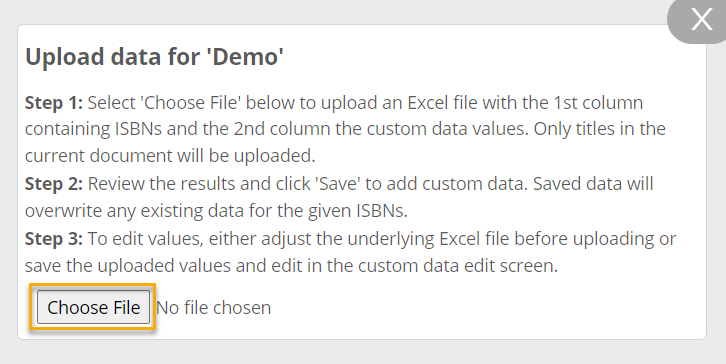
In the next window, select Click anywhere to view/edit to open the next page, where you’ll upload an Excel file. Note that your Excel file should have two columns – one for ISBN and one for the corresponding data.
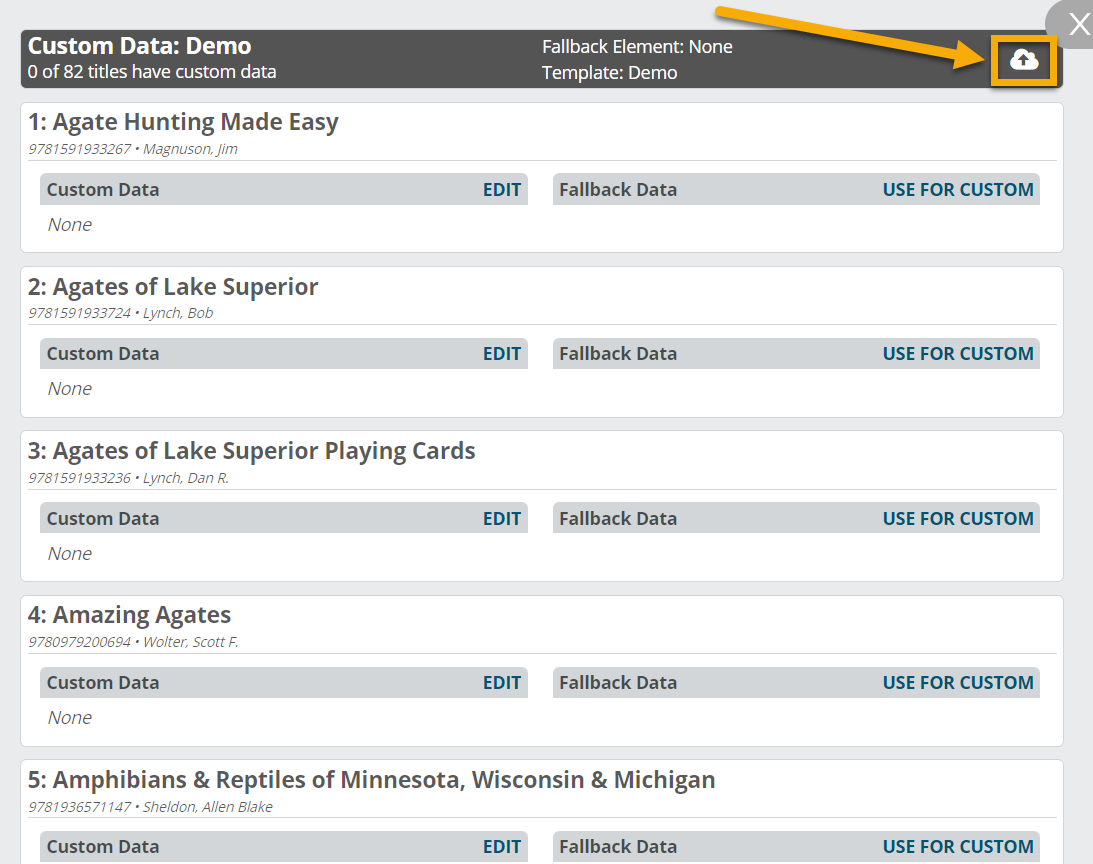
Once successfully uploaded, the custom data will appear throughout your document. Sometimes a screen refresh is necessary — if you don’t see the data, refresh the page or close and re-open the document.
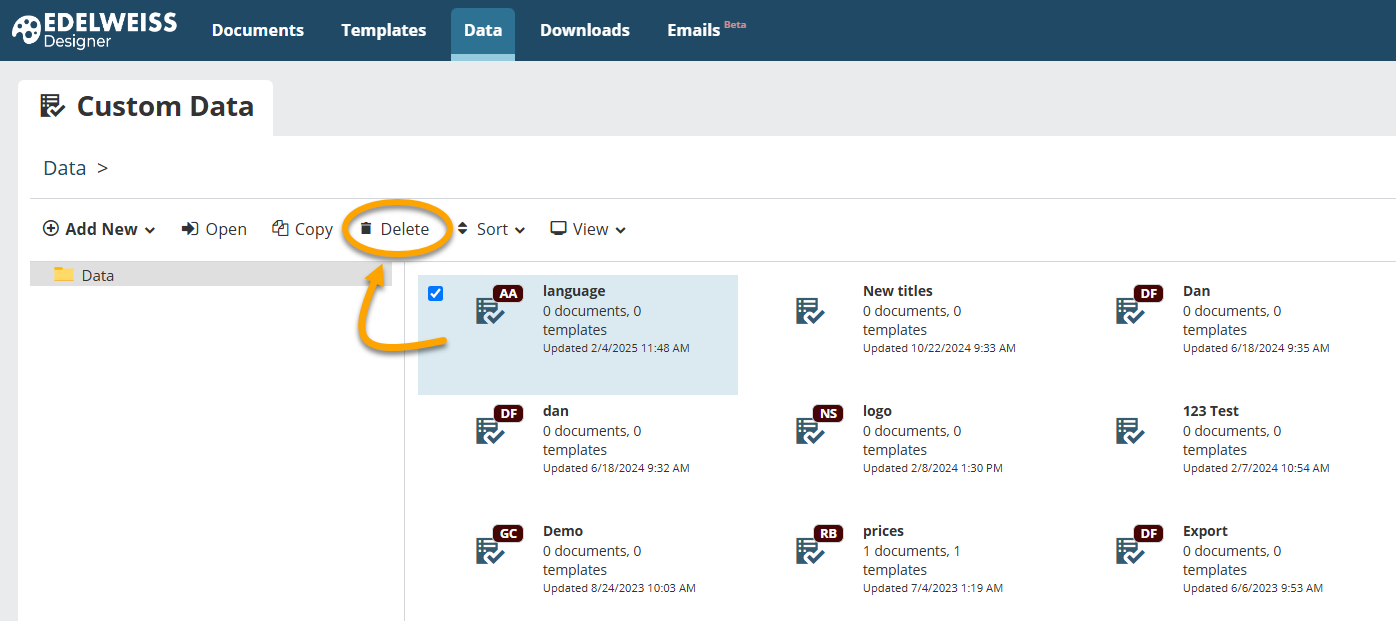
Back on the Data page, custom elements can be deleted if no longer needed. Simply click on the name of the custom element and select Delete. Note that custom elements can only be deleted if they are not currently being used in a Template/Document.