
While viewing a Catalog, Collection, or any list of titles, you can create an order at the very top of the screen.
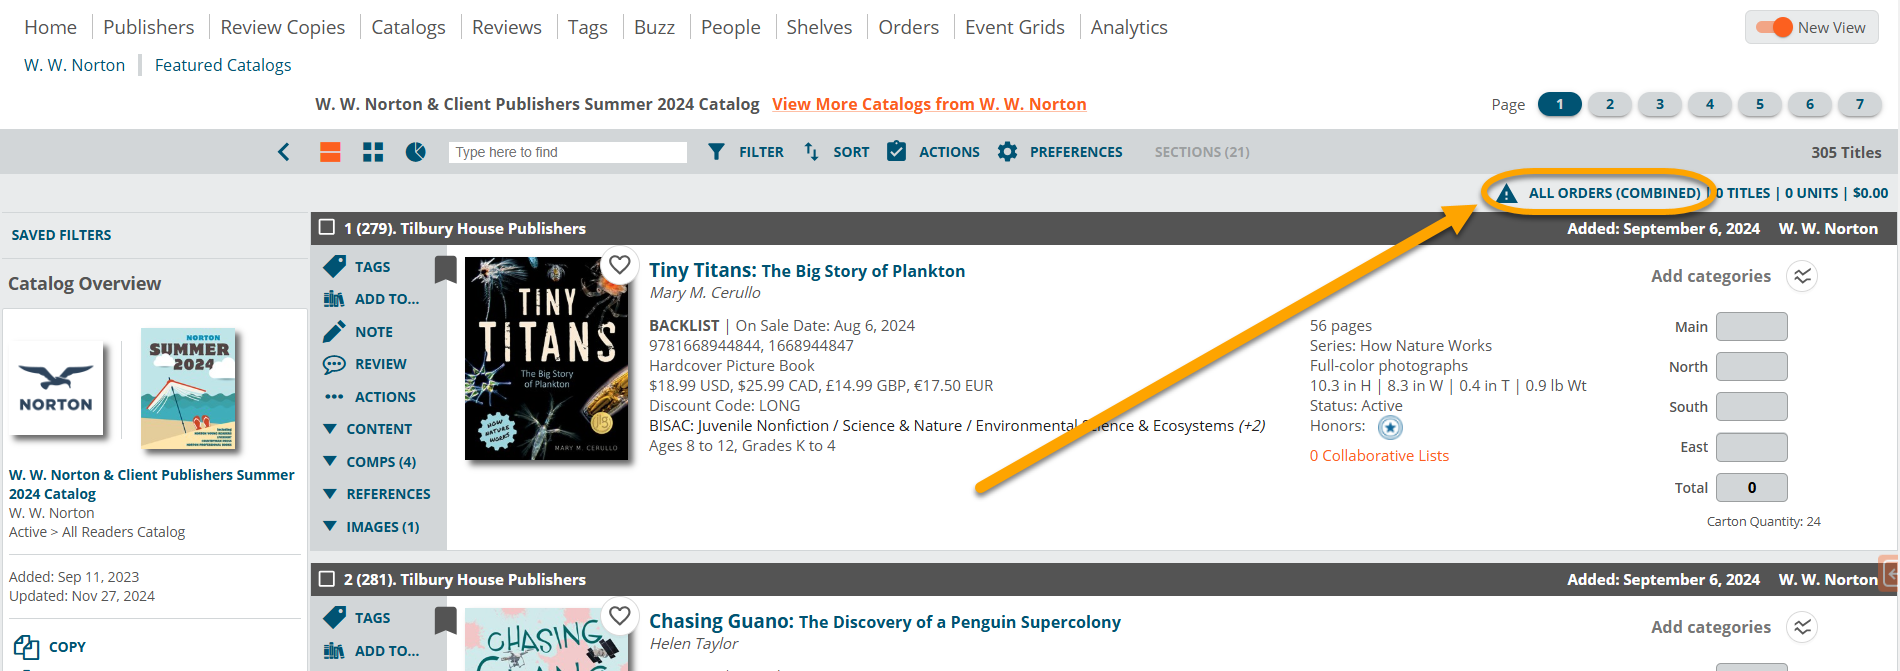
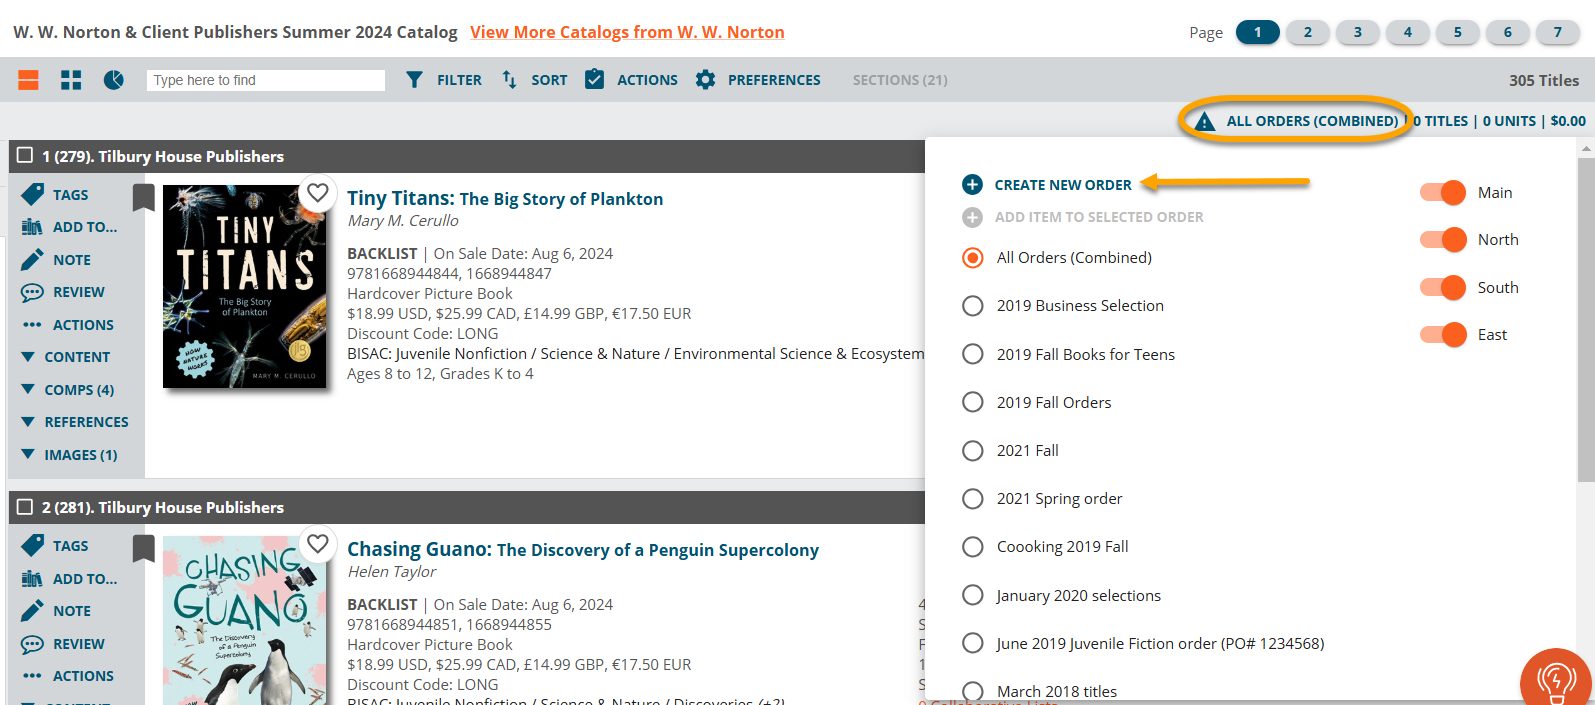
Click the circled area to select an existing order, or to create a new one.

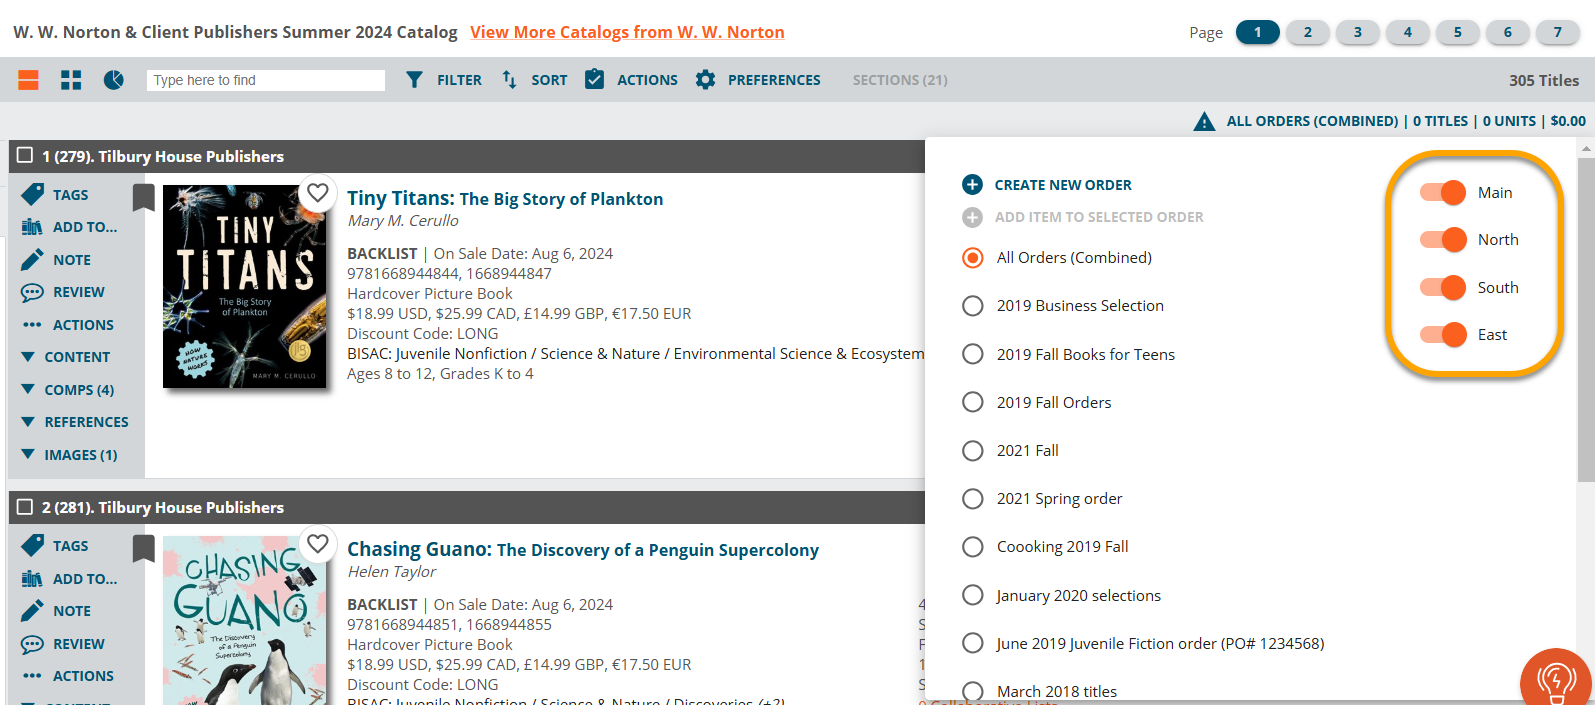
Selecting or de-selecting a location will change the running totals based on orders made for that/those location(s).
When creating a new order, you will be prompted to fill out the various fields in the window shown here:
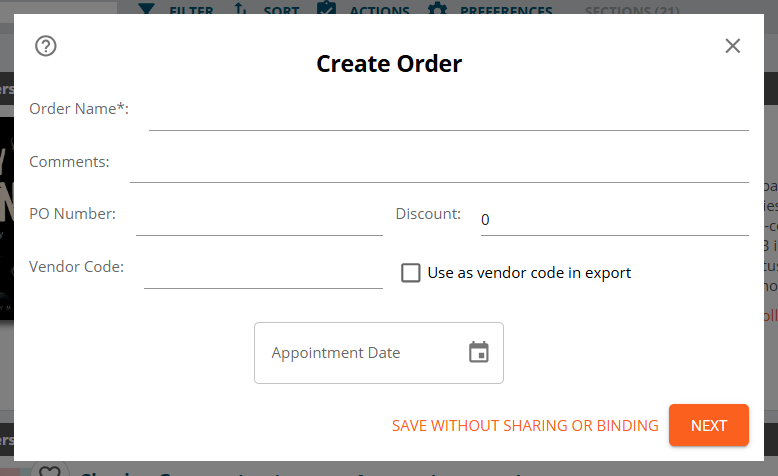
Order Name is where you choose a name for your order. You may use your own special codes to delineate publisher, season, sales rep, etc. If not, you’ll simply want to be sure to name the order as clearly as possible for your own organization. “HarperCollins Kids Summer 2016” is clear, and you can tell at a glance what that order is for. “Summer” is much less clear, considering you’re likely placing multiple summer season orders for multiple publishers, not to mention the fact that you might get confused between past and future summer season orders as well. Taking a couple of extra seconds here will save you some confusion later on.
PO Number is where you can add a PO number if you have one. If you need to request a PO number from your finance department, you may initially leave this field blank and add the number later.
Discount is where you can add the discount you receive from this publisher if applicable. Edelweiss will not calculate your discounted prices.
Comments is simply a field in which you can make notes about this order. You can indicate here that the order is for a specific program like a book club or summer reading, or make a note about the sales rep (The rep brings pastries so don’t eat breakfast, Meeting at a coffee shop, etc.) Whatever information will help you be prepared is relevant here.
Vendor Code is a field in which you can add a specific code to the vendor field. This will override any title-level or even macro-level field mappings you’ve done if you also check the Use as vendor code in export box.
Appointment Date allows you to note when you’ve set an appointment to review this order with a sales rep. Some users use this religiously to help them keep track of their buying appointments, others do not.
*Note, you do not have to order directly through the publisher if that’s not how you do things. You can always create a wholesale order if you like. In that case, you would not need to share your order with a rep. Also, selecting All for your Vendor in this field means you’ll be able to add any books from any publisher to this order.
Next, you can either click SAVE WITHOUT SHARING OR BINDING which will allow you to proceed to the order and begin adding quanitites, or, you can select Next to move on to the window shown below where you can choose who to share the order with and select Vendor and Catalog bindings:

Shares: This allows you to share your order with a specific sales rep. They will not see your order until you share it with them. You do not have to share it immediately, as you’re creating the order, but you’ll want to be sure and do so once you’re finished with the order if you don’t do it here! Clicking on the Share button will bring up a list of reps that currently have you listed in their contacts. Simply select one (or more) with whom you’d like to share your order.
Vendor bindings allows you to select a publisher to whom you can “bind” this order, meaning if you select HarperCollins in this list, you’ll only be able to add titles from HarperCollins to this order. Note that if you are creating a new order from within a catalog as we are in this example, Vendor bindings will show up automatically based on the “vendors” included in the catalog.
The Viewing and Catalog bindings areas allow you to bind an order to a specific catalog or collection to avoid any sort of cross-contamination of your orders. Specifically, this can be helpful when ordering Random House Blue versus Random House Green, for example.
Don’t forget to save!
You’ll now be able to add titles to this new order:

Note: You’ll also find a Create Order option at the top of your Orders page and can follow the same process from there:
