One optional element of a markup is Priority. This is a setting that should generally be used judiciously (e.g. If every title in a catalog is marked “High” priority, the priority setting loses its meaning!) You and your accounts will be able to filter a catalog by each priority setting.
Priority can be set by opening the Markup Priority dropdown in the Markup Tools area.
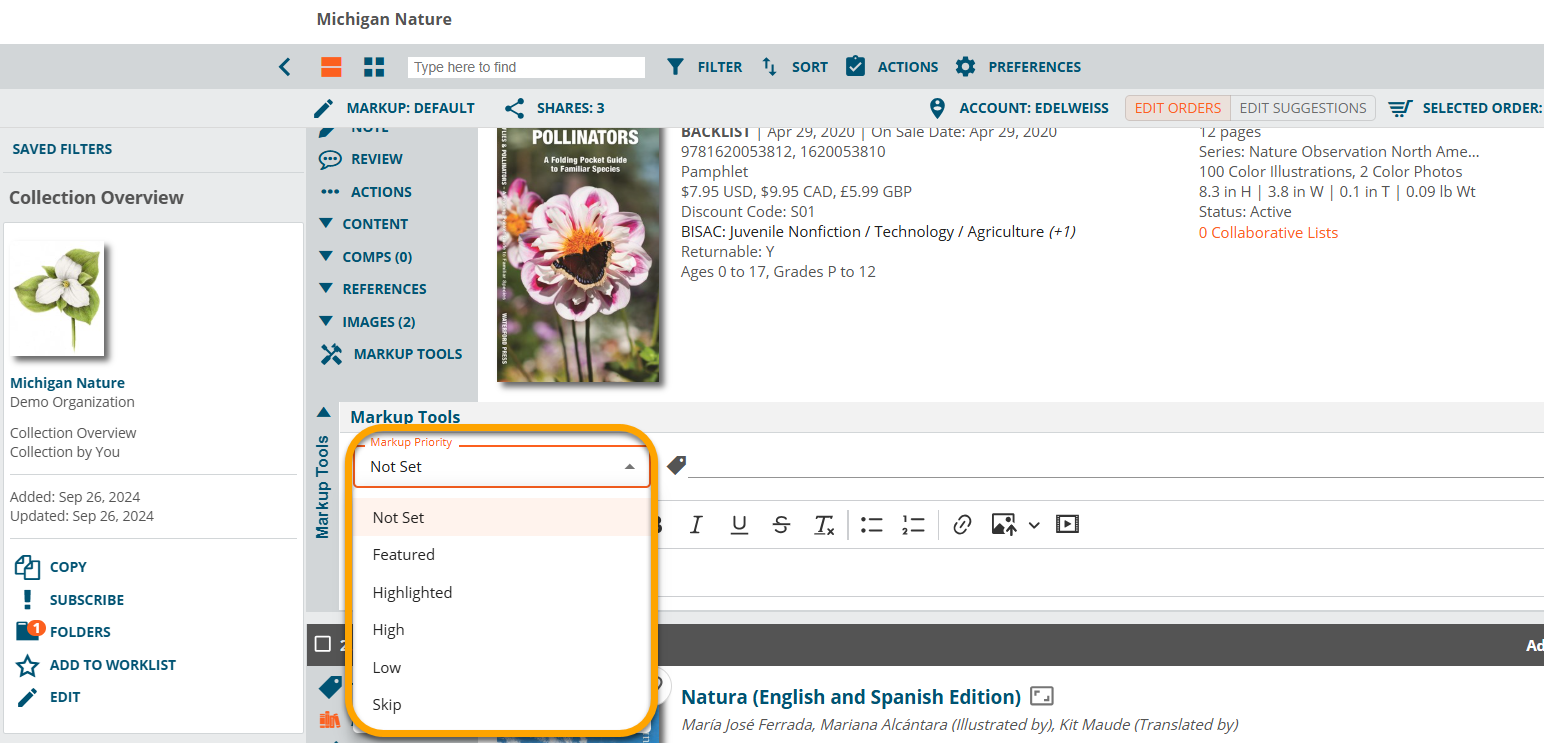
The various Priority settings act as follows:
- Not Set: The default setting. This simply means you have not selected a Priority setting for this title.
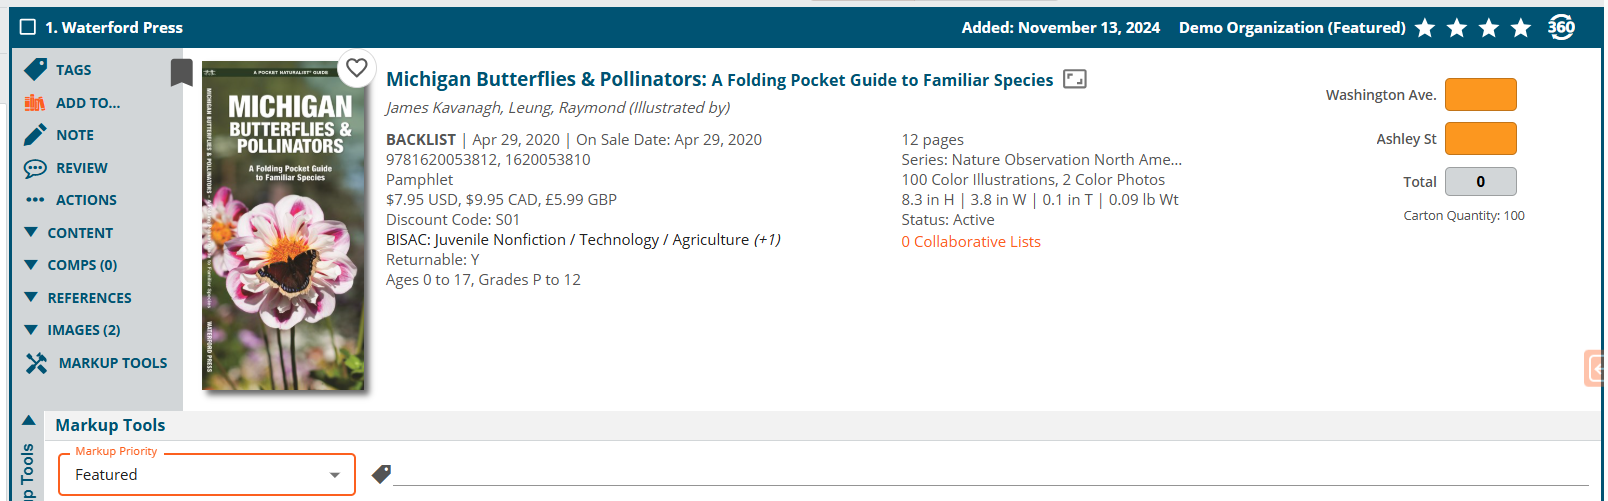
- Featured: Featured titles appear like so:
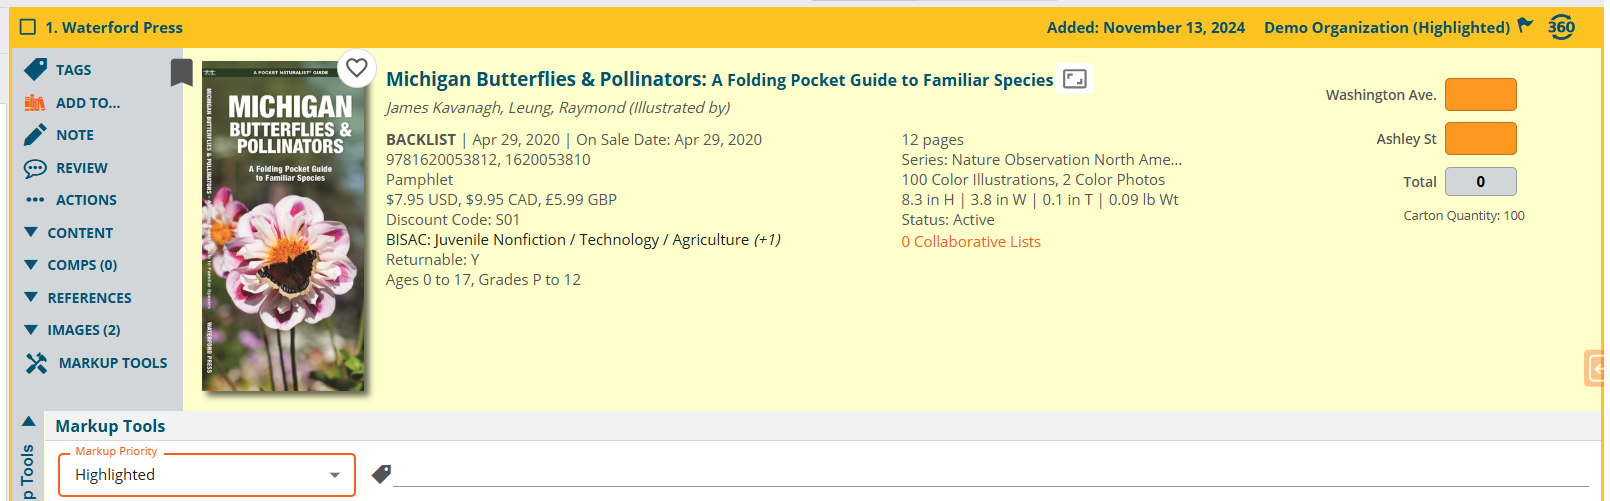
- Highlighted: Highlighted titles will appear with a yellow highlighted outline around the title listing:
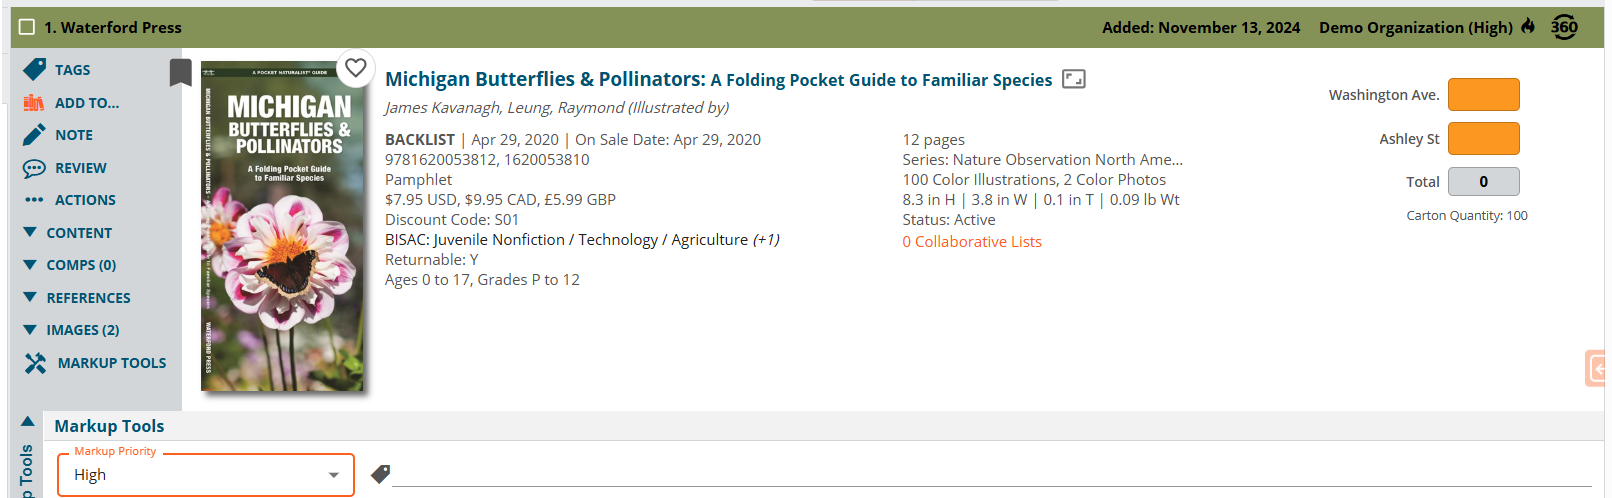
- High: Titles set to High will appear with a green header:
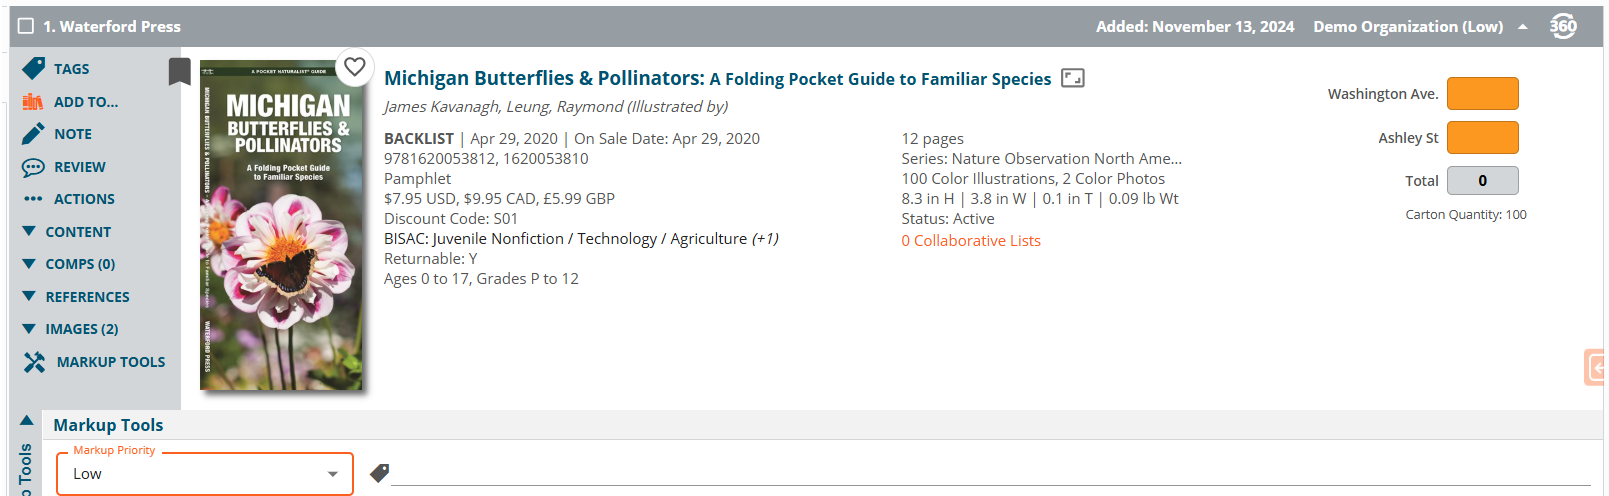
- Low: Titles set to Low will appear with a light grey header and be marked “Low”:
- There is also a “Skip” priority setting. This is a way for you to indicate to your accounts that a title may not be for them.
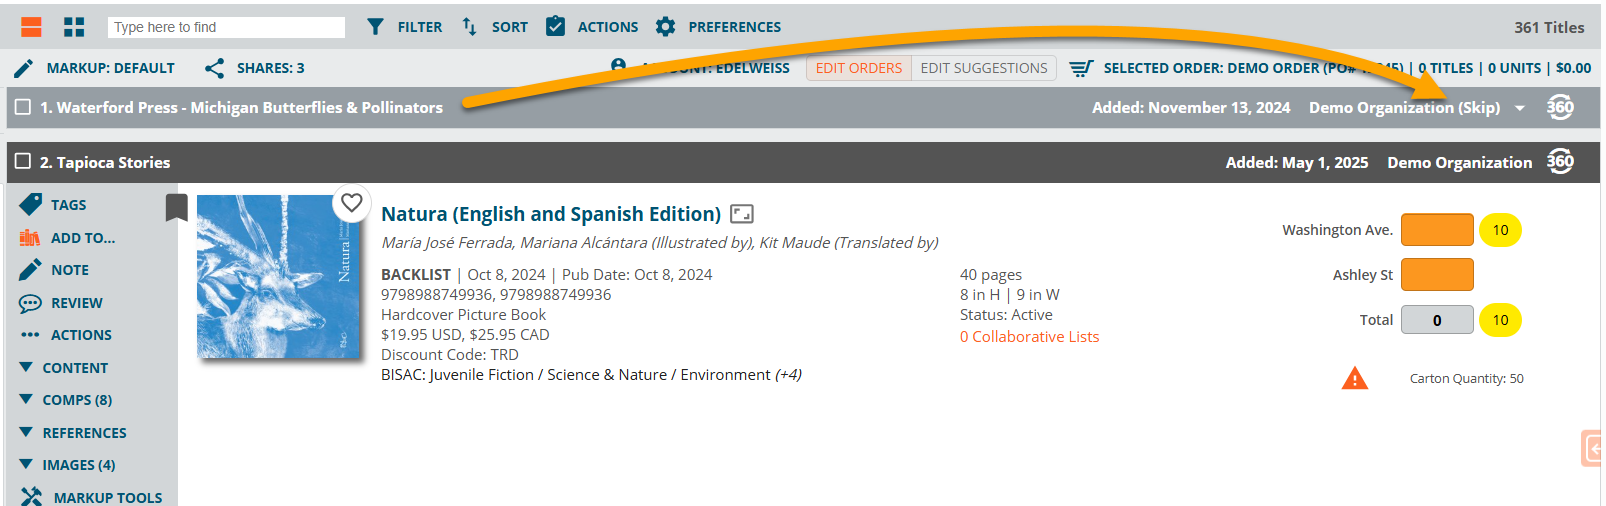
Your accounts will have the option of viewing titles with the Skip priority setting if they’d like, or following your recommendation to move on to other more relevant titles for their store.
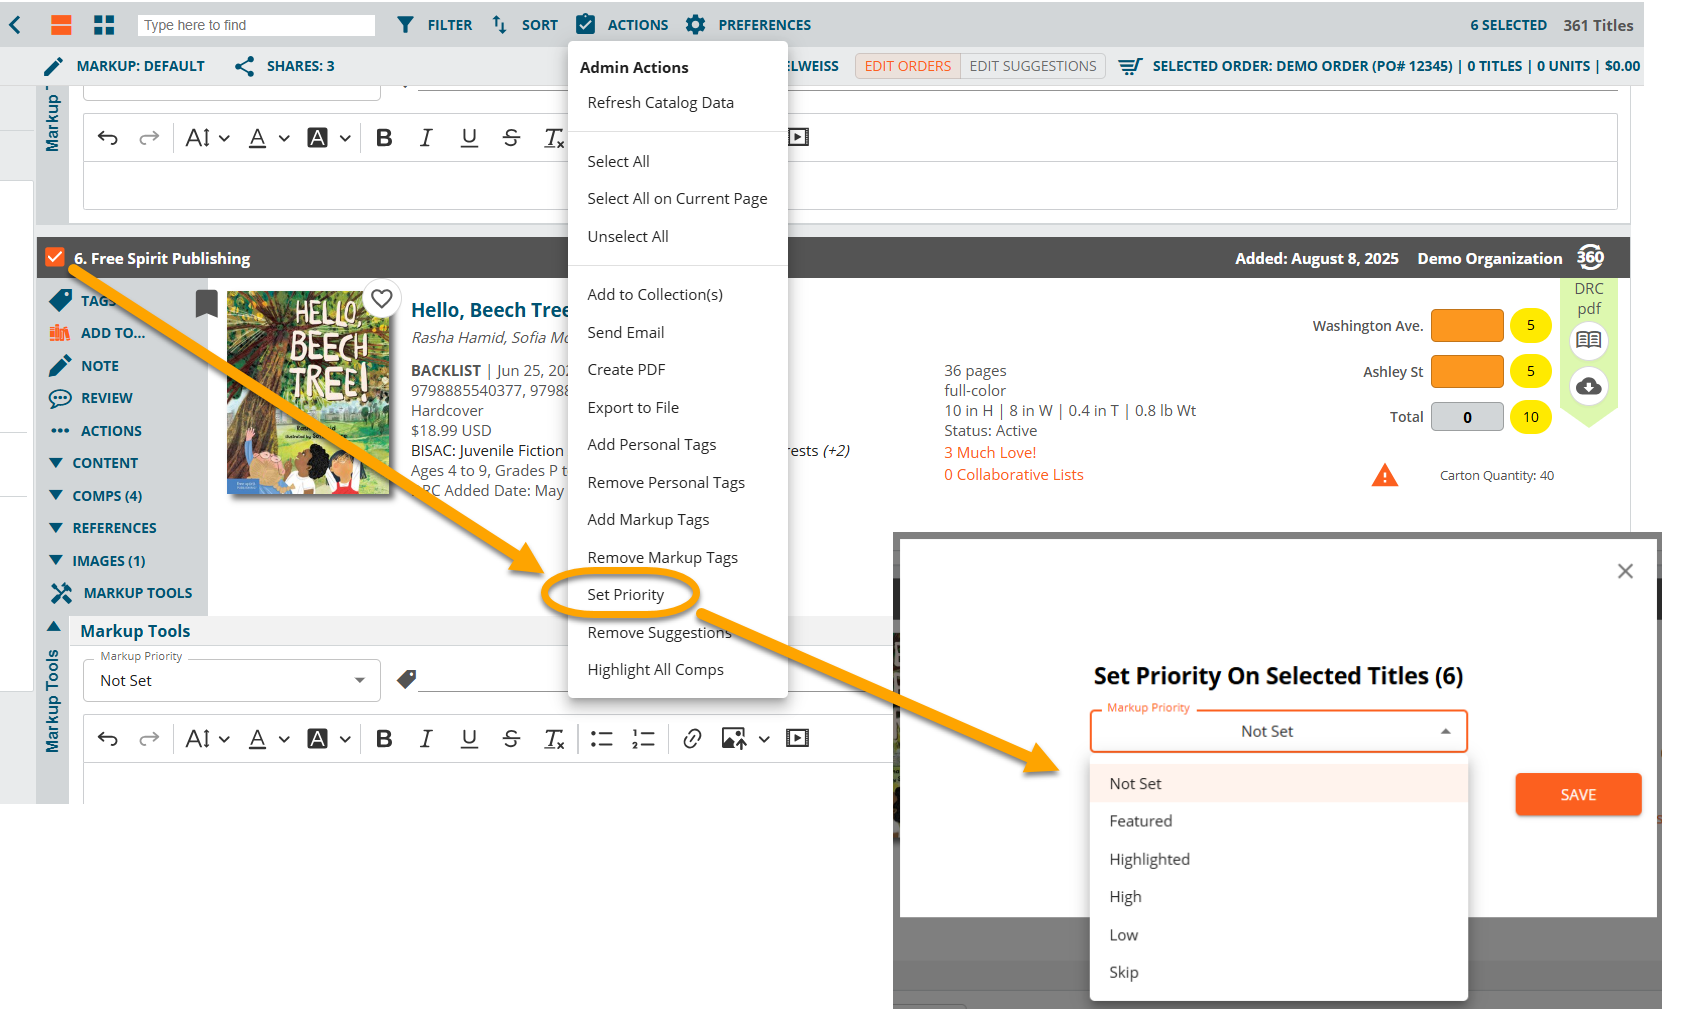
You can also set the priority for multiple titles in a markup at once—just select the titles by clicking the checkmark at the top-left of each listing, select Actions, set a Priority, and Save: