
Creating a Community
Do you have an idea for a new Community for Edelweiss users with a common interest? You can create and manage your own Community! (Note: First, search the existing Communities to ensure that one does not already exist.)
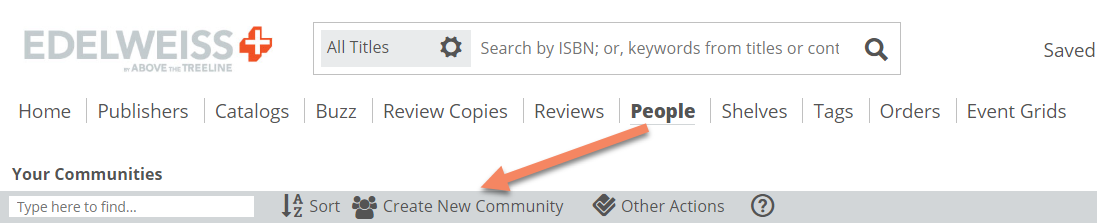
Go to the People tab and click Create New Community at the top.
Create a name for your Community and provide a description that will help your members understand the Community’s purpose. Then you will make some decisions about the types of Edelweiss users that are eligible to join.
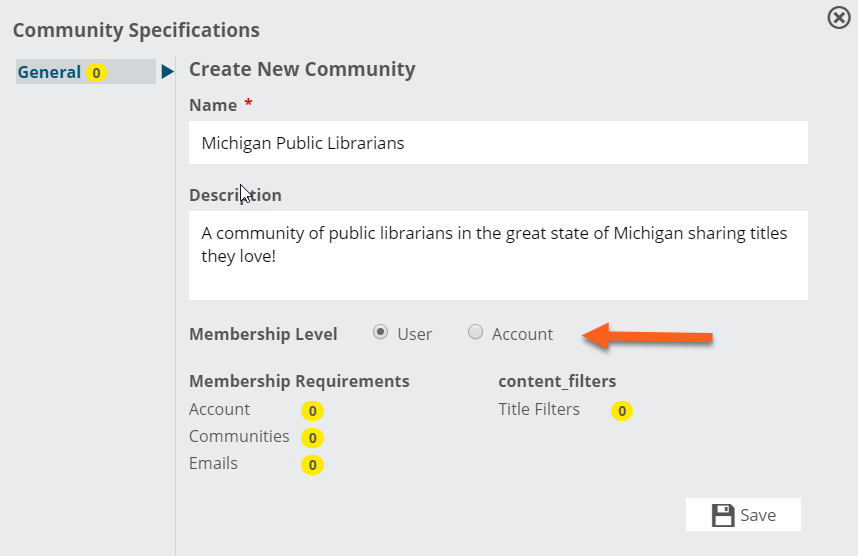
Membership Level at the User level means that each user must join individually. Membership Level by Account means that if a user is associated with a certain Edelweiss account, they will automatically be eligible.
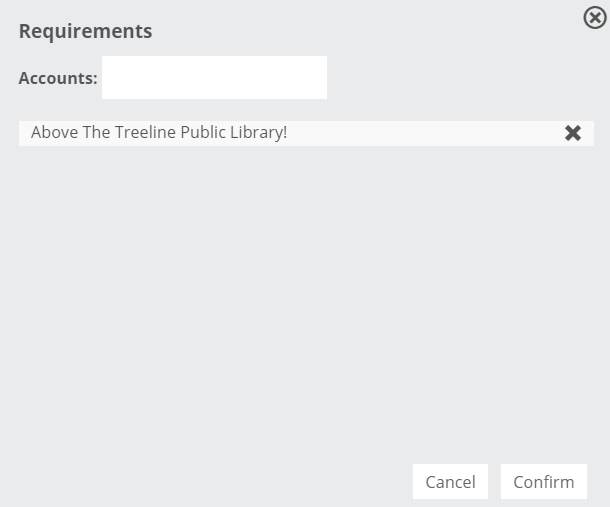
Next, you can define additional Membership Requirements. For example, you might limit the membership of your community to just your library. You can limit membership to just certain Edelweiss accounts by searching for accounts and adding them here:
Or you could limit membership of your Community to only members of another Community. For example, users in your Community must already be accepted into the American Booksellers Association Community or the Diverse BookFinder Community. In other words, you would be creating a sort of sub-Community:

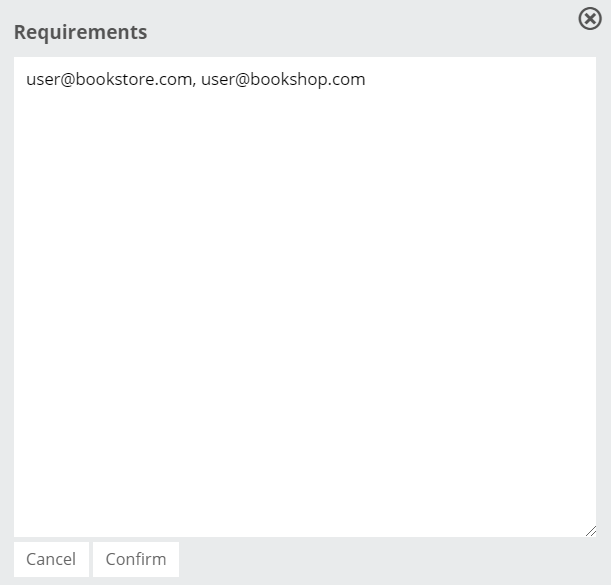
Or, if you want to really get specific, you can limit membership to certain individuals by entering their emails here (separate multiple emails with commas). When you add email addresses here, users will receive a notification within Edelweiss:
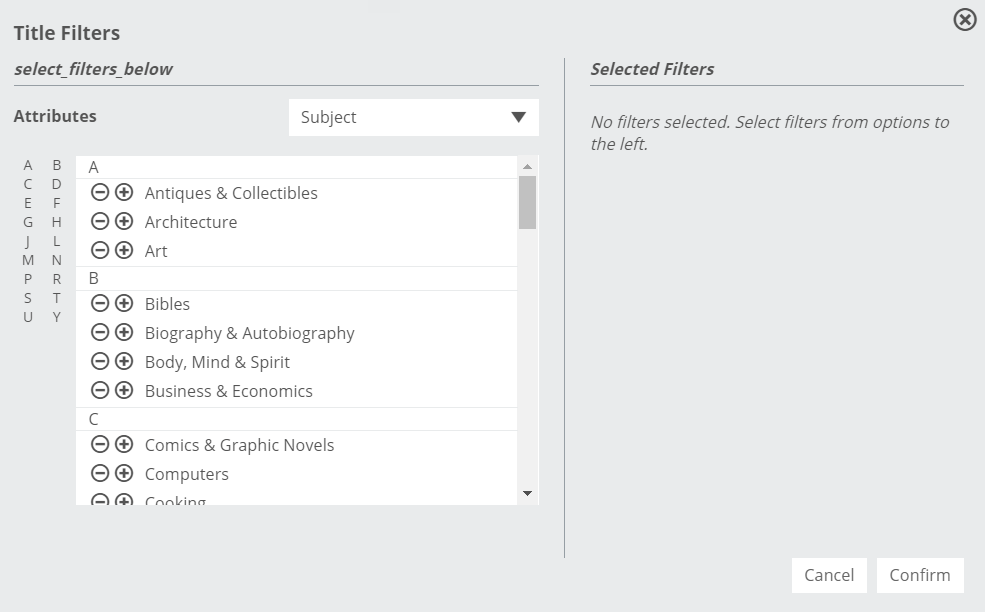
You can also limit your community by the type of title, if appropriate. For example, if you are creating a Michigan SciFi Lovers Community, you would logically want to limit the titles in your Community by the Science Fiction genre. You can get pretty specific!
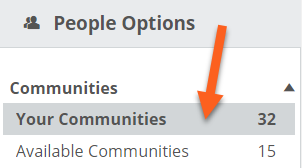
Once you’ve made all of your selections, click Save. Now your Community has been created! You can find it on your People tab under Your Communities:
Click Edit to add a logo or image:

The Logo will show on the main Community page. We recommend the following specifications:
The Inline Logo will show… We recommend the following specifications: File Format: JPG/PNG/GIFSize: 1000 max. width/heightResolution: 72 dpi resolution
Just click on Select File and upload your file or click on Inline Logo to upload your logo

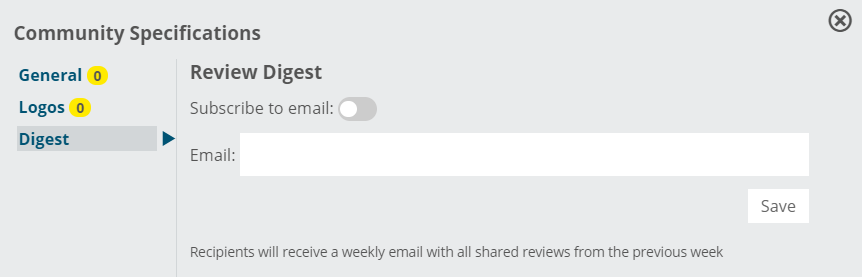
Finally, if you’d like to receive a weekly email alert with an Excel digest of all user reviews shared with your Community, you can toggle “Subscribe to email” and add your email address. (Multiple email addresses should be separated by commas.) Click Save.
Now tell all your friends and colleagues to join your Community! You’re ready to share reviews and collections with your peers!
You can invite people to join your community when you create it or you can also edit an existing community.
Inviting People to your Community
If your Community already exists, you can find your Community on the People tab under Your Communities:
Click the pencil icon to Edit:
From the General area, click Emails:

Now enter the email addresses of users you would like to invite (separate multiple emails with commas).
When you add email addresses here, users will receive a notification within Edelweiss. If they have subscribed to email notifications, your invitation will also be included in their email alert.
Managing and Editing your Community
Need to make some minor changes to your existing Community? Community owners can manage their Community at any time.
You can find your Community on the People tab under Your Communities:
Click Edit:
General: Once created, you can not change the Membership Level, but you can edit the Name or Description of your Community. You can also fine-tune Membership Requirements and Title Filters if needed:
Community Reviews
Would you like to use your Community members reviews for nominations or some other purpose? First, locate your Community on the People tab by refining by Your Communities.
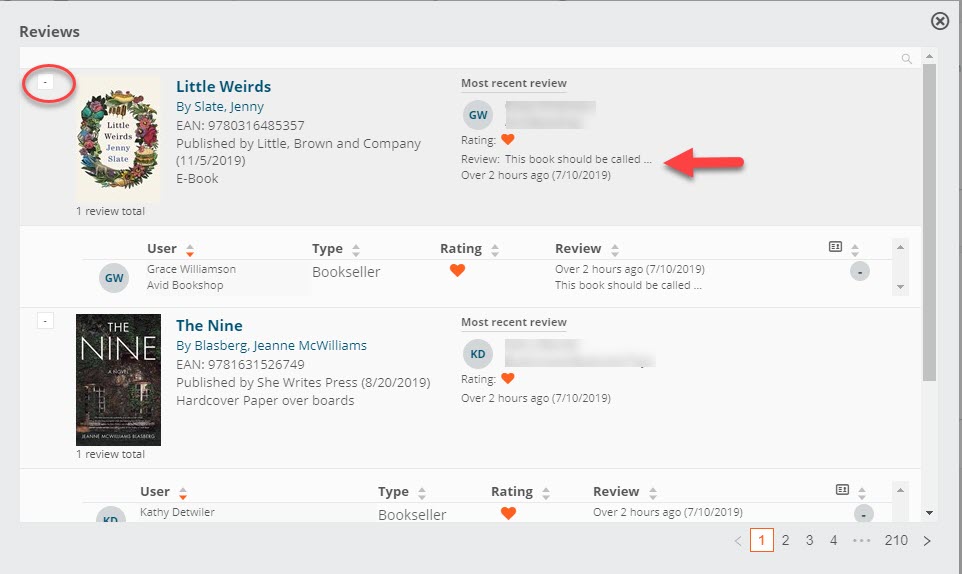
Finding Reviews: Any Community member can access Community reviews by clicking on Reviews:

You can use the calendar icon to limit your view to a certain time period if desired. Then you can browse the titles that have received reviews like this:
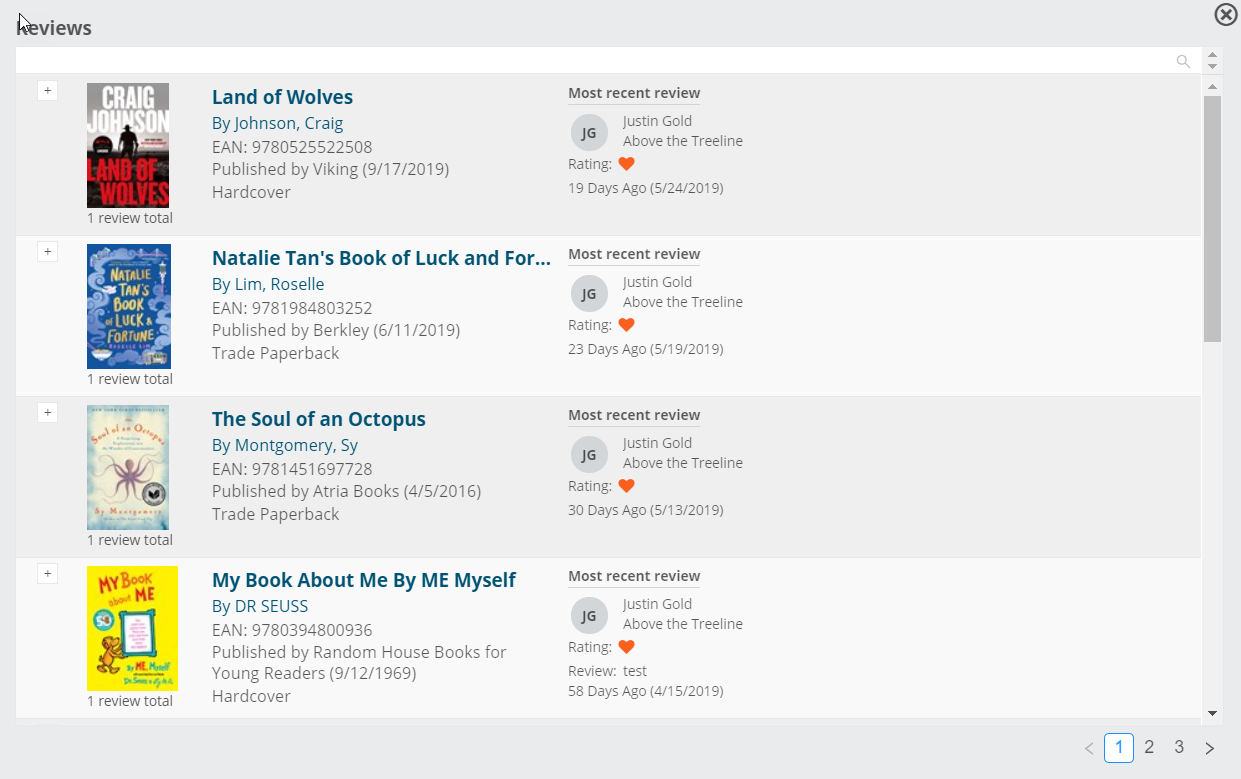
To view all of the reviews of a specific title by the community, click on the plus sign next to the book title and a list of reviews will be displayed, Just click on the text of the review to see more.
Receive a Weekly Digest: Only Community Administrators can set up email addresses to receive a weekly digest of member reviews. When looking at their Community, Community Administrators will see the Edit icon:
Click on Digest. Toggle “Subscribe to email” and add your email address. (Multiple email addresses should be separated by commas.) Click Save.