If you’re just getting started with Edelweiss Designer, one of the first and most important steps will be to create the Templates you’ll later use for your Documents. A template serves as the preset format your selected titles will be run through when you create a Document.
This help page will walk you through the steps of working with templates in Designer:
- Selecting a Template
- Building a Template
- Styling a Template
Selecting a Template:
On the main Templates page, you’ll first set a Working Title (the “example” title that will display as you build your template).

In the resulting window, search for a title and click to select it.
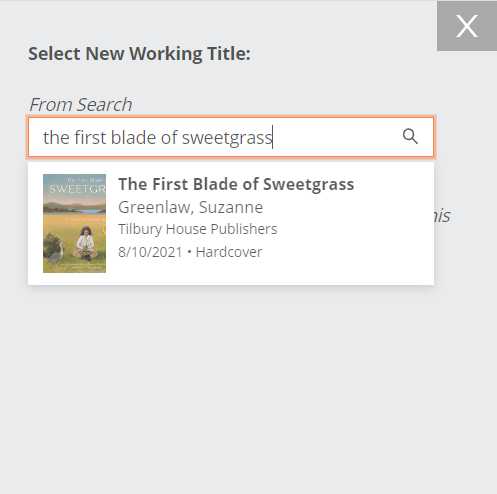
Note that a working title can be pinned for easy access.

Now that you’ve set your working title, select either Add New > Template…

…or choose from the list of available Starter Templates. Learn more about using Starter Templates here.

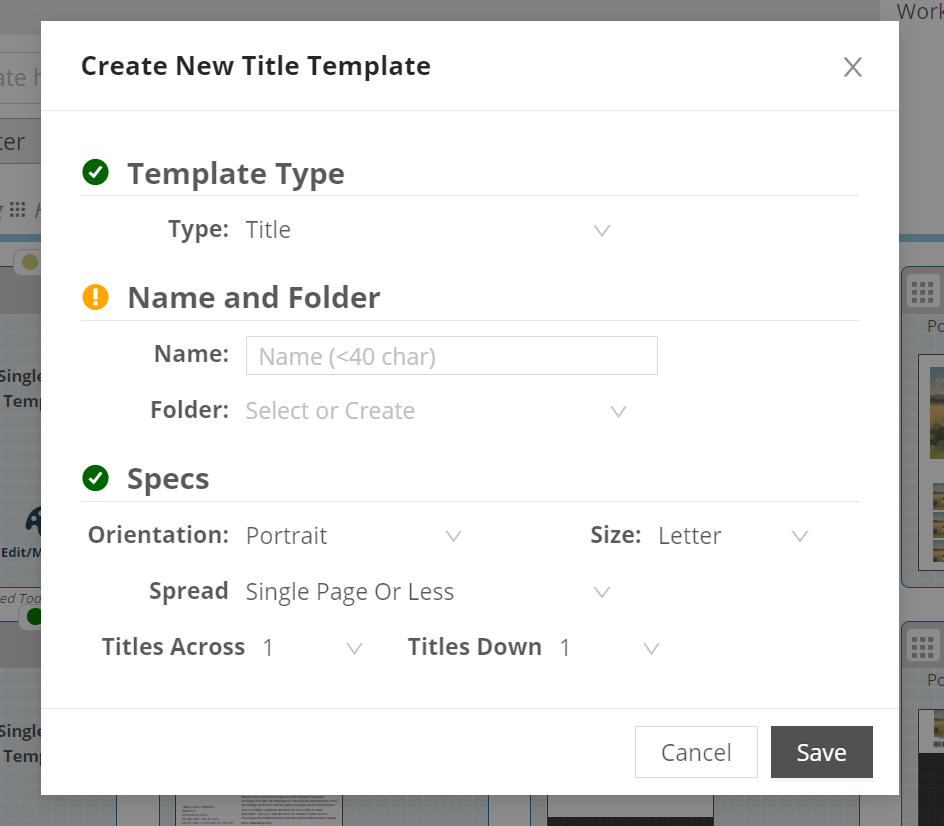
If building your own template, fill out the fields shown below, which will display after you’ve selected Add New.
- Name: Name your template!
- Folder: Place your template in an existing folder or create a new one
- Orientation: Portrait or Landscape
- Size: Letter, A4, or PPT Wide
- Spread: Single Page or Multiple Page Spread
- Titles Across: How many titles should display horizontally on each page of the template?
- Titles Down: How many titles should display vertically on each page of the template?
Once these fields are complete, click Save.
Building a Template
Your newly-created template will drop into the folder in which you’ve placed it — locate it and double-click on it to open it, or click once and select Open.

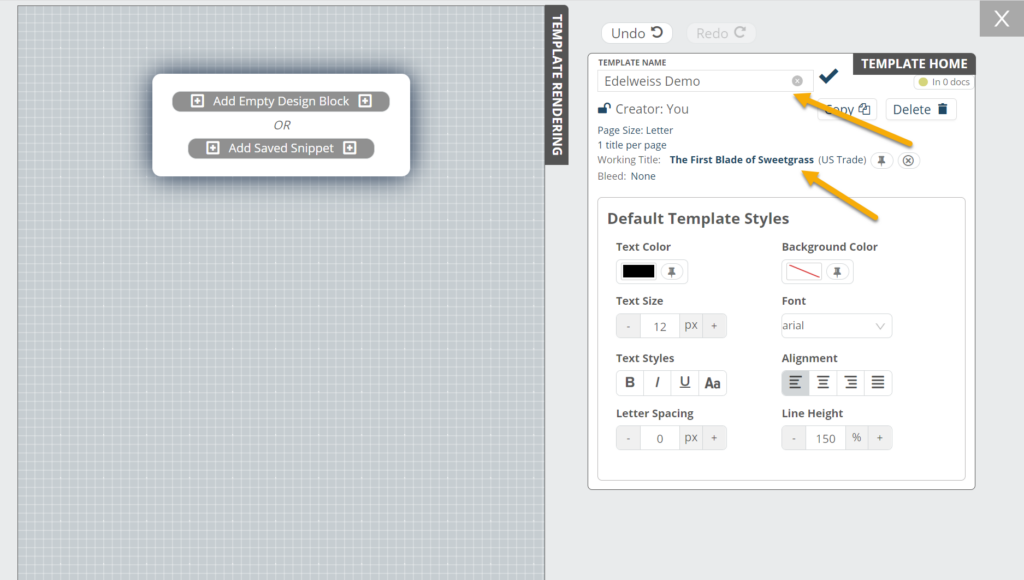
Your initial view of a template will look something like this. Here, you can change the name of the template (by clicking on it), create a copy of it, delete it, change the working title, and most importantly, begin styling the page and adding design Blocks and content blocks, which we’ll explore in detail below.
Note that changes in Designer autosave, and you have the option to undo or redo changes using those buttons at the top of the screen.
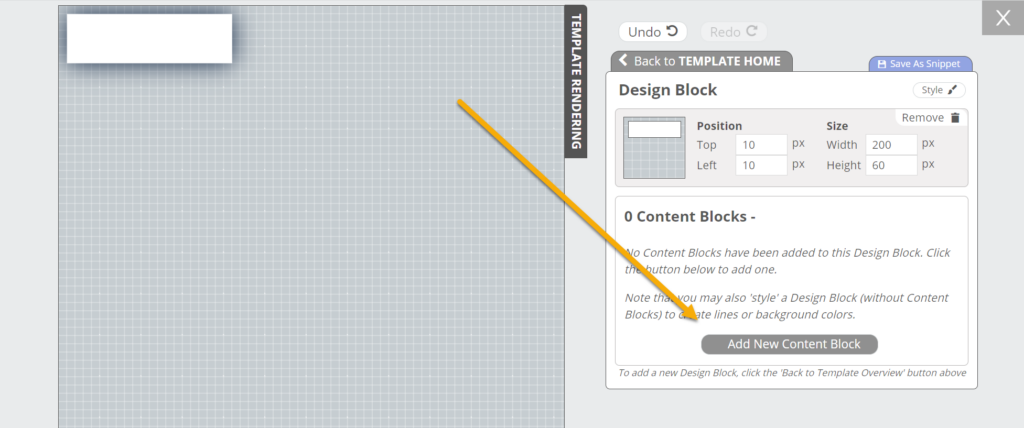
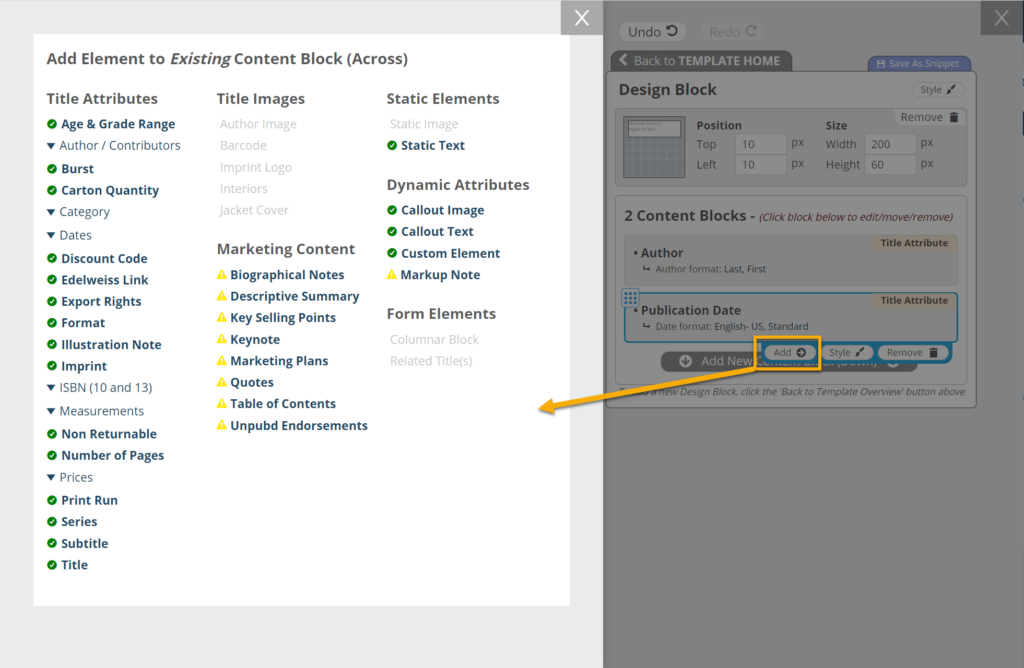
To begin designing your template, start by clicking Add Empty Design Block (or Add Saved Snippet — learn more here) to insert your first design block. You’ll then be prompted to add your first content block within that design block and can add elements from the Available Elements window.
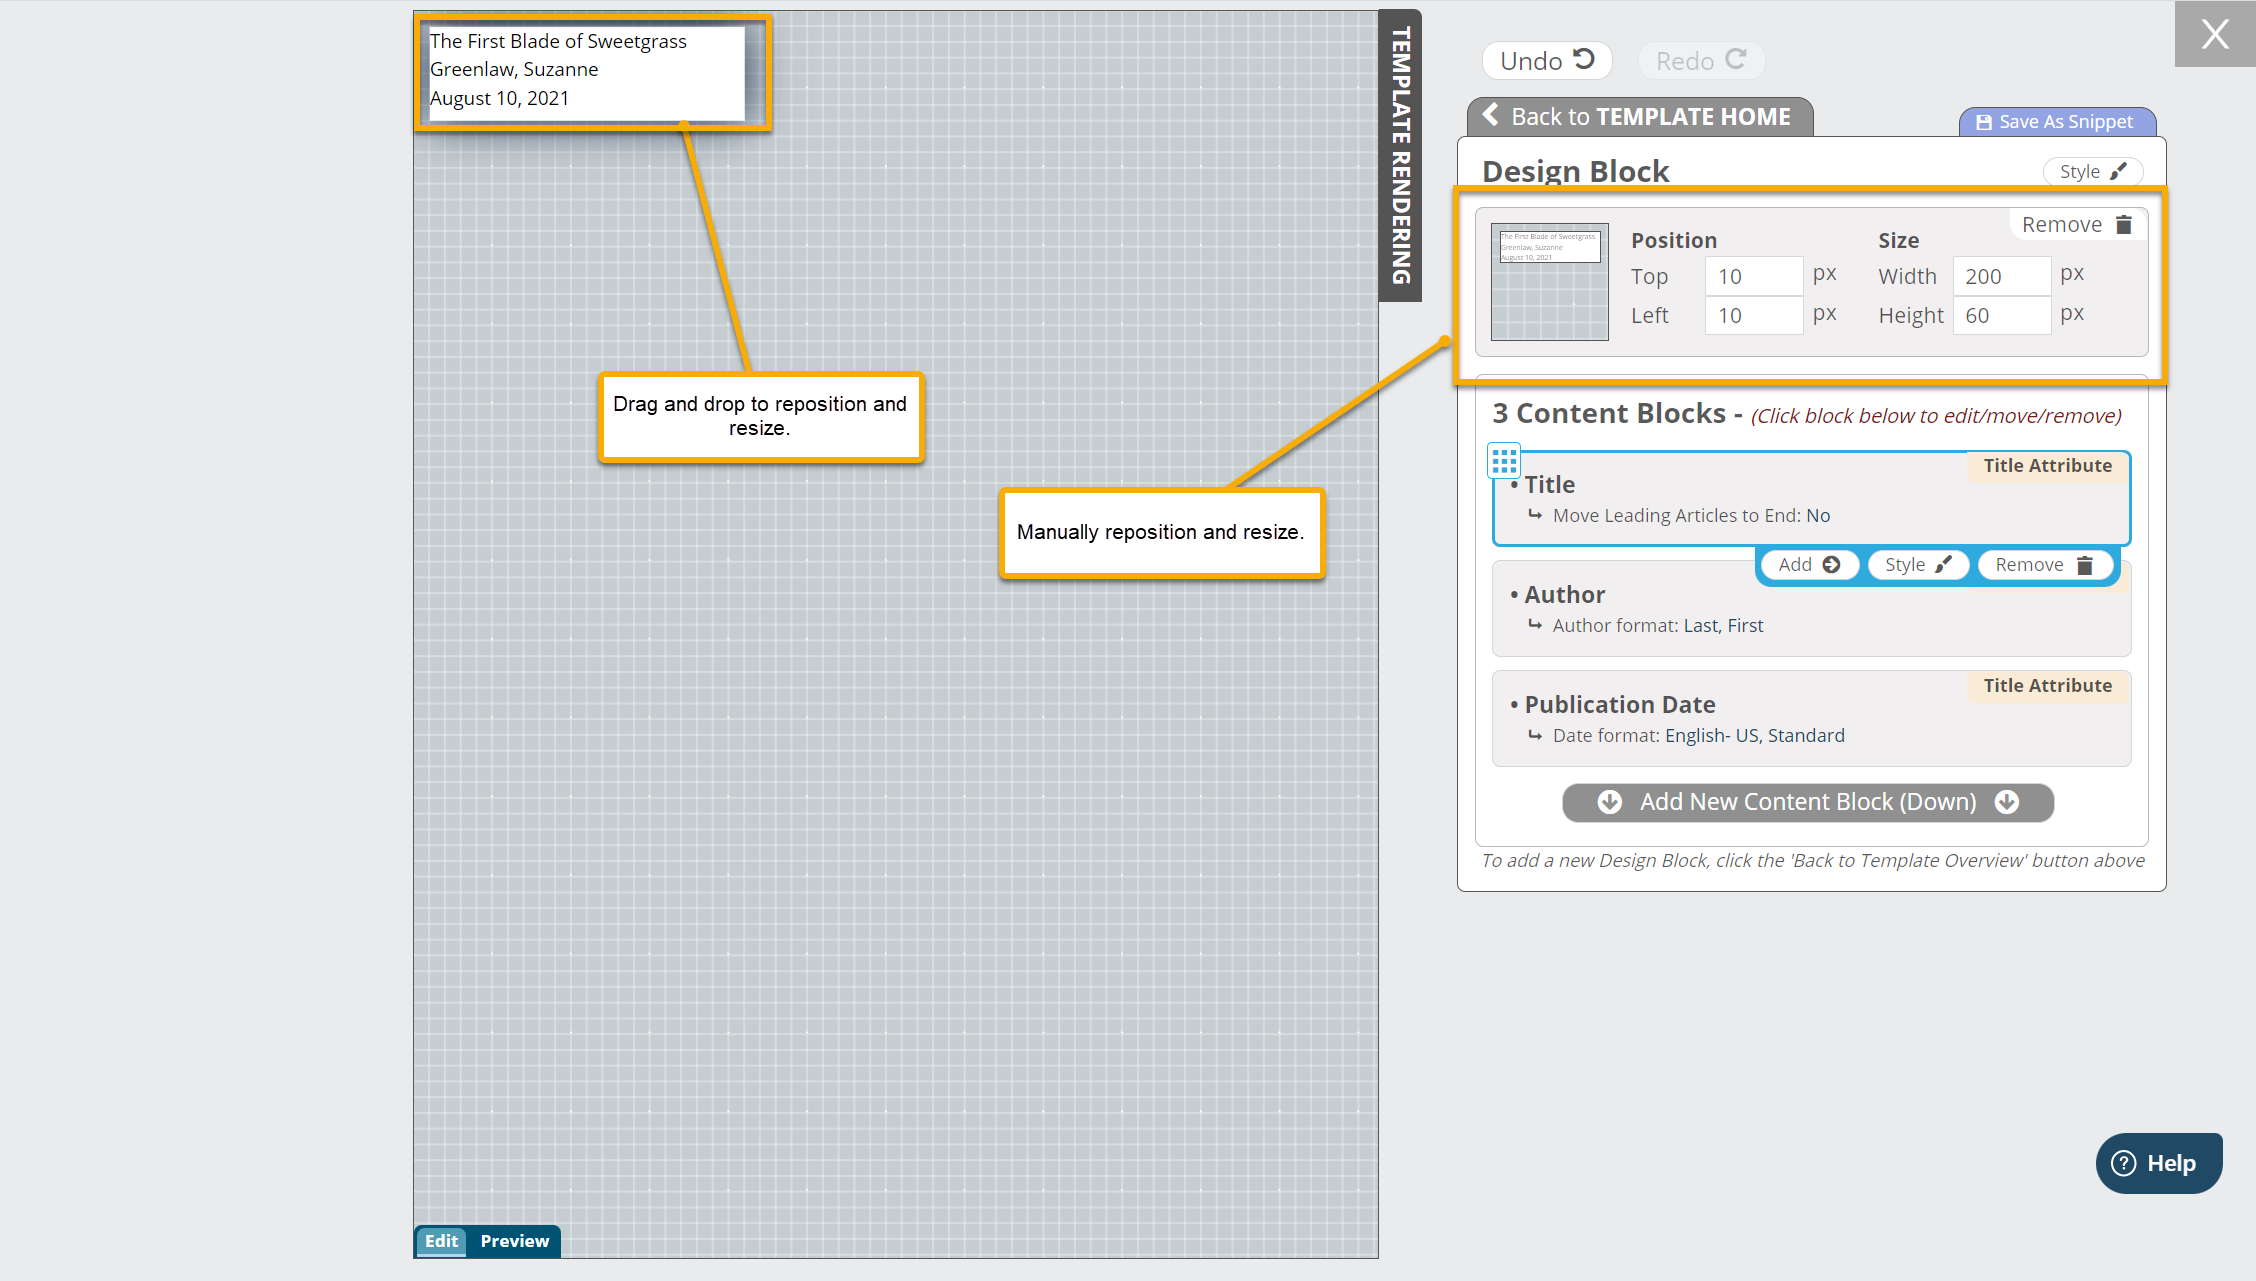
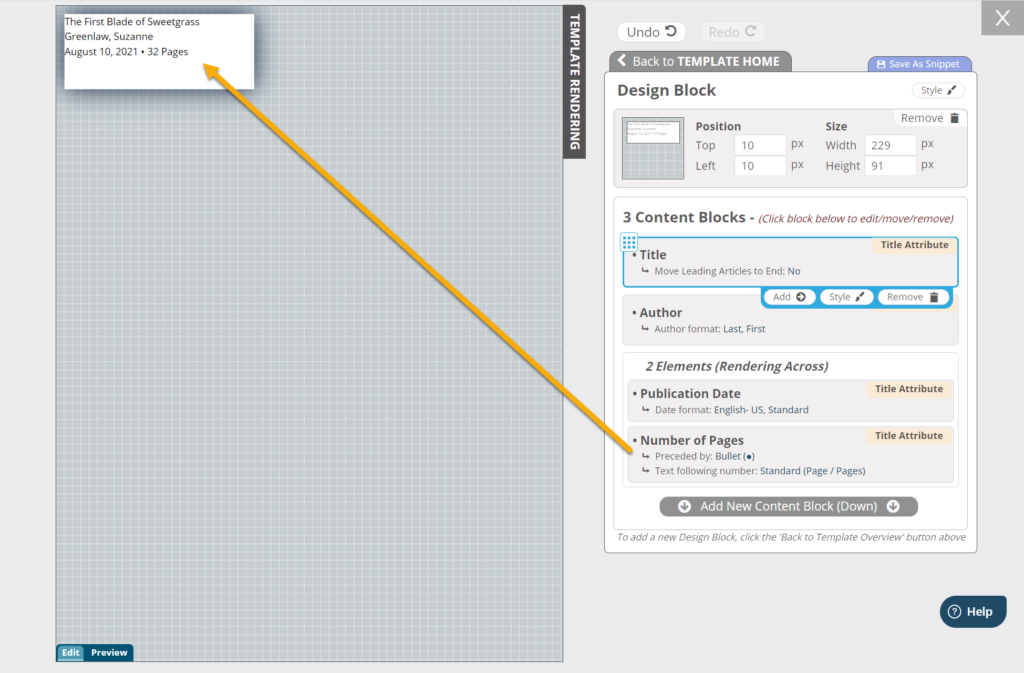
Begin selecting elements that you’d like to include in the design block here– design blocks can be made up of more than one content block. For example, Title, Subtitle, and Author may all be contained in one design block.
Note that when adding design blocks, you’ll have the ability to either position and size the block(s) before or after adding content blocks and may do so by dragging and dropping or by setting the position and size manually.
In the same design block, content can also be added across.
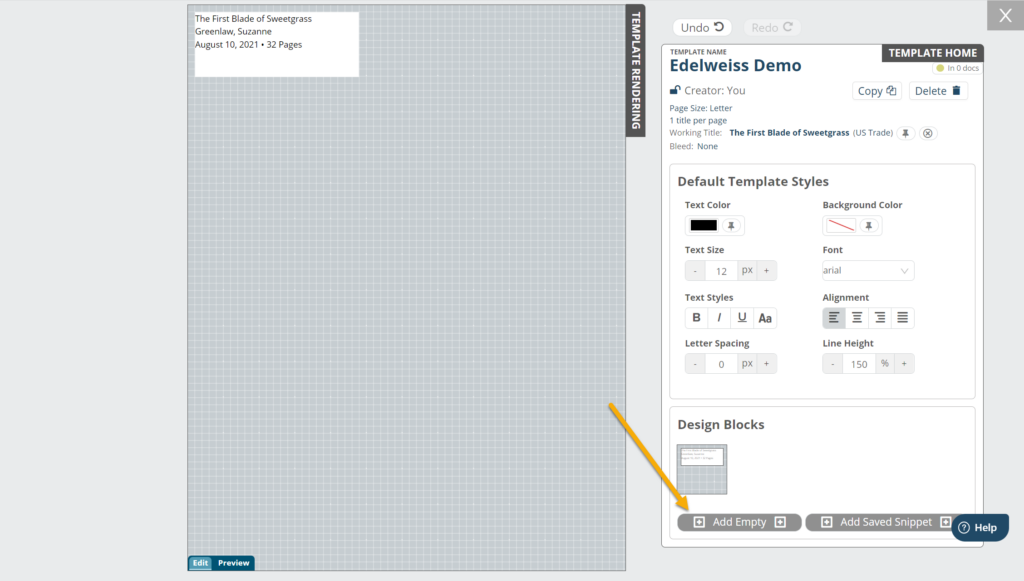
To add a new design block (a completely new ‘container’ in your template), select Back to Template Home and click Add Empty.
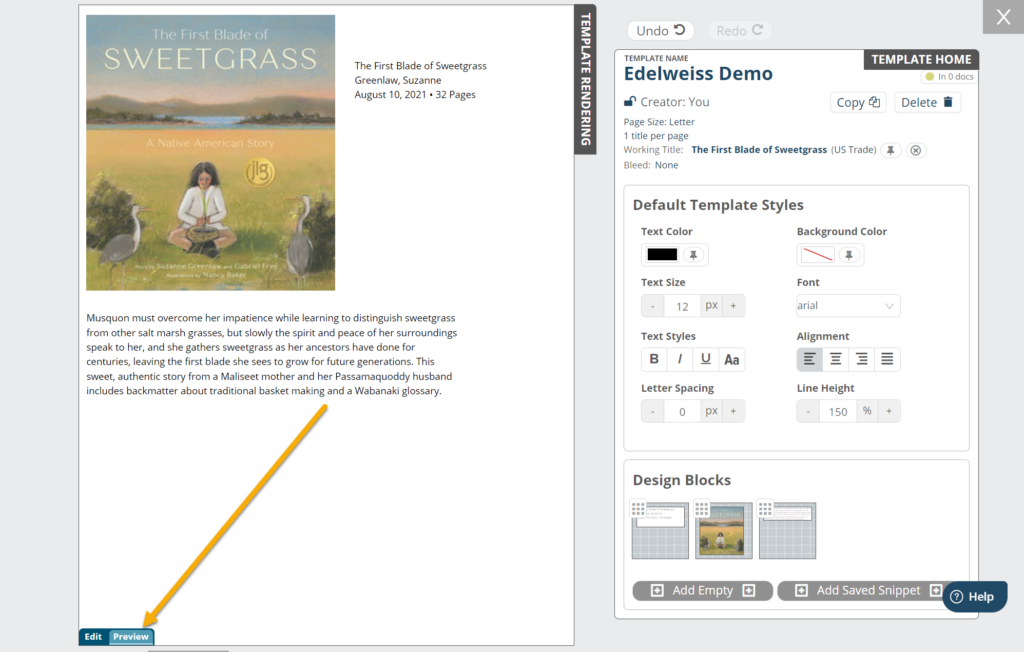
As you work, you can take advantage of the Preview button, which will temporarily take you out of Edit mode and display a preview of your finished product.
Styling a Template:
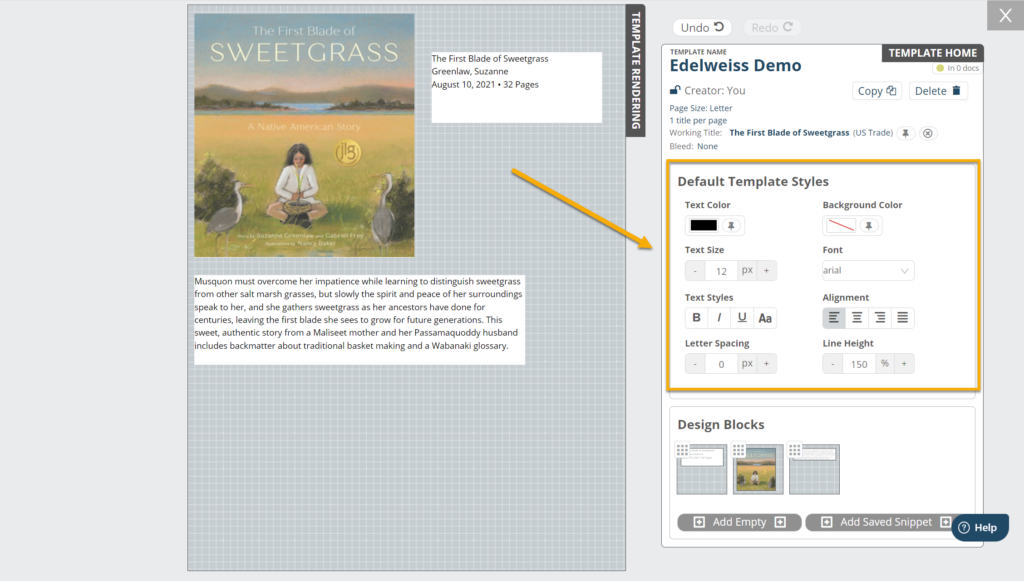
With a bit of content to work with, it’s time to add styling. There are a few methods of styling a template. The first is to apply a default style to the entire page:
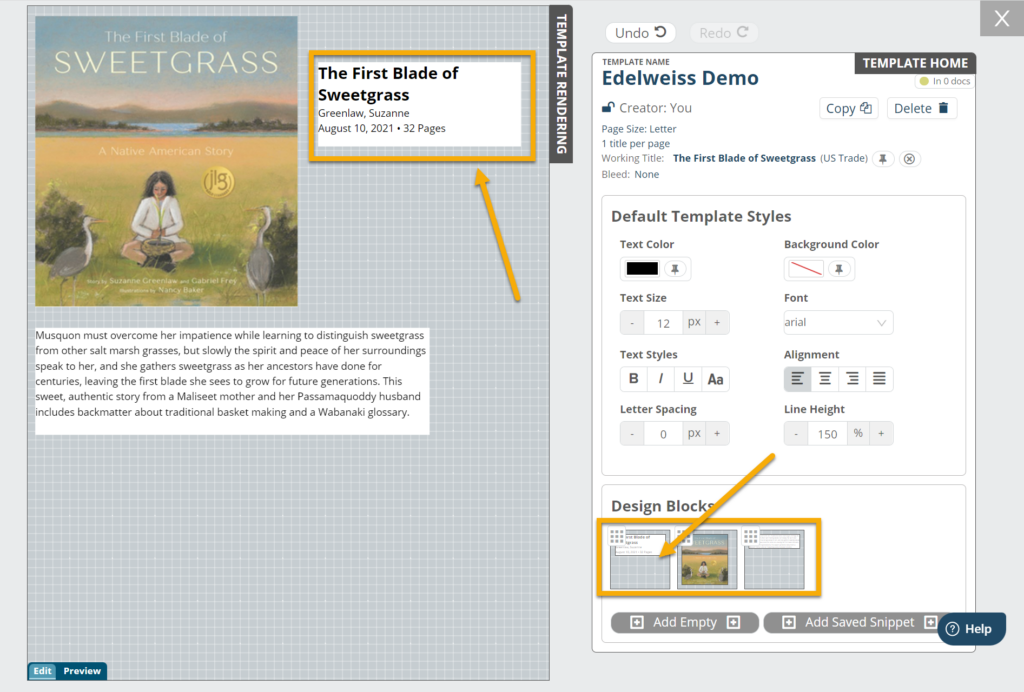
The second is to click into a design block and apply a style to just that design block. There are two ways to select and begin style on a design block — either select from the Design Blocks section (right) or directly from the Edit/Preview window (left).
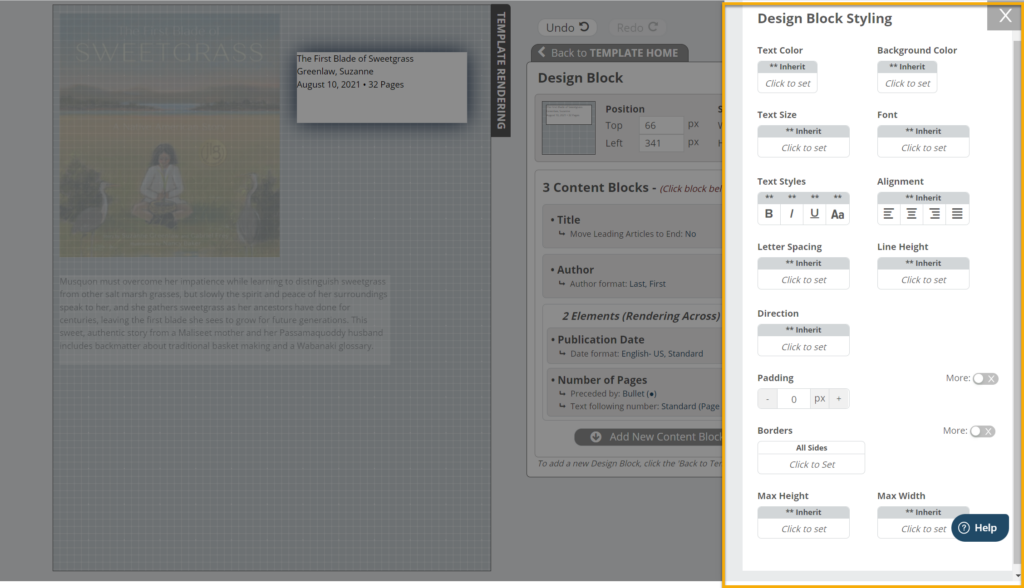
Once selected, click Style on the upper right to begin applying styles.
Note the Inherit option for the different style elements. In Designer, you can set individual styles for each block used in your template, But you can also set blocks to “Inherited,” which means that the block will use the styles set at the template (“Parent”) level. For this reason, if you have added custom styles a particular content block but wish to return it to your template’s default styles, you should use the Inherit option to return it to the parent style. Hover over the ** Inherit banner on a particular style element to see if it is inheriting the parent style and, if not, click to return it to that setting.
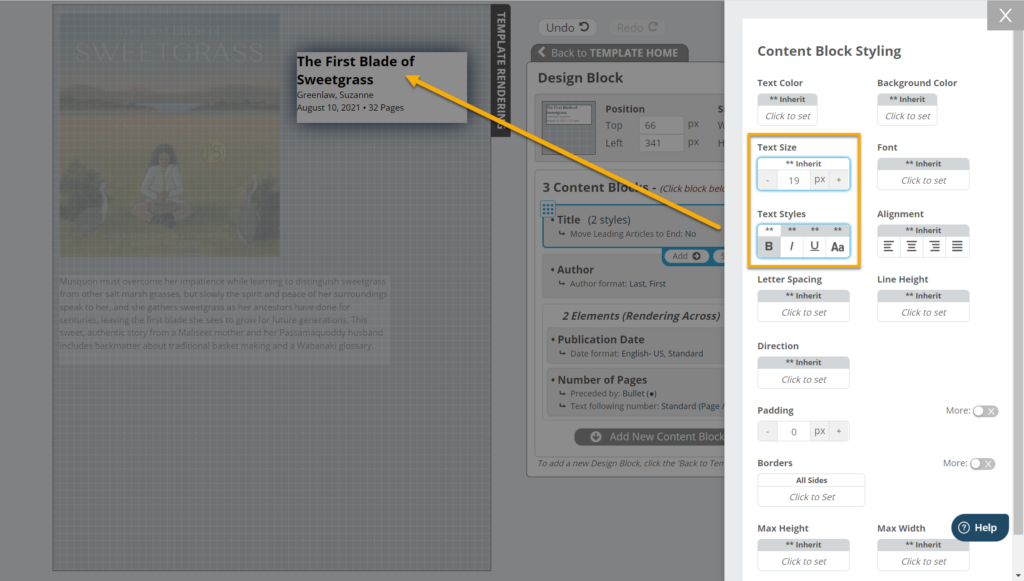
Lastly, it is also possible to apply styles to individual content blocks, for example, just the Title.
Continue editing and styling as needed.
Find more tips on creating templates here.

