
There are two ways to export your final documents from Document Builder. The first and simplest is within the “Create Template” section. In this view, once the template is complete, you can click on one of the four icons / export options in the top right corner, as indicated below:
These options will allow you to export to a Powerpoint, Word Document, PDF, or an Email. After clicking on one of these options, you will be asked if you would like to create the whole catalog or only the selected title.
The second, more in-depth way to export from the Document Builder is through the “Create Document” section. Note that you can only export to a PDF file in this part of Document Builder.
Once you’ve perfected your masterpiece of a template (details here), you can begin the process of creating a document. Click the Create Document link at the top of the Document Builder homepage. At this point, you will be asked to name your new document, provide a description, file name, decide whether to allow others from your organization to view the document you are creating, select the catalog you wish to make up the contents of your document, and decide which template you would like to save as your default. You will see the below pop-up:
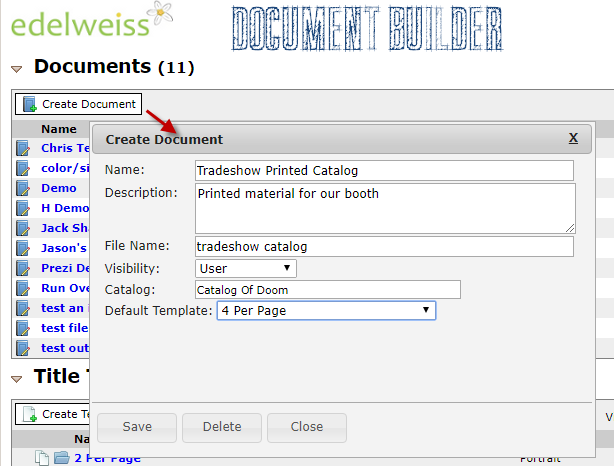
Name– Title of the document
Description – Optional way of distinguishing Documents
File Name – Name of this file
Visibility– Share with your colleagues if you choose
Catalog– Determines which titles appear in your document (this can be changed)
Default Template – the template that will be used on each page. Once the document has been created, however, any of the templates can be applied to any of the pages. The default simply provides a starting point.
Click into the document to edit. You can move the order of titles in the left-hand column, select templates for each page, and more:
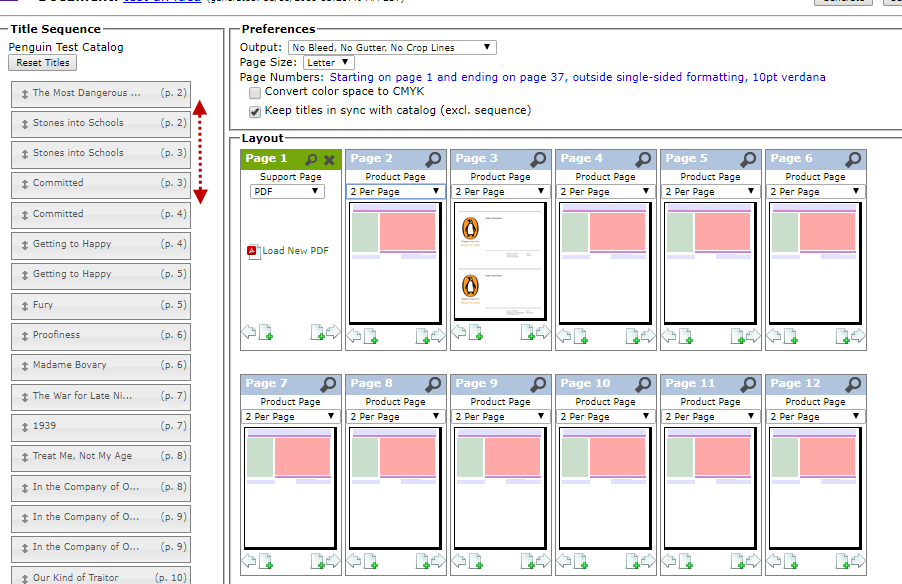
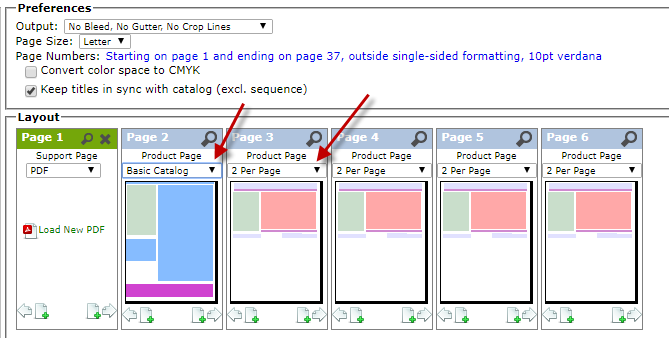
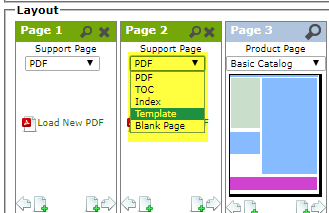
Change the template for each page here:
Use these icons to add a new page before or after an existing page:
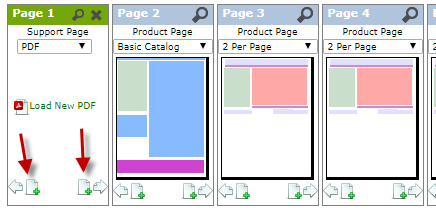
This can be especially useful in adding cover pages, table of contents, etc. After adding a new page, you can choose from a variety of page types:
 Once you’ve created your masterpiece, you can either Generate (print) or Save this document.
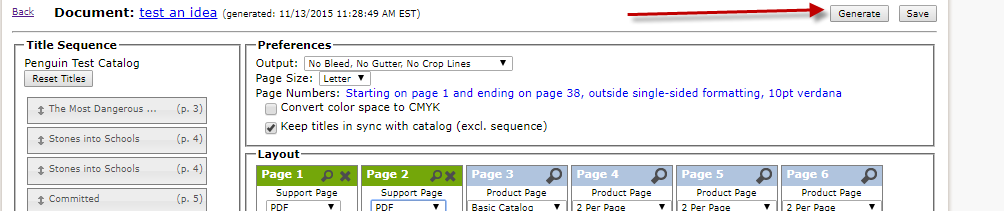
Note: Two options are available in the Document Builder to manage your titles: the “Keep titles in sync with catalog” checkbox and the “Reset Titles” button in the title list. These options appear here:

If the Keep titles in sync box is checked and a title is added to a catalog or collection, that title will appear last in the list of titles even if that is not its place in the catalog order. This happens to keep a new title or titles from throwing off the matching of titles to templates.
When a title is removed from a catalog and this box is checked, it’s place will be taken by a “Blank Space” place holder, again to keep your titles and templates matched up.
The “Reset Titles” button will reorder the list of titles to match the order that appears in the catalog and will remove all blank spaces when changes are made. The pages that will disappear when the blank spaces are removed will be removed from the end of the catalog.
These features allow titles to be added and removed from a catalog without throwing off the order of existing titles in your document.