
Many publishers add their Event Grids to Edelweiss, providing an interactive way to collect event proposals/bids for their touring authors. The process is simple — you provide a list of your touring authors, including their tentative tour stops and any other information you would like to share, and your accounts can submit their proposals based on the tour information you’ve provided, as well as all of the rich data in your title listings. You’ll see each account’s General Event Profile, and their specific Event Proposal for each author. Bookstores, libraries, festivals, radio shows, etc. all use Event Grids on Edelweiss to request author appearances.
Note that you must have Catalog Services or Independent Publisher Listing to use Event Grids. Contact sales@abovethetreeline.com for details!
Adding Event Grids:
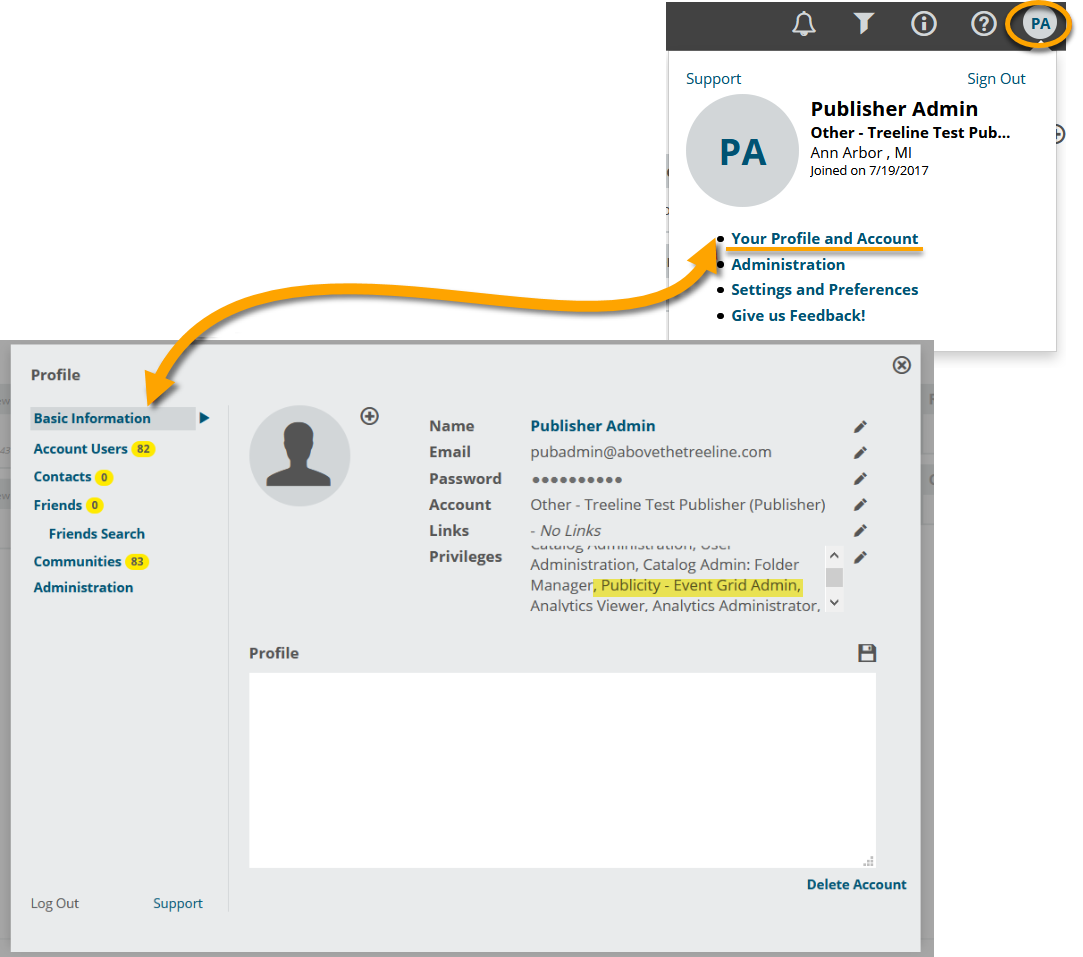
The first step is to create a catalog or a collection listing all the titles you’d like included in your event grid. Next, click on your profile photo or initials in the top right corner of any Edelweiss page, then select Your Profile and Account. To manage event grids, you’ll need to be sure your account has Publicity Admin privileges, as shown below (if you do not have this privilege, reach out to a user administrator within your organization!).
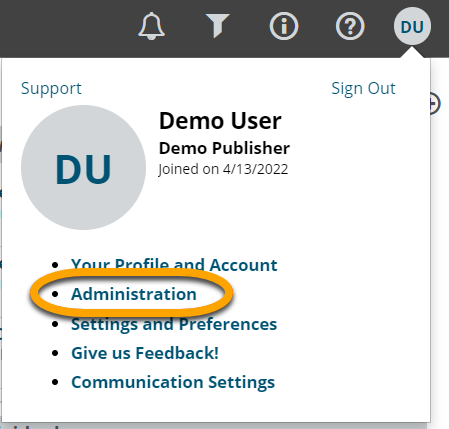
Click on Administration (or follow this link once you’re logged in: https://admin.edelweiss.plus/)
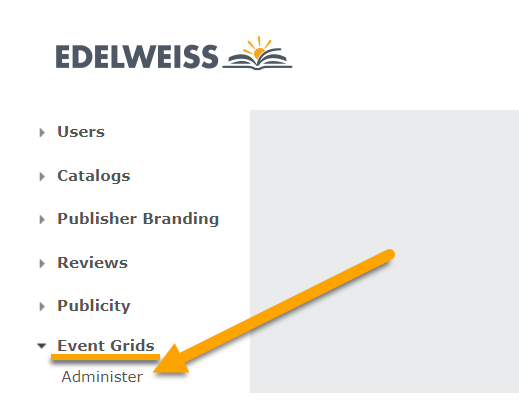
On the Administration page, select Administer under the Event Grids dropdown:
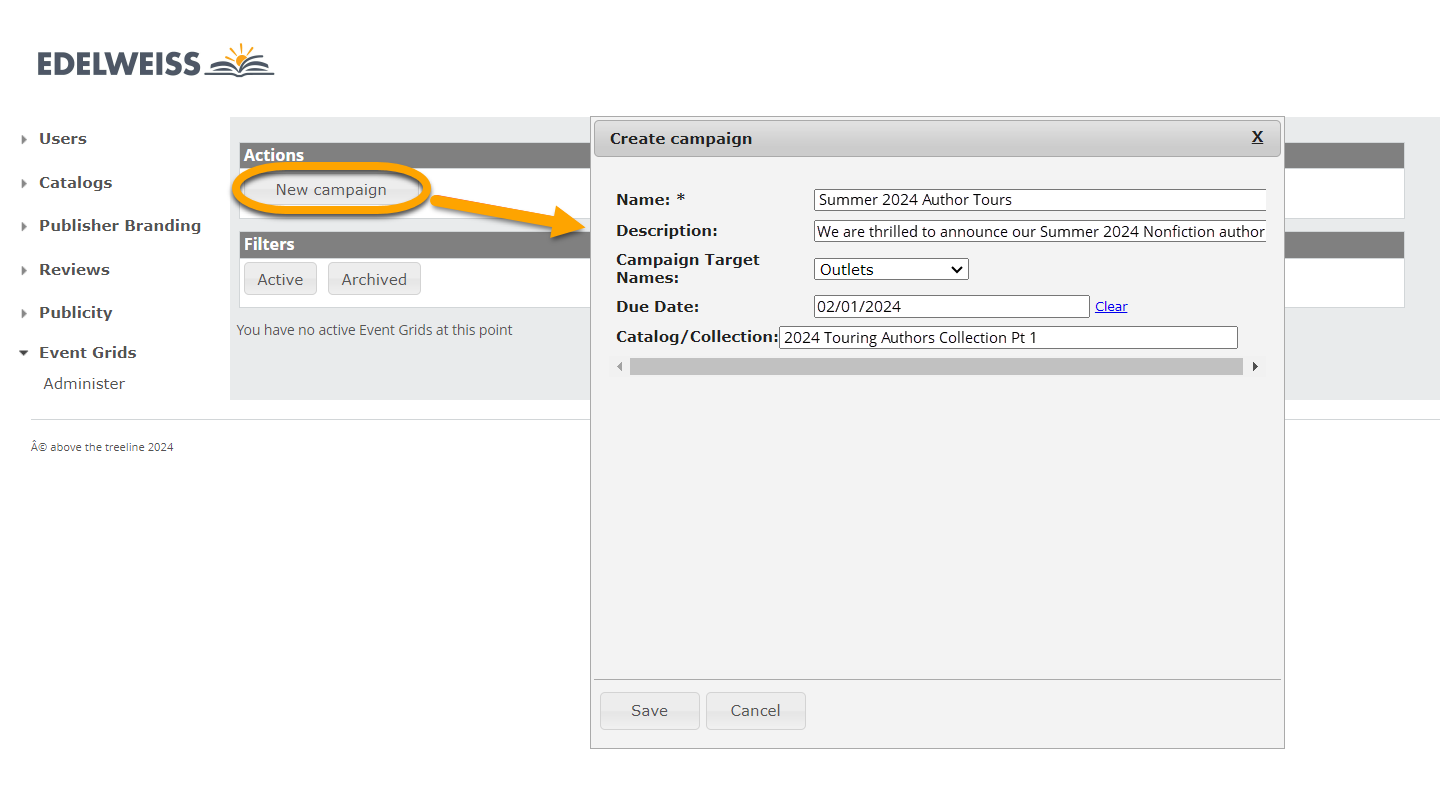
Click New Campaign. In the resulting window, name your grid, provide a brief description, choose which venues your grids will be available to, add a due date (after the due date, your event grid will be closed for all users!), and select the catalog or collection you’d like the grid to be connected to.
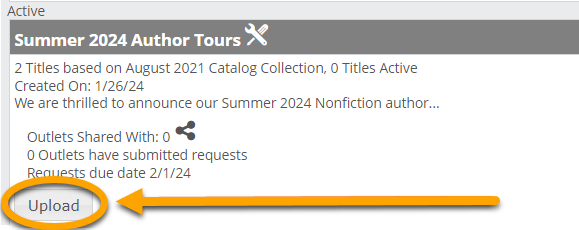
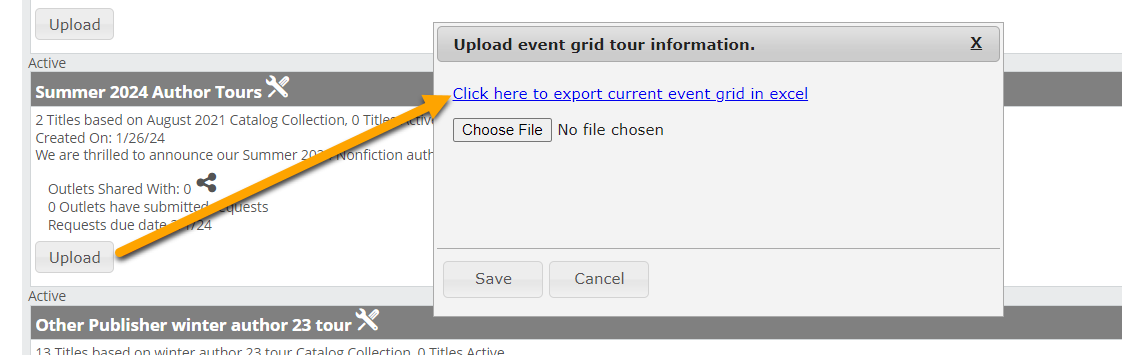
Once you save your work, scroll down to the newly created grid. Click the Upload button to import a spreadsheet with tour details. In the upload window, it’s easiest to select “Click here to export current event grid in Excel” to quickly create a spreadsheet to plug your event grid information into, in the format required for upload.
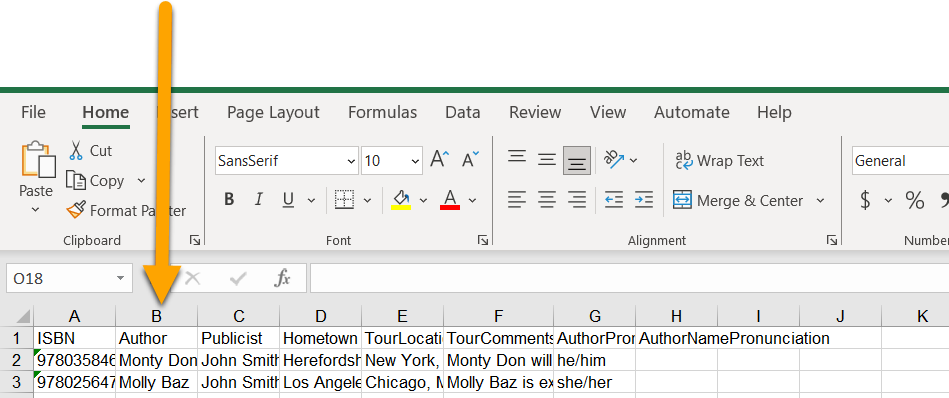
Once you’ve added tour details to the spreadsheet, upload the file to apply all of the information to your event grid! If you created your own spreadsheet rather than using the sample, be sure to match the sample grid’s format and ensure that your file is in .xls format without any special characters in the file name.
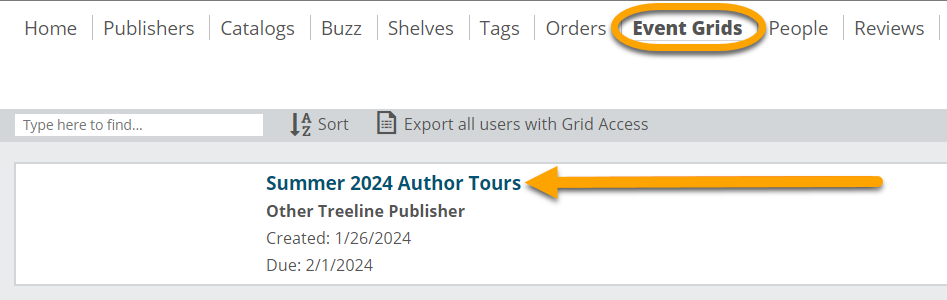
It’s also possible to edit your event grids title-by-title by opening the Event Grids page from your Edelweiss homepage, if you’d prefer.
Click on the name of your grid to open it:
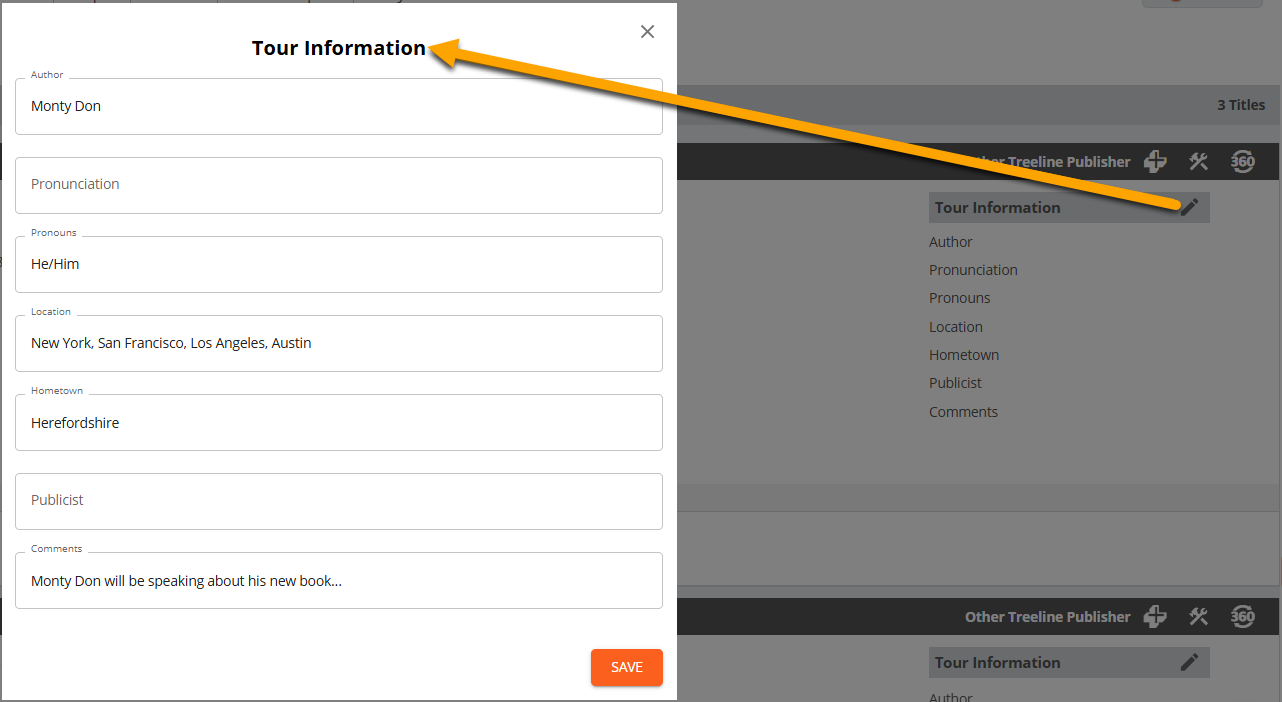
Here, you can manually edit the Tour Information for each title:
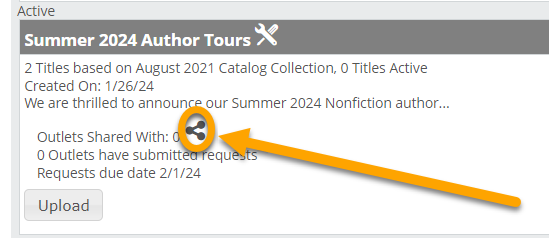
Once you’ve completed an event grid, you can share it with your accounts. Back on the Administration Page, find the grid you’d like to make available to accounts and select the Share icon:
This will make the event grid visible for all users that you and your reps have granted access — learn more about granting event grid access to accounts here. Outside of Edelweiss, you’ll likely want to send an email to your contacts to let them know that your grid is ready for their requests, along with any other pertinent information you generally like to provide. We encourage you to share a link to our overview of how booksellers and other users can access event grids and make requests, which can be found here!
Tips:
- See details about working with event grid requests here. Once the deadline for a grid has passed, you can then simply go through the event proposals to find and schedule the most promising events.
- It’s up to you how you’d like to communicate with your accounts! A best practice is to respond to each account that submitted a request and let them know the status… yay or nay (this part happens outside of Edelweiss).
- Once an Event Grid is “Closed,” or the Due Date has passed, you can Archive it to clean up your view. You’ll want to wait until your team is finished working on it, of course!

Watch a video on the process of creating an event grid: