With a subscription to Catalog Services, catalog administrators can quickly and efficiently create new catalogs on Edelweiss. Remember that even though we may have received your title metadata via ONIX or other feeds, it’s not until you log into Edelweiss and…
- Create a catalog
- Add titles to it
- Make that catalog public
…that your titles will appear in Edelweiss!
These instructions will walk you through how to accomplish each of these critical steps.
Creating a Catalog
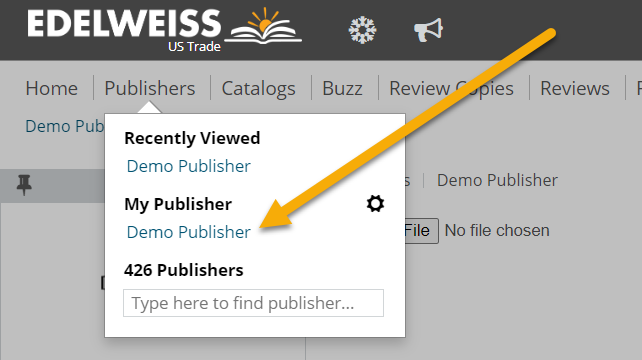
To get started, open your Publisher page by clicking on your publisher’s name under My Publisher via the Publishers tab:
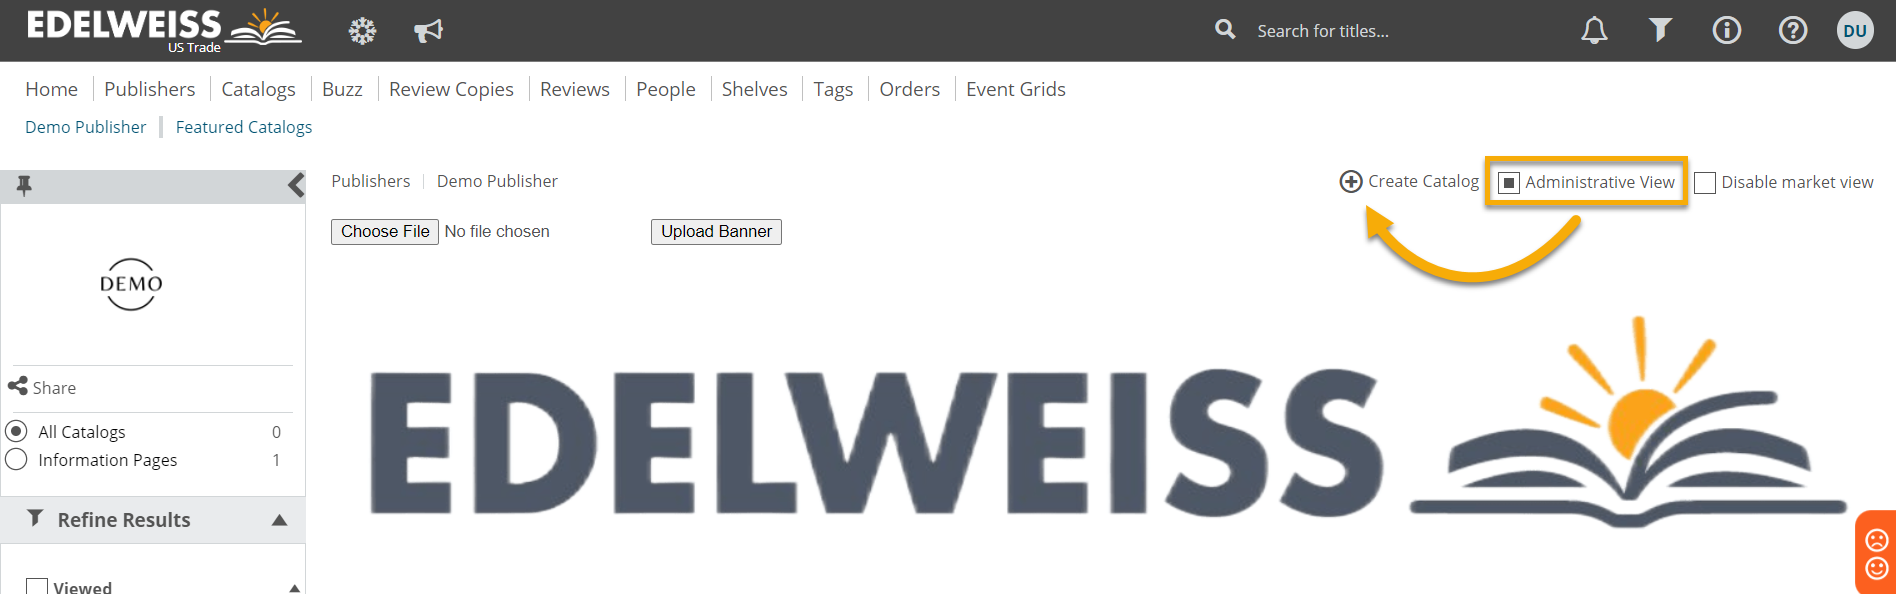
From there, select Administrative View in the upper right and click Create Catalog.
The resulting Add Catalog window is where you can name your catalog, add a summary, set the catalog’s status and visibility (more info on this below), add a cover, and more:
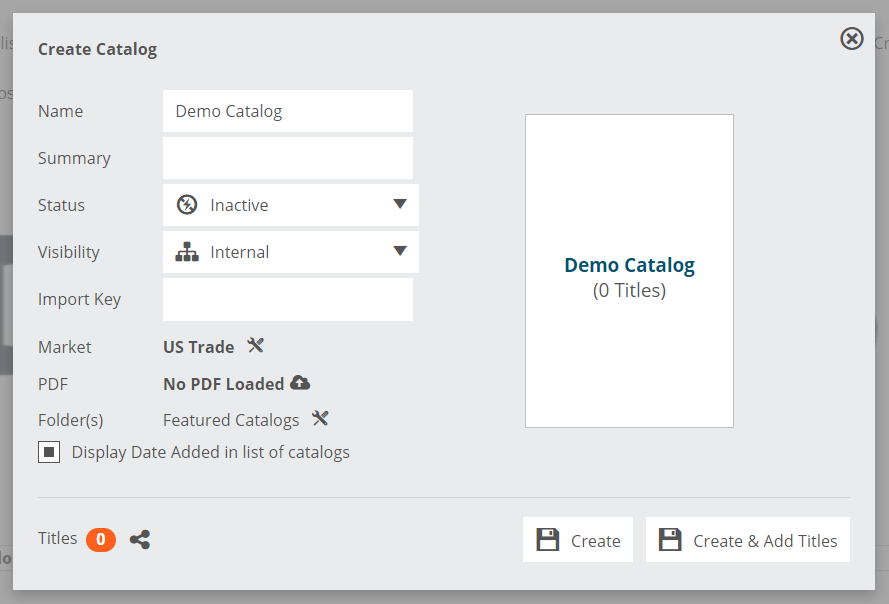
- Provide a Name for your catalog, for example, [Your Publisher’s Name] and the Season/Year, such as Demo Publishing Spring 2024.
- The Summary field is optional. It can be considered a subtitle for your catalog and can be used to further describe the types of titles in your catalog, or to relay promotional terms available for the titles included.
- Status controls where and ultimately for whom this catalog appears throughout Edelweiss. There are three options: Inactive, Active, and Archived.
- Inactive: This default setting appears when you first create a catalog. Only catalog administrators can see Inactive catalogs, and only in Administrative view. This status should remain in place while titles are being loaded and updated, until you are ready for non-admins within your organization to have access to the catalog and the titles within it.
- Active: This allows all of your publishing company’s users to work with a catalog, but, depending on the Visibility level set below, users outside of your publisher’s organization won’t necessarily be able to view it. **The exception to this rule is that external sales reps who have been granted permission to markup your catalogs will have immediate access to Active catalogs.
- Archived: This is the closest you can get to deleting a catalog without actually deleting it. Archived catalogs will never appear in a publisher’s public catalog section; they only appear for catalog administrators in Administrative view.
- Visibility controls who can view the catalog in Edelweiss:
- Internal: This default setting appears when an admin first creates a catalog. Only publisher users, including both administrators and reps, can view an Internal catalog, though reps do have the ability to share an internal catalog via a markup if needed. Doing so makes the catalog accessible to individual Edelweiss users via an emailed link. This setting should remain while admins and reps are still adding comps, images, descriptive content, etc. to titles within a catalog, until a publisher’s selling season officially begins. While in this state, all publisher users will see this message beneath the catalog name on both the Browse Catalogs page and the Administration tab: This catalog is NOT publicly viewable.
- All Readers: As its name implies, all Edelweiss users can view an “All Readers” catalog on the main Catalogs page or on your Publisher Page. In addition, titles listed in these catalogs will appear in Search results and on other Edelweiss pages.
- Tip: To make your catalog public, set the catalog’s Status to Active, and Visibility to All Readers. This will set the catalog’s official ‘Date Posted/Added’, and add the catalog to Edelweiss as a recently added catalog, as well as prompt the catalog’s link to be included in our weekly newsletter. Once your catalog is public, it is not advised to revert to an Active/Internal or Inactive/Internal state. Rest assured, you can still add titles and change their sequence once the catalog is public.
- Market controls which trade markets your catalog and the titles within it appear in on Edelweiss. The default market will typically coincide with the country set on your publisher’s Edelweiss account. US Trade will be the dominant default market for most publishers. To edit the market selector, click the Tools icon
 and select all relevant markets for that catalog. A few nuances:
- You may create unique catalogs for individual markets
- The Global region is meant to feature “international” editions that are available in open markets like Puerto Rico, Singapore, Dubai, New Zealand, etc., or titles that have global rights available. The German Trade (International) market is meant for English language titles & catalogs that are available in the greater-Germany market.
- All Edelweiss users can change their own market view. As mentioned above, while this limits the publishers, catalogs, and titles they’ll have access to, it is intended to give Catalog Admins more flexibility in creating unique catalogs that are meant for very specific customers.

- PDF: If you’d like to add a PDF version of your Catalog (completely optional), click the Cloud icon in the Edit Catalog to make one available for download by your reps and customers.
- Note: The file size should be no larger than 80-100 MB. We recommend that you optimize the file, making it as small as possible (your upload will fail if larger).
- Avoid special characters in file names. If your PDF is within the size limits and fails to upload, check your file name for special characters and spaces, and remove them before reattempting the upload!
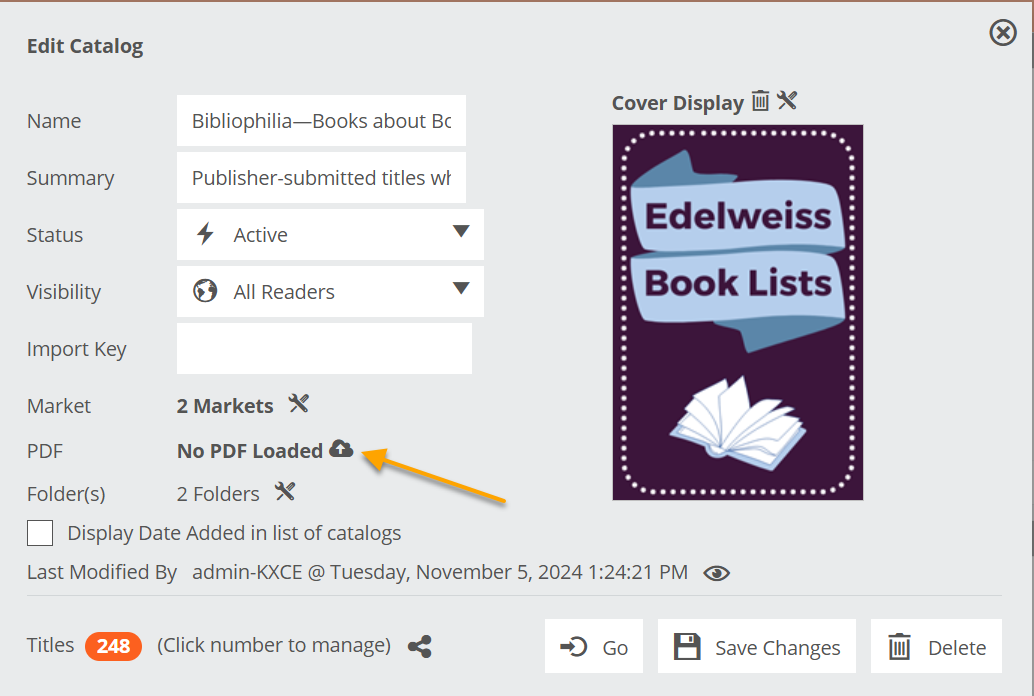
- Folders allow you to automatically post a catalog inside one or more specific folder(s). Note that the initial default folder each new catalog will appear in is the Featured Catalogs folder.
- Please refrain from updating or deleting this default Featured Catalogs folder!
- All catalogs must be assigned to at least one folder.
- When you add a catalog to a folder, it will position that catalog at the top of the list of catalogs. A folder’s default catalog sequence is based on the catalog’s date added, but you can easily re-order them. Please refer to our Catalog Admin Folder Management help article to learn how!
- We recommend leaving ‘Display Date Added’ selected. This will let Edelweiss users know when you first made a catalog public.
- Click on the tools icon to the right of Cover Display to upload a JPG, PNG, or GIF image to display next to your catalog name. If your company doesn’t create catalog-specific covers, you can consider adding a company logo or a cover image for a key title that’s included in the catalog. See our image specs here to make sure your image will upload correctly. Note: PDF files cannot be added as catalog cover images.
At this point, you can either click Create to create an “empty” catalog that you’ll later add titles to, or jump directly into the second main catalog creation step by clicking Create & Add Titles.
Adding Titles
Adding titles to your catalog is simple, assuming you have a list of ISBNs sorted into the sequence in which you’d like them to appear in your catalog.
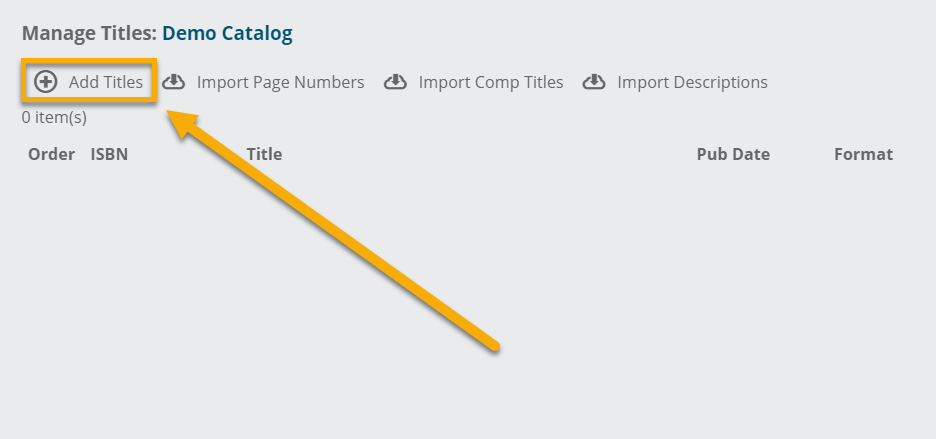
On the Manage Titles screen, select Add Titles and paste a list of pre-sequenced ISBNs into the resulting text box. Click Add:
You’ll see basic title data if it has been added and processed for the ISBNs, and you’ll have the opportunity to manually re-sequence them. You can drag-and-drop or click Move To Top / Bottom / Position after selecting a title.
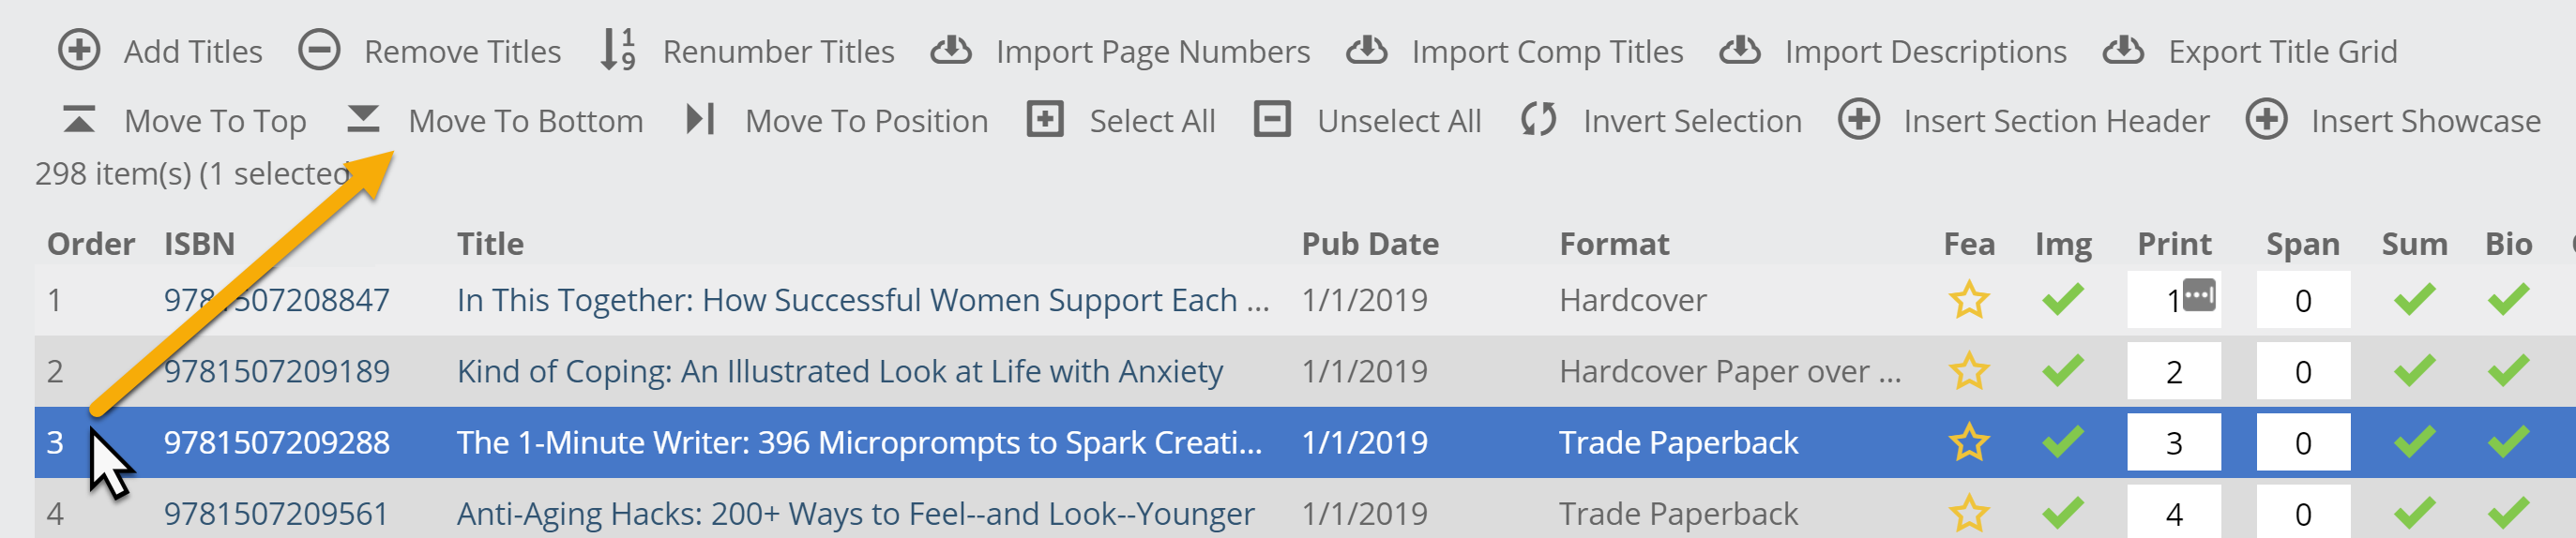
To select or highlight a title, click on its sequence number. At that point, many more options will appear at the top of the Manage Titles window. We’ll dig into them in subsequent help documents, but keep in mind that this is where you’ll come to insert catalog headers, update a catalog’s title sequence, import Comps and title descriptions, feature titles, check for core attributes, and drill into individual titles to view / edit them.
Editing a Catalog
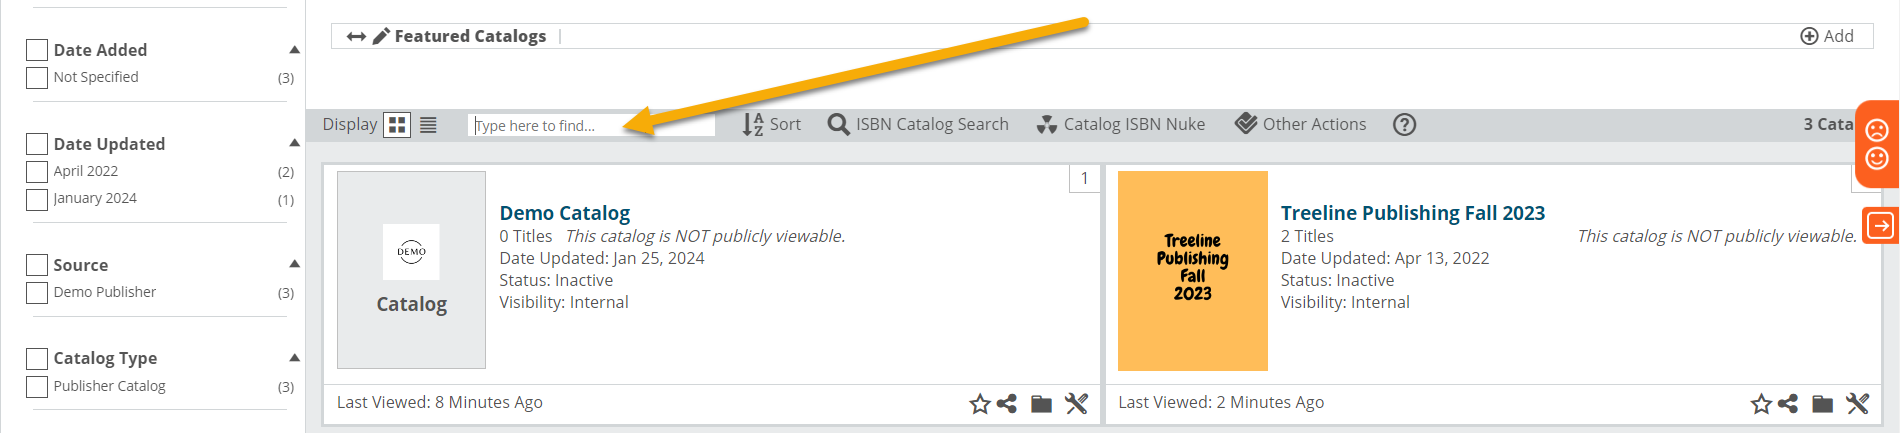
To edit any catalog attributes or titles within a catalog, find the catalog on your Publisher Page or under My Publishers on the Catalog page and click the Tools icon as shown below. Here, you can make and save your changes:
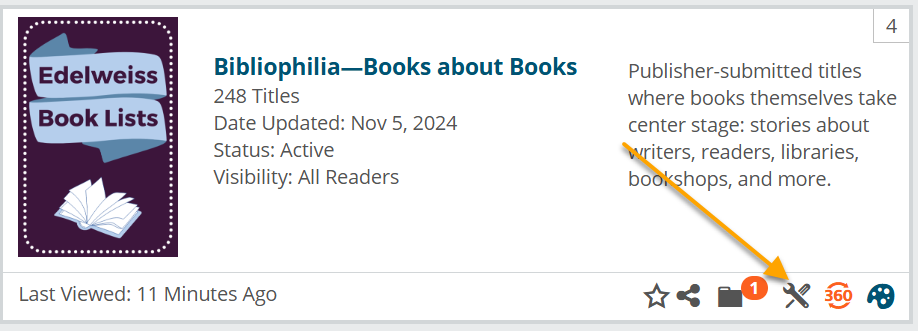
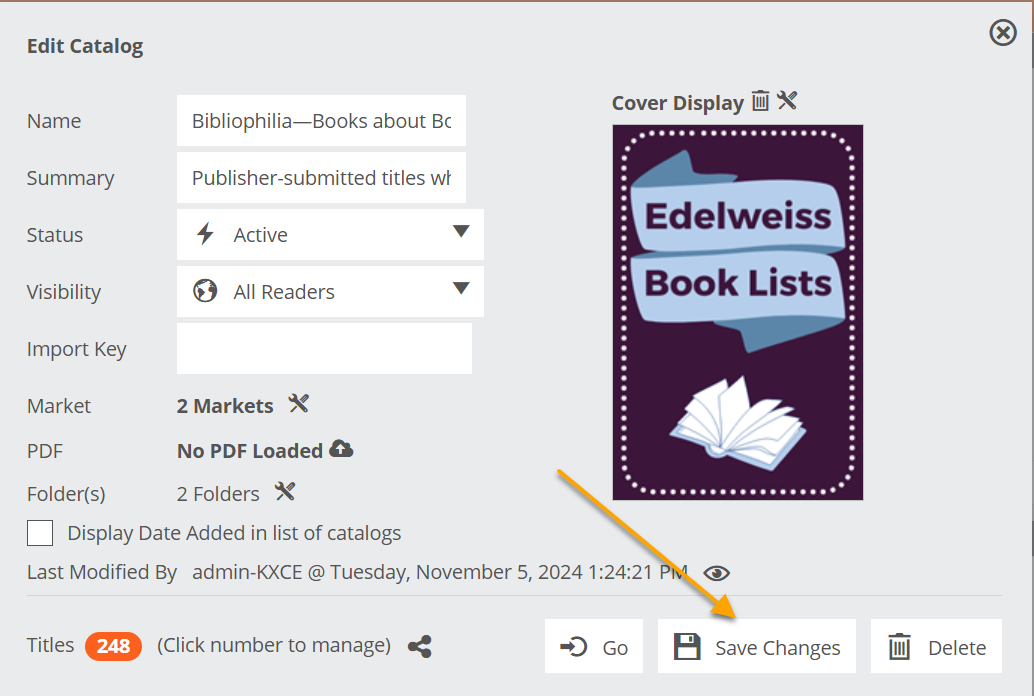
Always click Save Changes before you leave this window! As you can see, this is also the place to Delete a catalog.
Navigation Tips:
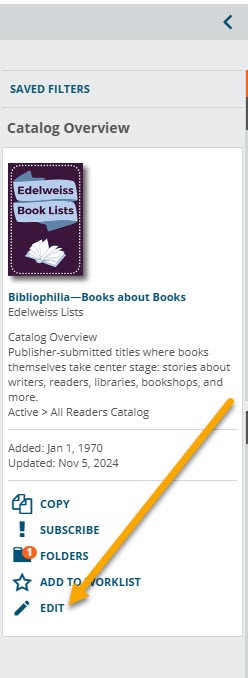
Clicking the Go option to the left of the Save Changes button shown above will take you out of Administrative View and into the catalog itself where you or your reps will be able to view the catalog and create markups. Anytime you need to return to Administrative View, click the pencil/edit icon in the Catalog Overview menu.
To search for a catalog, use the Type here to find… option, which appears on your catalogs page as shown below: